Let me start this off by saying: I have the BEST in-laws! For many reasons, but for the reason related to my basement, read on, and you'll see why.
Okay, so why are we renovating (re-renovating?) our basement? Well, 2 years ago, we were lucky enough to have our beautiful finished basement (which included our kids' playroom) flooded in 2 feet of rainwater when Mother Nature decided to have a complete tantrum. Womp womp. After hauling out a landfill's worth of ruined stuff out to the curb (sob!), cutting out carpeting and drywall, and then cleaning up, we did nothing. Sigh. With 2 working parents, 2 very young kids, very busy lives, and a tight budget, refinishing the basement was pretty low on the priority list. But, after over a year of us doing nothing to refinish the basement, my father-in-law decided enough was enough, and he took on the task of working on getting our basement back together for us. See? The BEST! So, a few hours here and there, and we (and by we, I mean my FIL) are finally making progress.
Now, let's talk about the bathroom. Ew! What good conversation starts with that sentence?
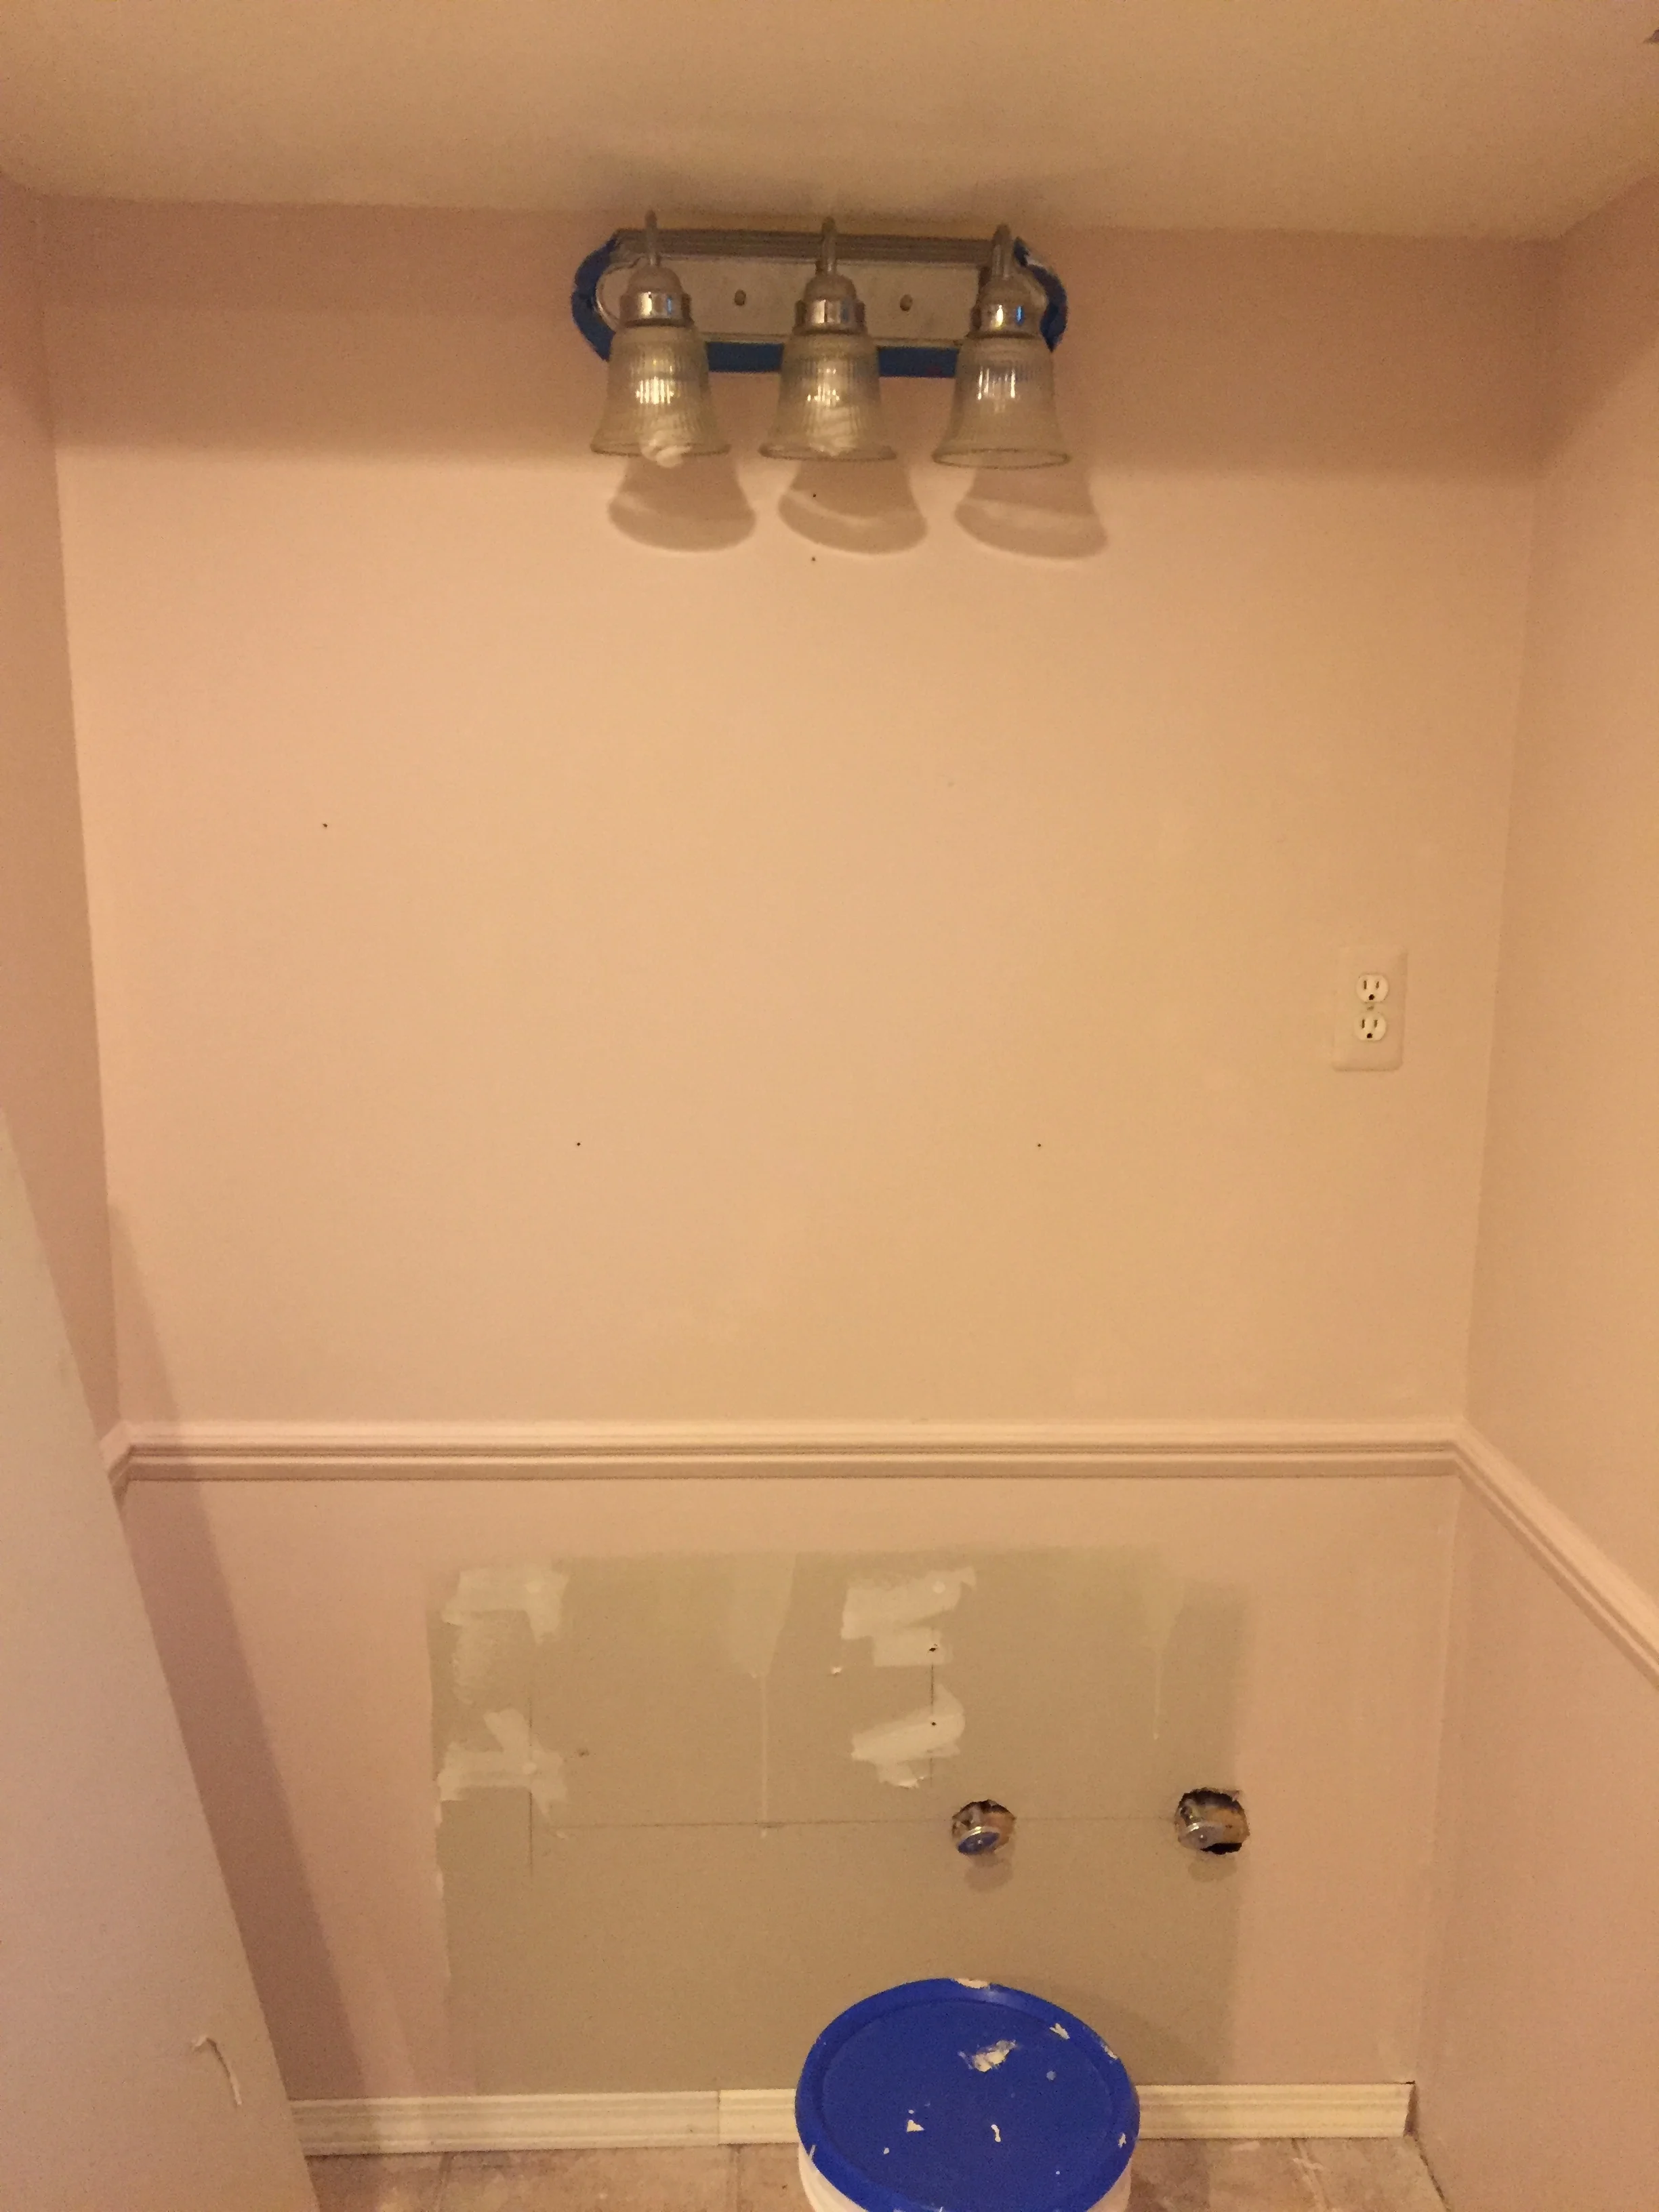
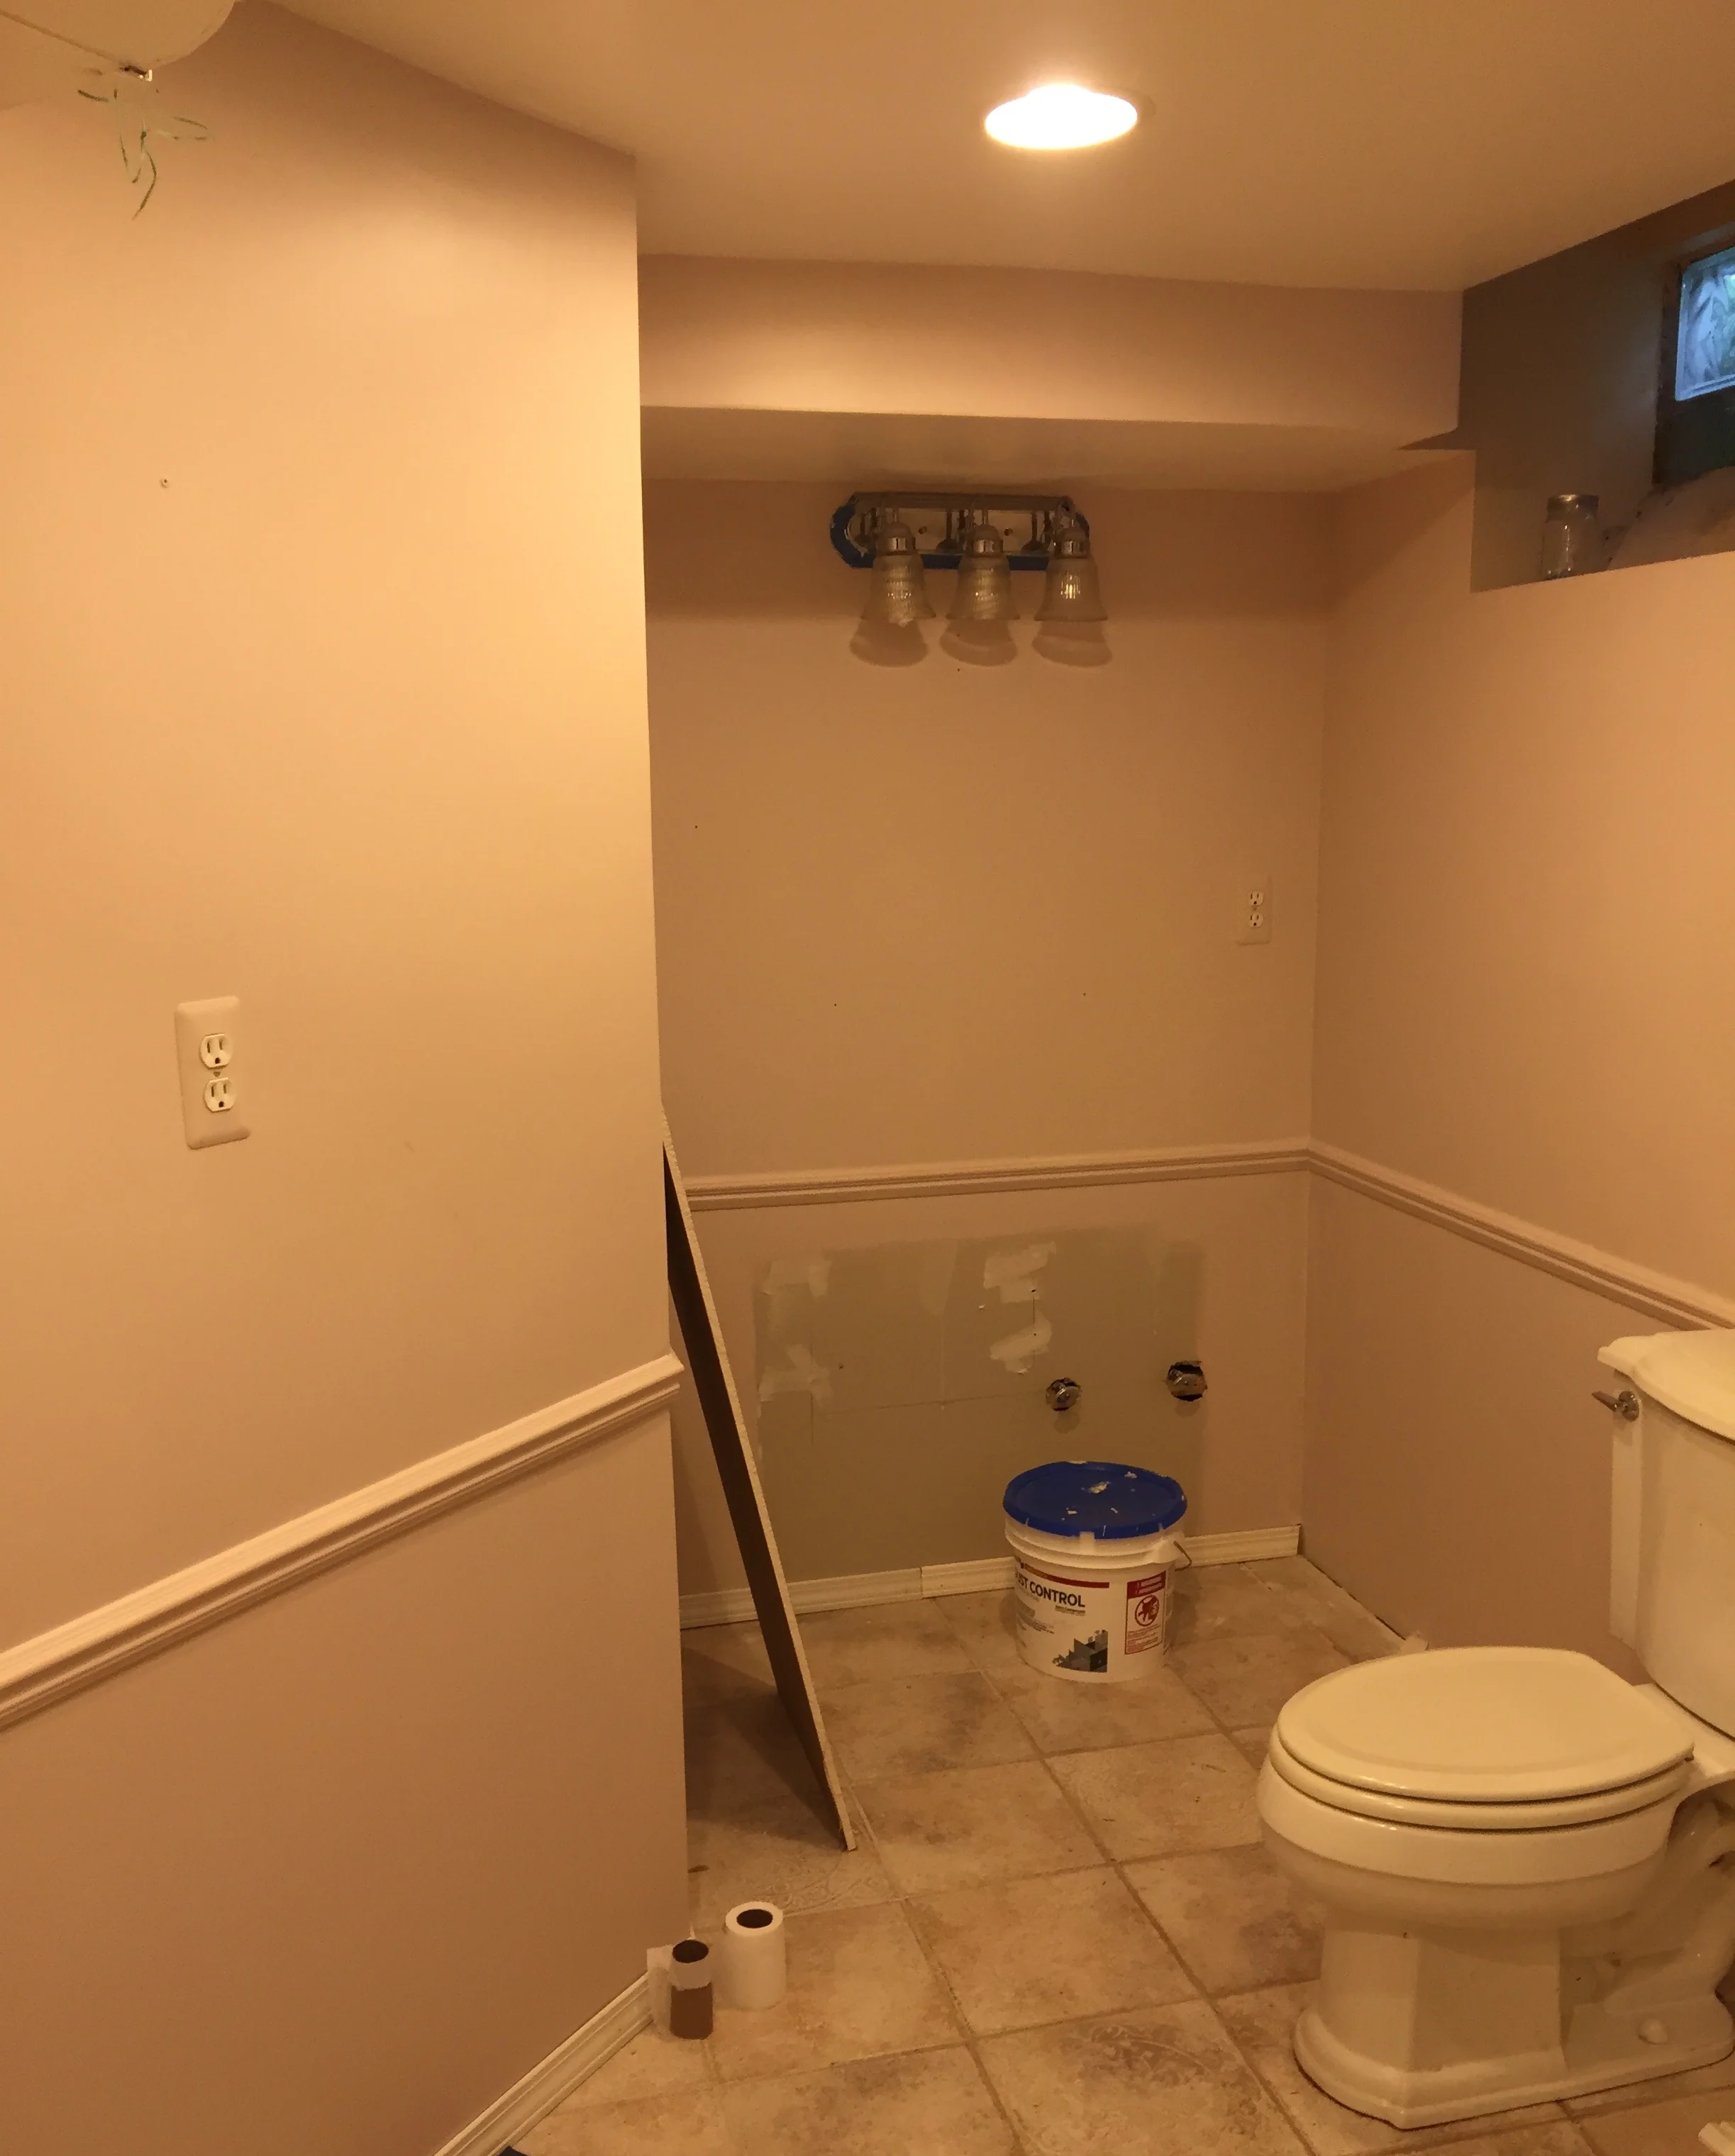
We were lucky enough to have 2 bathrooms before all this flooding nonsense, but we were down to 1 bathroom after that. So, I REALLY wanted our second bathroom back. Well, in the clearing out process, we lost the sink and vanity. I mean, the toilet still worked, but who uses a bathroom without a sink? Don't answer that! That's why we didn't really have a second bathroom anymore.
So, first step. My FIL put up new drywall where he cut it out on the bottom half of the walls, and then painted all the walls. We picked a paint color to go with the ceramic tiles. The bathroom floor was already tiled before "the incident", so we didn't replace them.
And this is what the bathroom looked like after that:
BEFORE - Whole room view from door
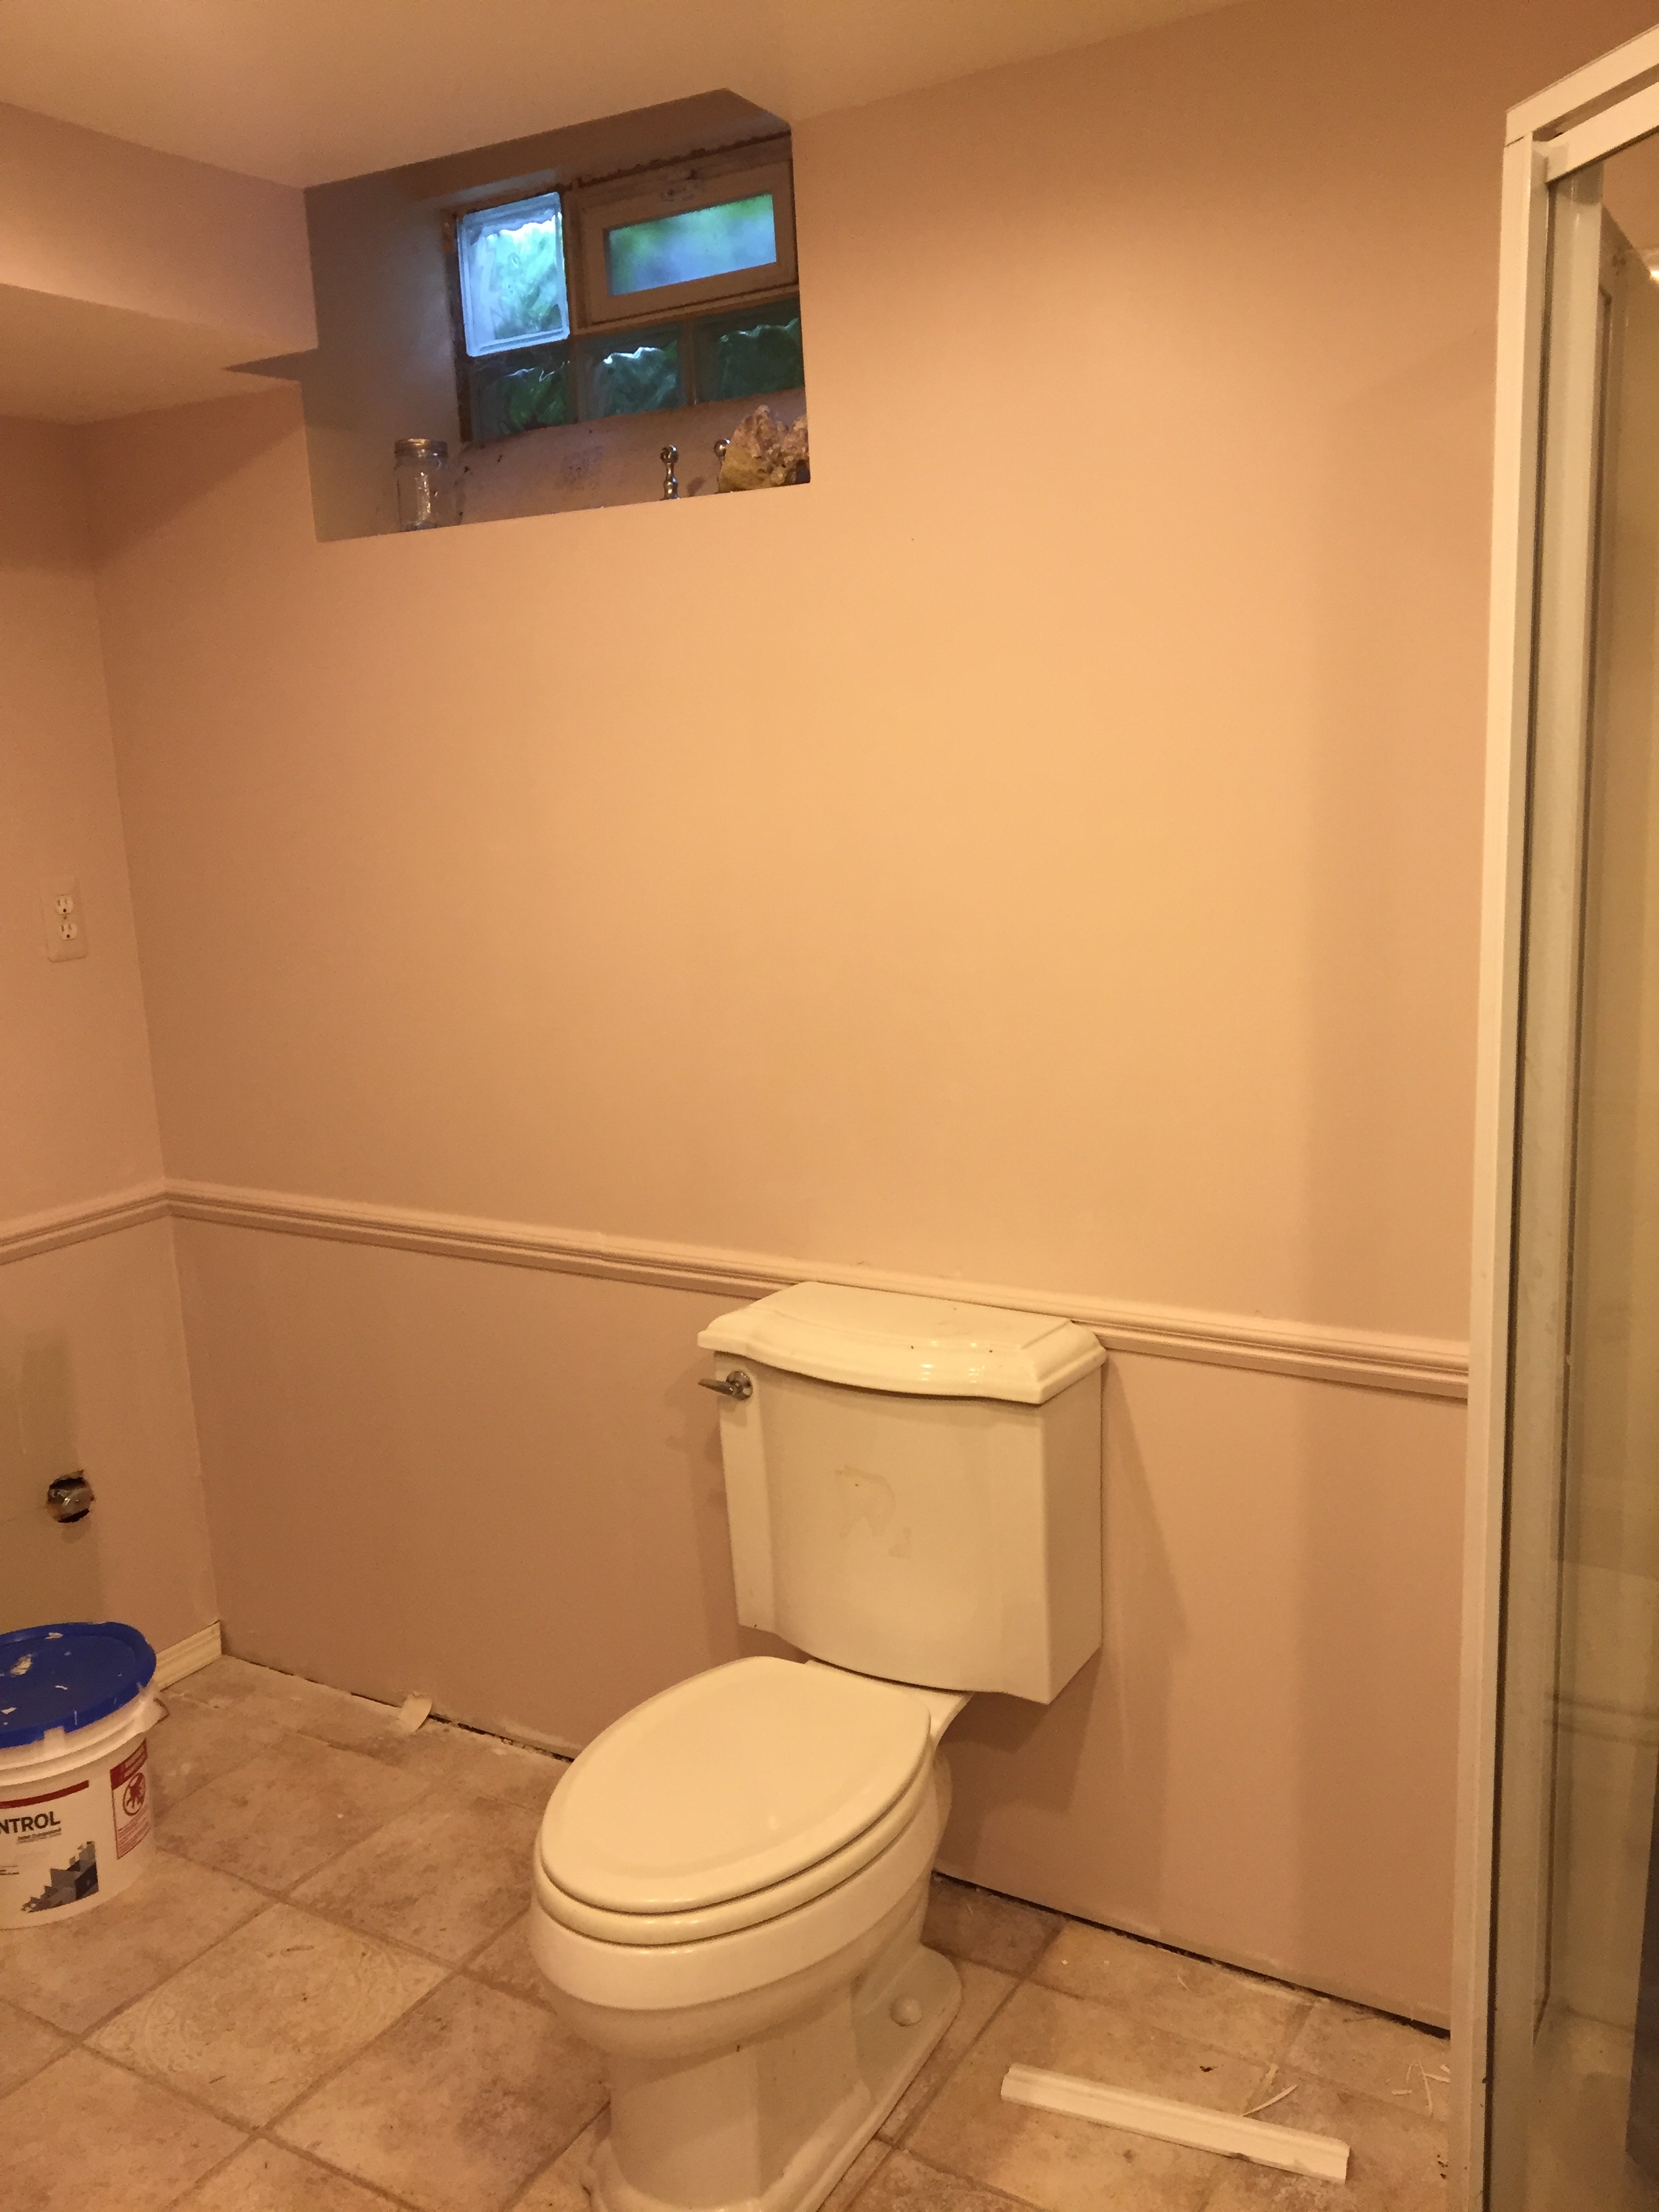
BEFORE - view from the door, looking right
Second step, get a vanity. I didn't want some standard big box store vanity. I REALLY wanted to get a vintage mid century credenza or dresser and turn it into a vanity. Here are some of the inspiration pictures that I had in mind for our vanity:
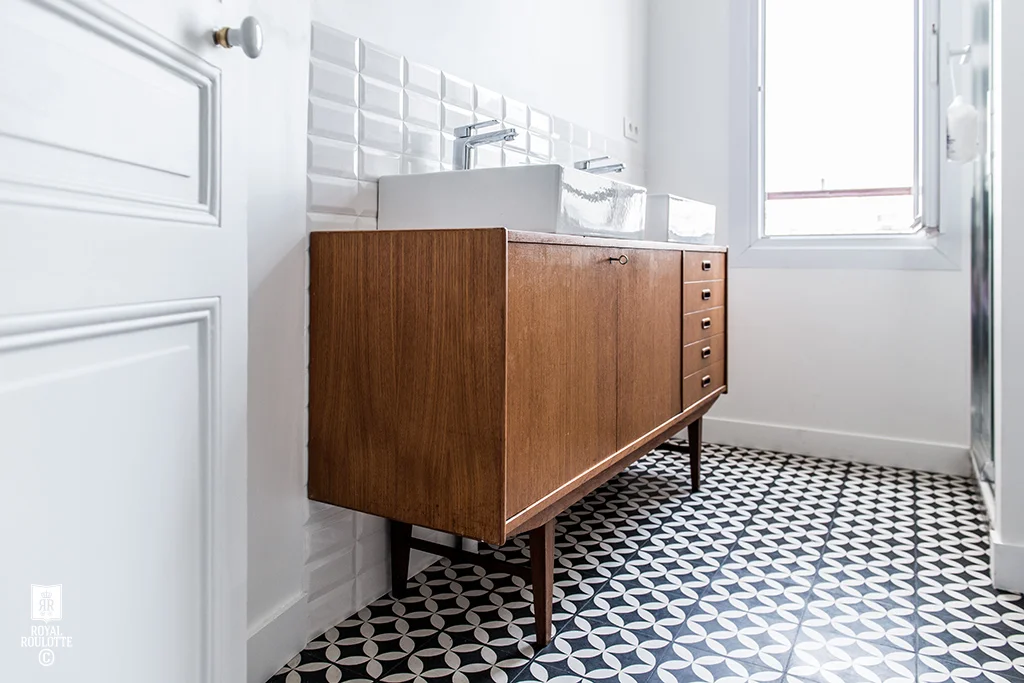
Gorgeous. And, I want that tiled floor! And those beveled subway tiles!
from Royal Roulotte
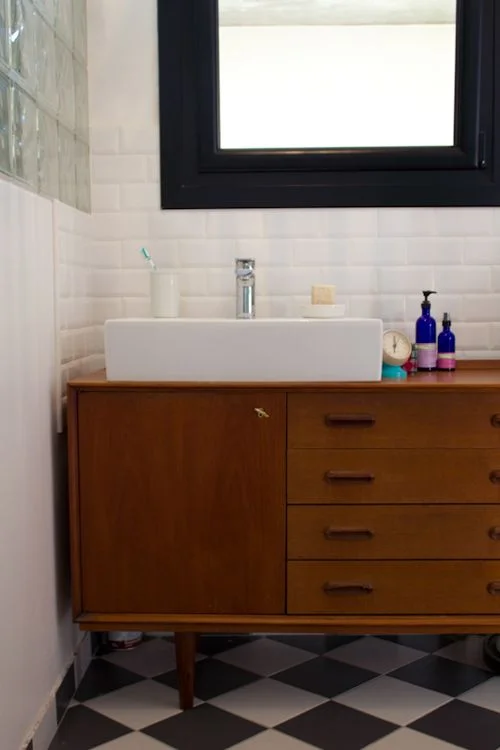
Love this credenza! And, again, more beveled subway tile!
So, I started my hunt......
Did I find a credenza? Read part 2 to find out! A real cliffhanger, I know :)