
So, this has been a long time in the making….and it’s finally done! Yay!!!!!!!!!!!
My daughter Meena is almost 4 now, and hasn’t had a completed room up until now (cue the violins….). Let’s take a stroll down memory lane, shall we? This room used to be our master bedroom. We had her crib in here with us when she was a baby, squished in next to our bed. Personally, I LOVED having her share our room. If I could keep these kids tiny forever, I would. And sleeping right next to me? Yes, yes, and forever, yes! Well, our son, who is older, has always had his own room (though he slept in ours for the first almost 3 years) because before you have your first kid, you have tons of time for things like, you know, getting a room all ready for the kid. So, when she was like 2 ½, I started to feel pretty guilty (yay…mom guilt….) that she didn’t have her own room, and she was about that age where she started to notice she didn’t have her own room and he did. So…..the night before Mother’s Day last year, I let my husband know that for Mother’s Day (which was the next morning), I wanted Meena to have her own room, and us to have our own room. So, since it was for that most holy of holy holidays, he couldn’t say no. So, late at night, we moved our bed into our unheated addition (that’s a long story for another post), along with other furniture, and left her toddler bed in there….with some other furniture. And, even though I wanted to cry (cuz I was going to miss my little roomie), I made a big deal to Meena about her new “big girl” room. So, she was pretty happy she had a room for herself!
And this is what it looked like (ignore the mess):
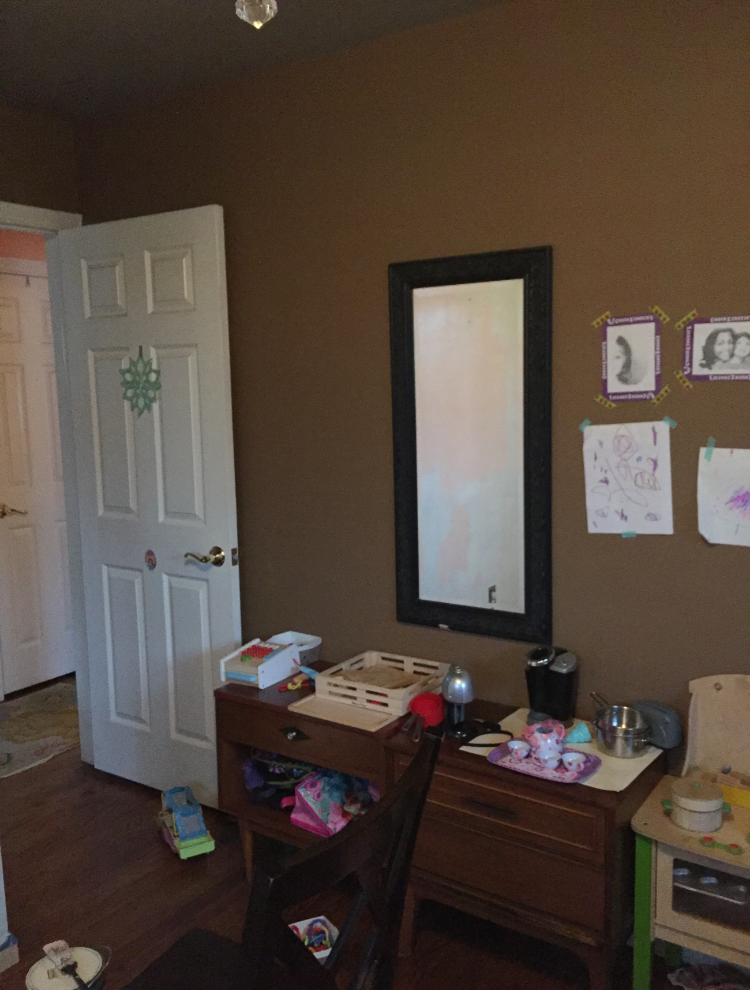


Ummmmm…..yeah…..
So, I won’t say anything too negative about it because I’m very aware of the fact that she’s lucky to have her own room, and we’re lucky to have a home, and all the other blessings in life, so complaining about how something looks is kinda ridiculous….but I will say this…..the room needed a makeover. Compared to my son’s room, this was a cave. And not a cute little girl cave, but like, a cave-cave.
A year passed before the "makeover" began (whatever, I was busy). So, fast-forward to spring of this year.
The first thing: The room color had to go. The brown was depressing. I have wanted to change it for years, but the hubby liked it (no idea why), so we kept it. Now that it was Meena’s room, it had to go. She needed something bright and happy, especially because Michigan falls and winters are so gray and gloomy….and LONG. I asked her what she wanted, and she wanted PINK! She is so my kid! I took her to Home Depot to pick out the color, and we got the NO VOC paint because, duh, I don’t want my kid breathing in a bunch of off-gassing carcinogens (and I didn’t want to breathe them in when I’m painting).
Well, paint was bought. Now I just had to find the time. Ug. If you know me, you know I’m one busy lady (like every mother out there). So, here was the big plan. Paint one wall a week. This worked for 2 weeks. Then months passed. Then another wall got done. Then another couple months. Then, finally, the last wall. Now, this last wall was ANNOYING. I did it on a VERY humid and hot summer day. Like, it had been raining like a mother for days. Well, one afternoon, after dropping the kiddos off at my parents’ house, I had 2-3 hours to finish this. So, I got to work, opened some windows for ventilation, finished it just in time to run out to my car and pick up the kids by the time I said I would. Well….when I came back, I went to see how that wall was….and this is what I found:
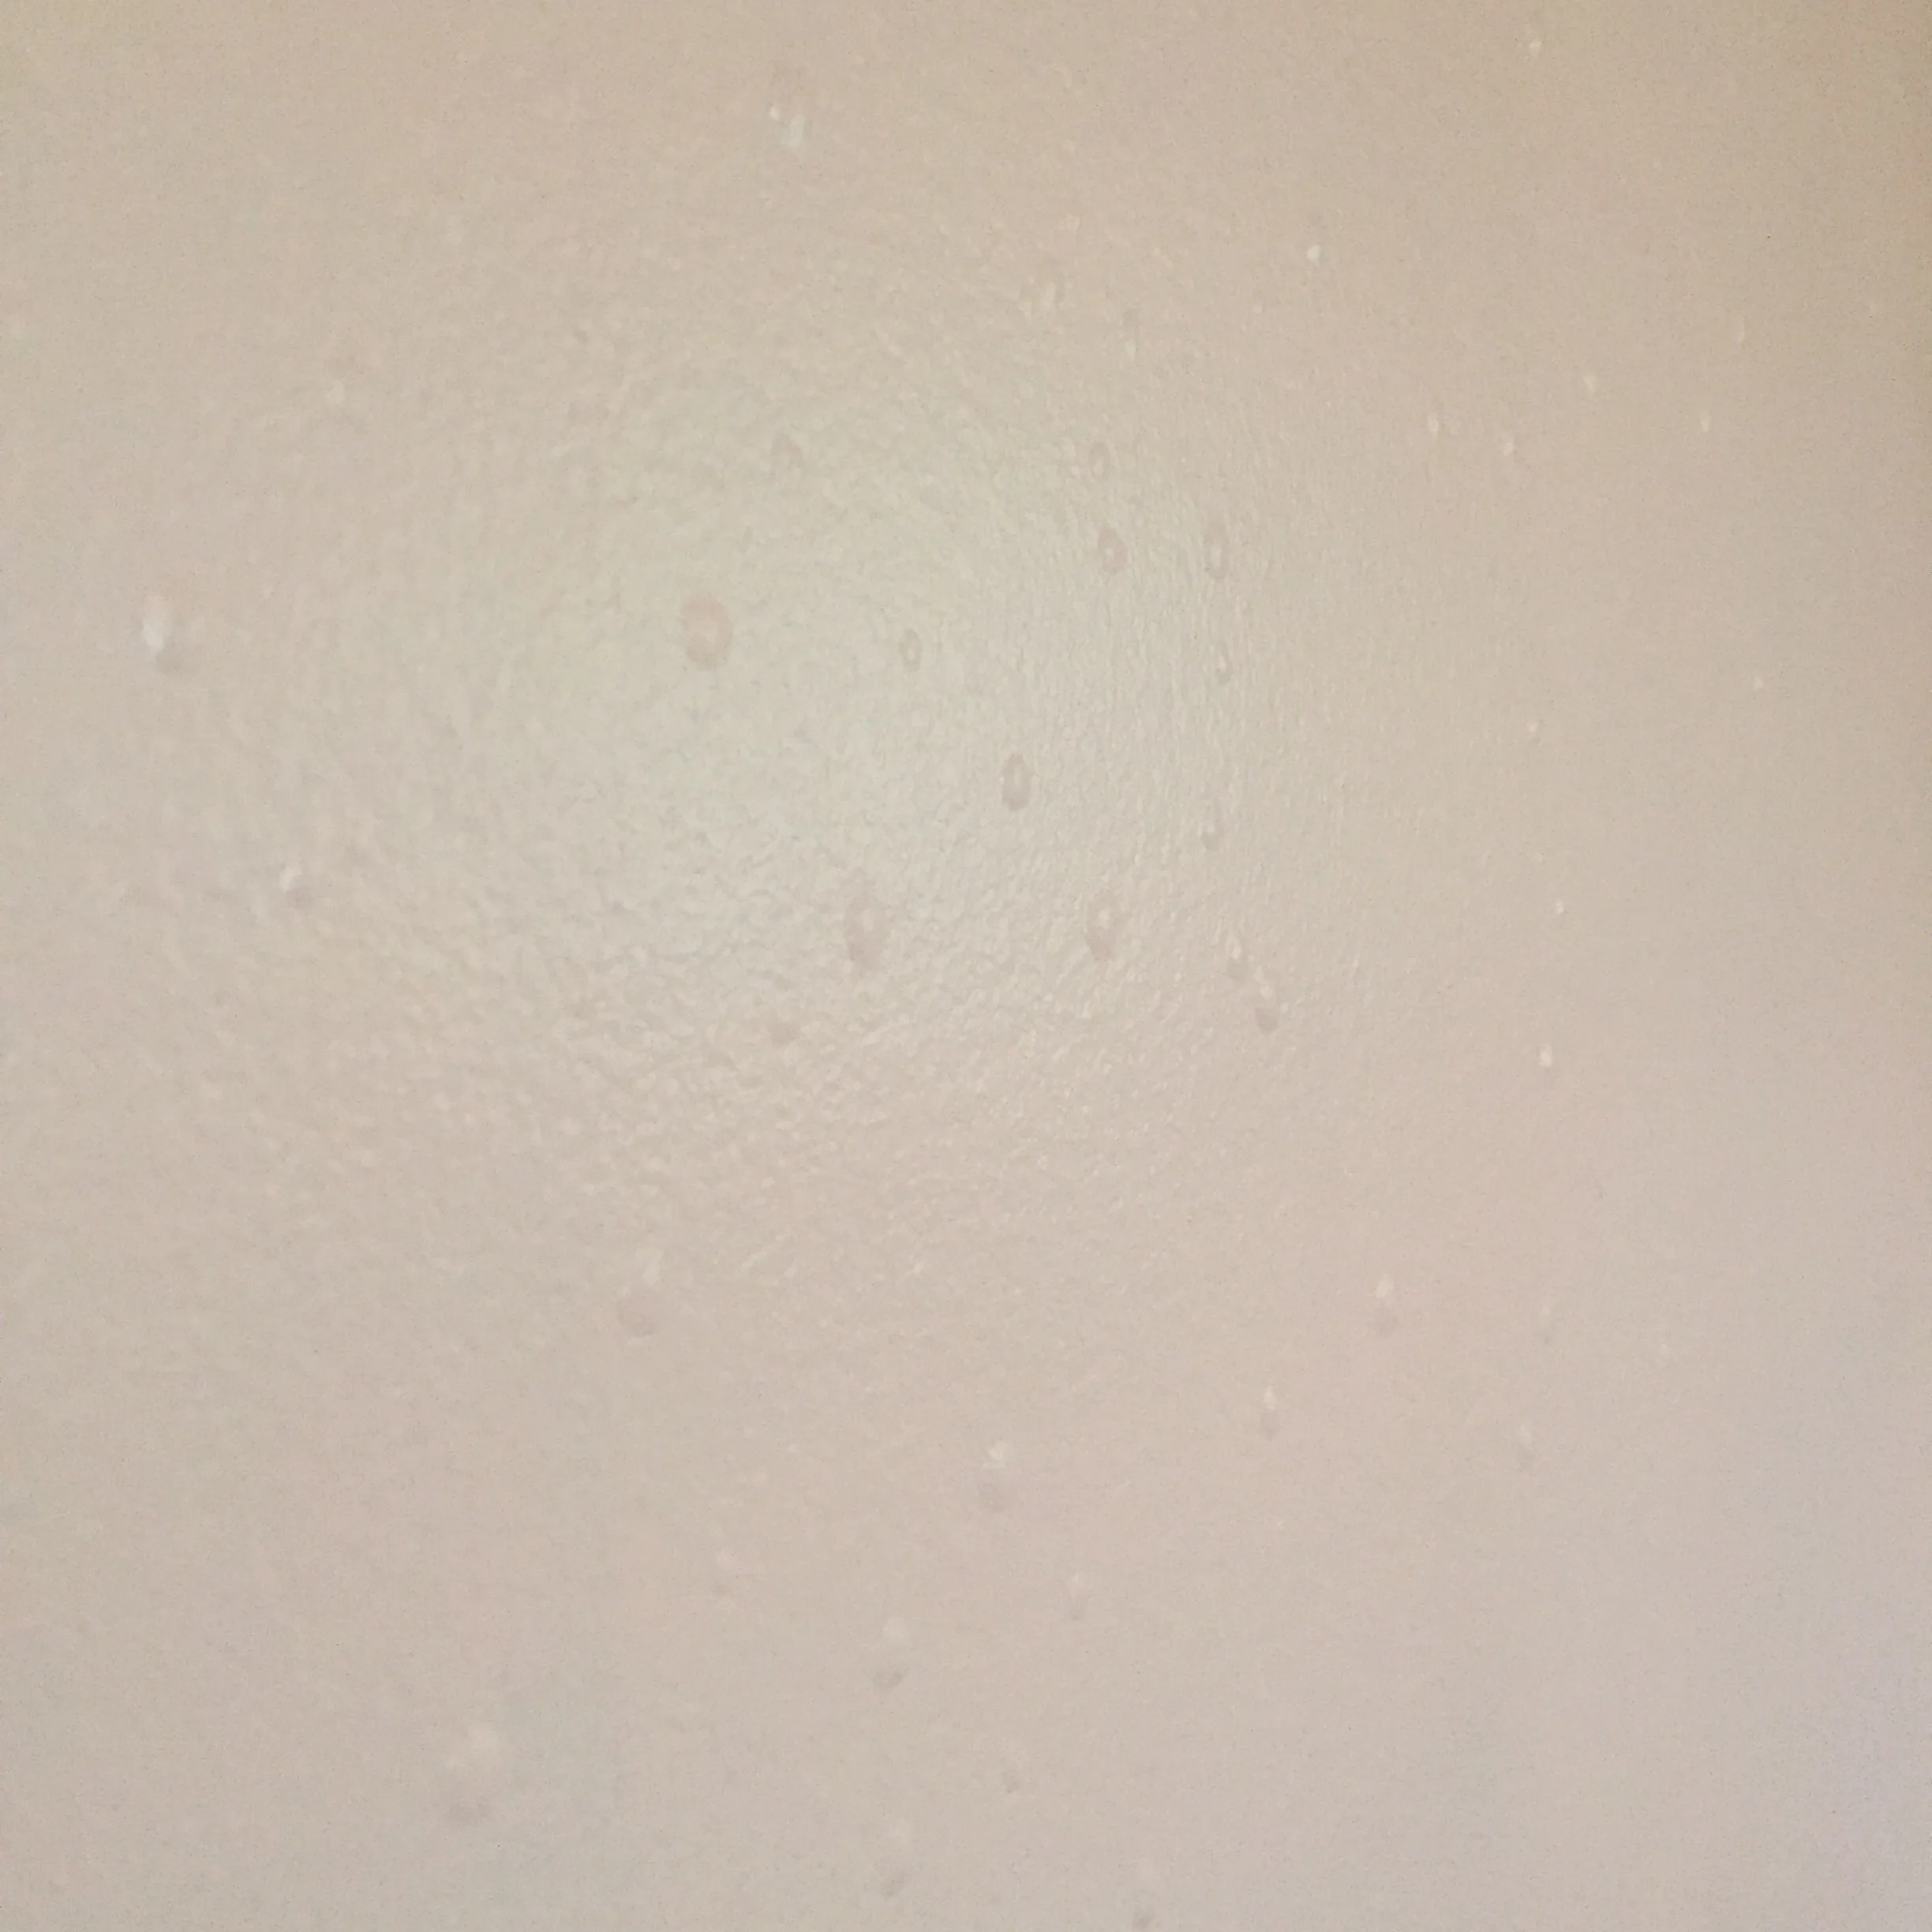
You probably can't tell because of the pale paint color, but look closely, and you'll see lots of bubbles. This is a closeup of just a small part of the wall. Now multiply that by a gazillion.
What….the….frick n’ frack?! …………………….. Bubbles…..everywhere…..like, there were LITERALLY over a thousand all over that wall. Possibly two thousand…..
So, I got on the computer and asked the Google what causes paint to bubble…heat….humidity….UG!!!!!!!!!!!!!
Solution (from the Google and Sherwin-Williams): Scrape the whole thing, sand, re-paint…..Are you kidding me?!?!?! &^%*$*%&@(&*%&^$$&^%&^%$@%%&!!!!!!!
Solution (from me): Take a safety pin and pop every single one of those bubbles by hand and then smush them into the wall with my fingers (because the paint was still tacky enough to stick back to the wall, in my opinion at least).
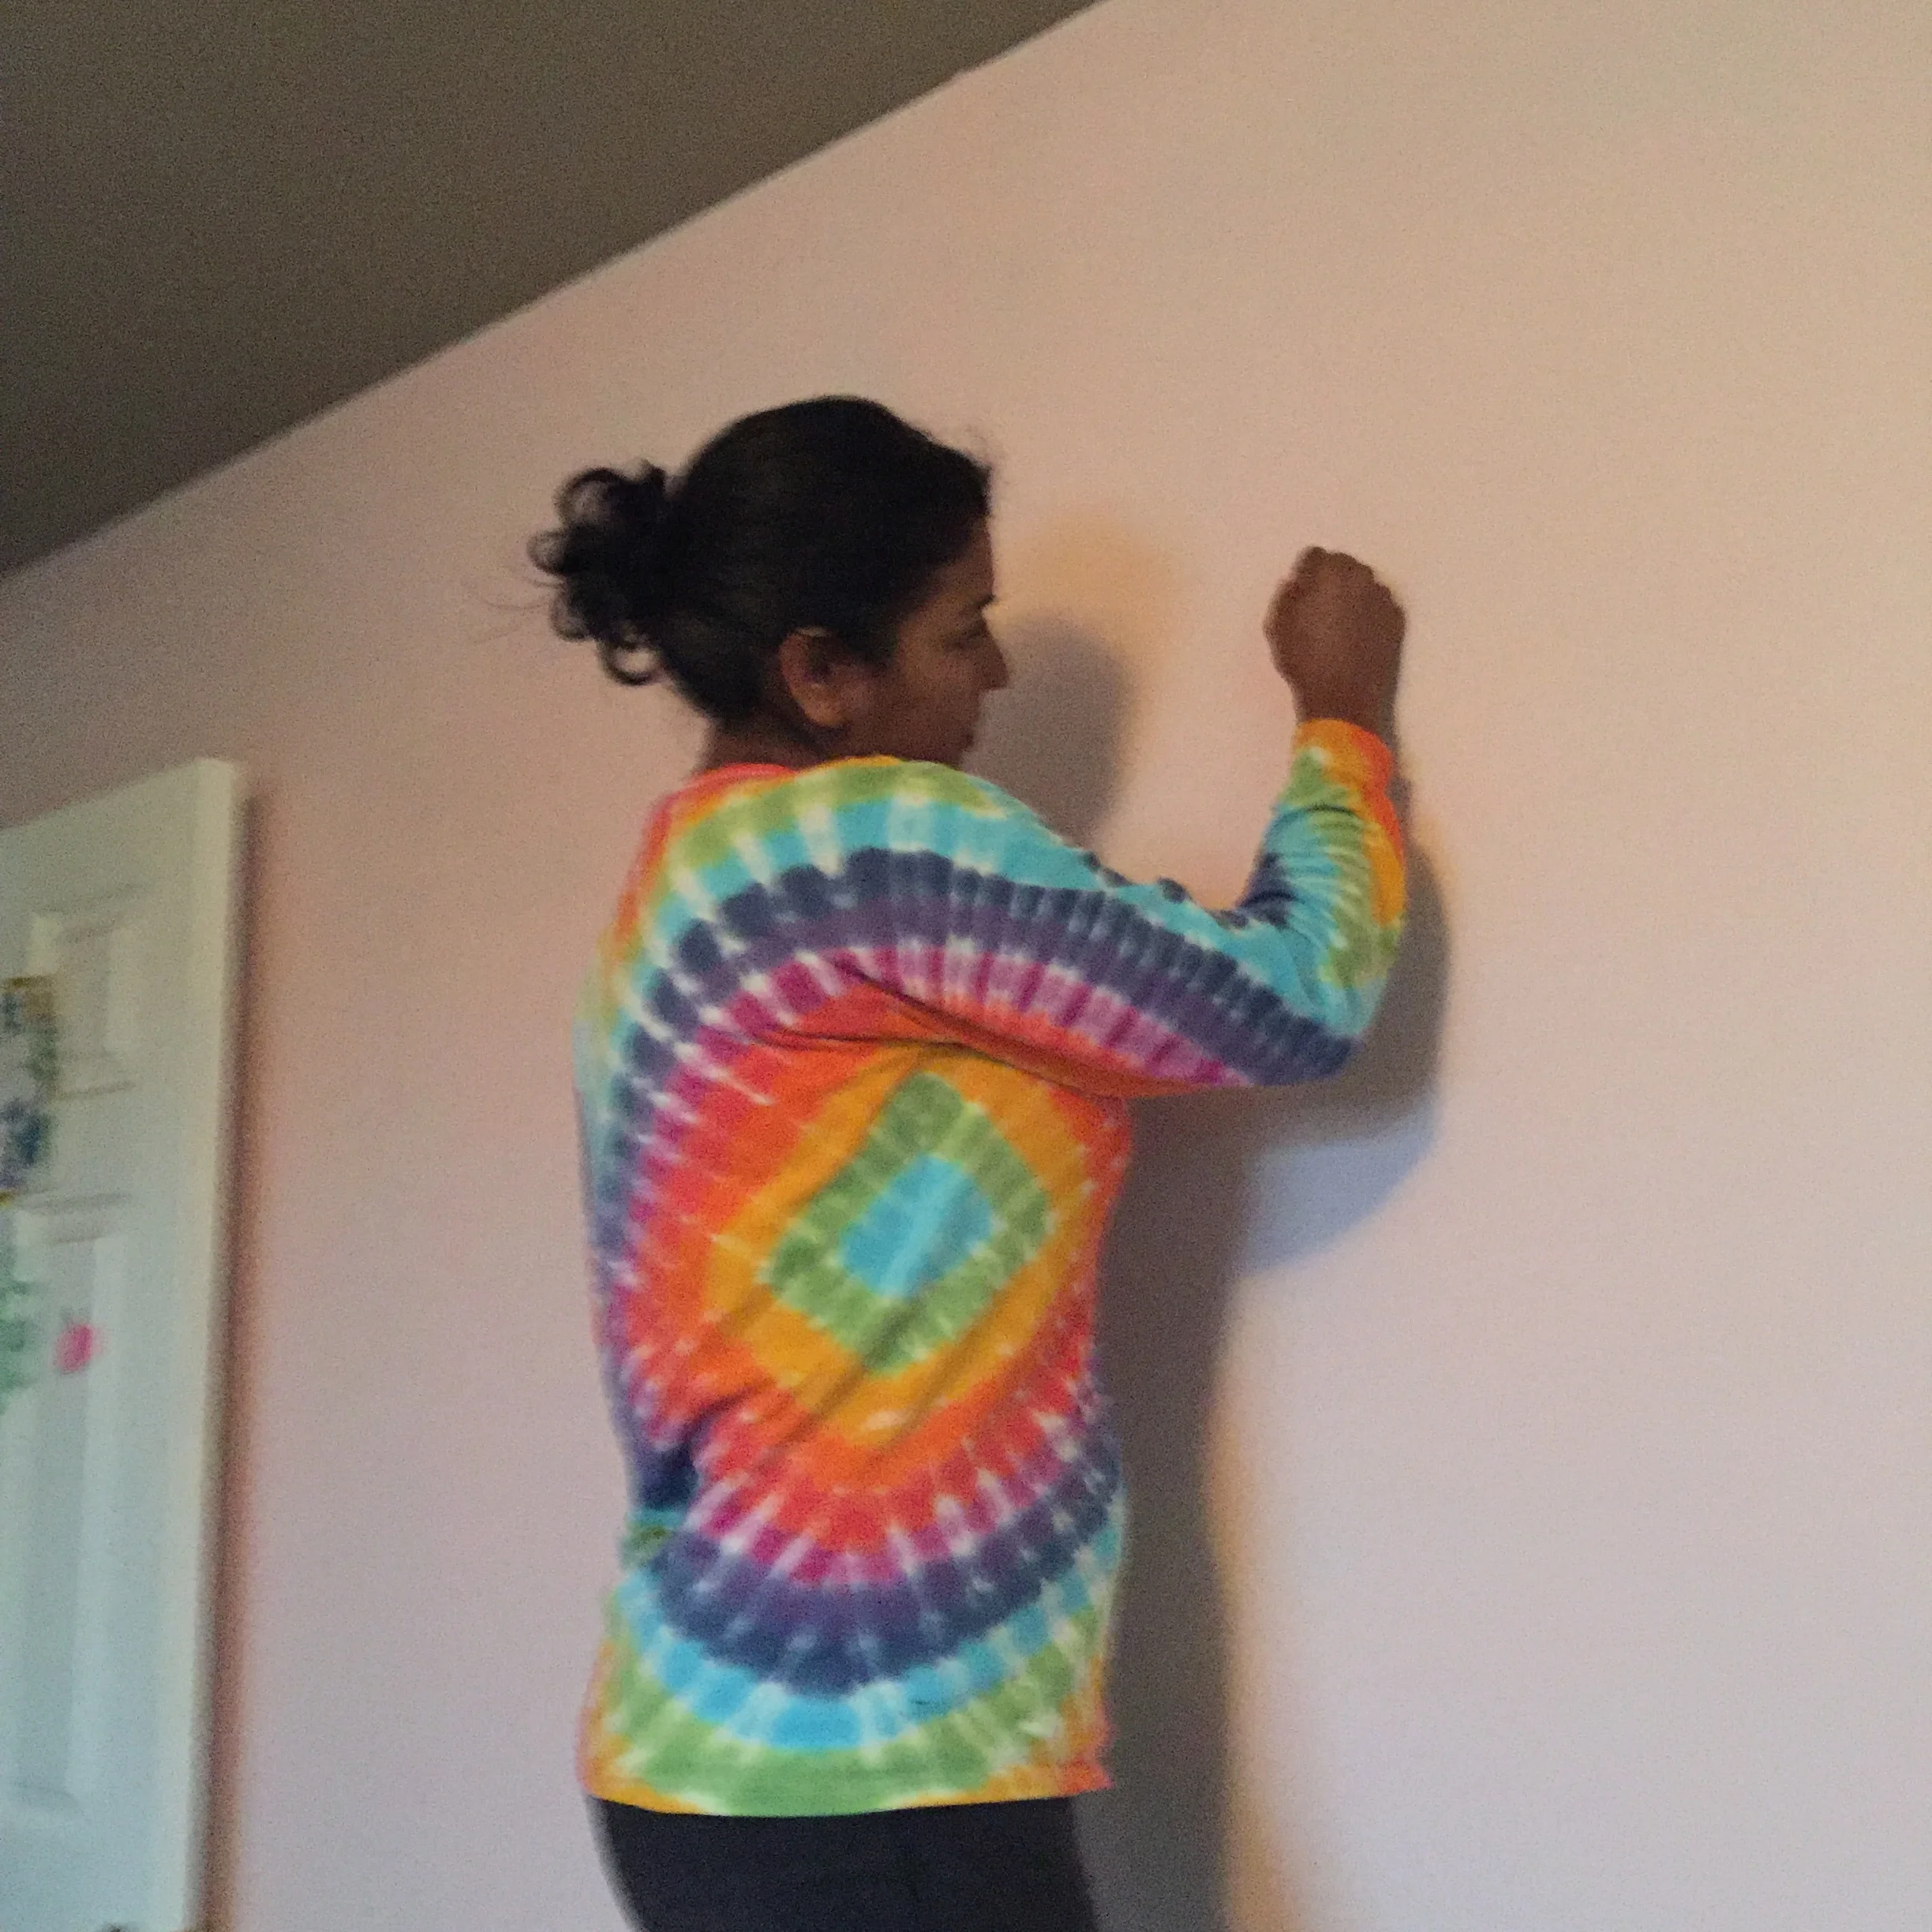
Do you love how blurry this shot is? This is the work of my 6 year old. :)
About an hour or two later, the wall looked like it had never bubbled. Yippee! I’m a genius!
Next: Paint that black mirror a fun color, decorate and style that room (and, by style that room, I mean, clean it up), sit back and enjoy the room!
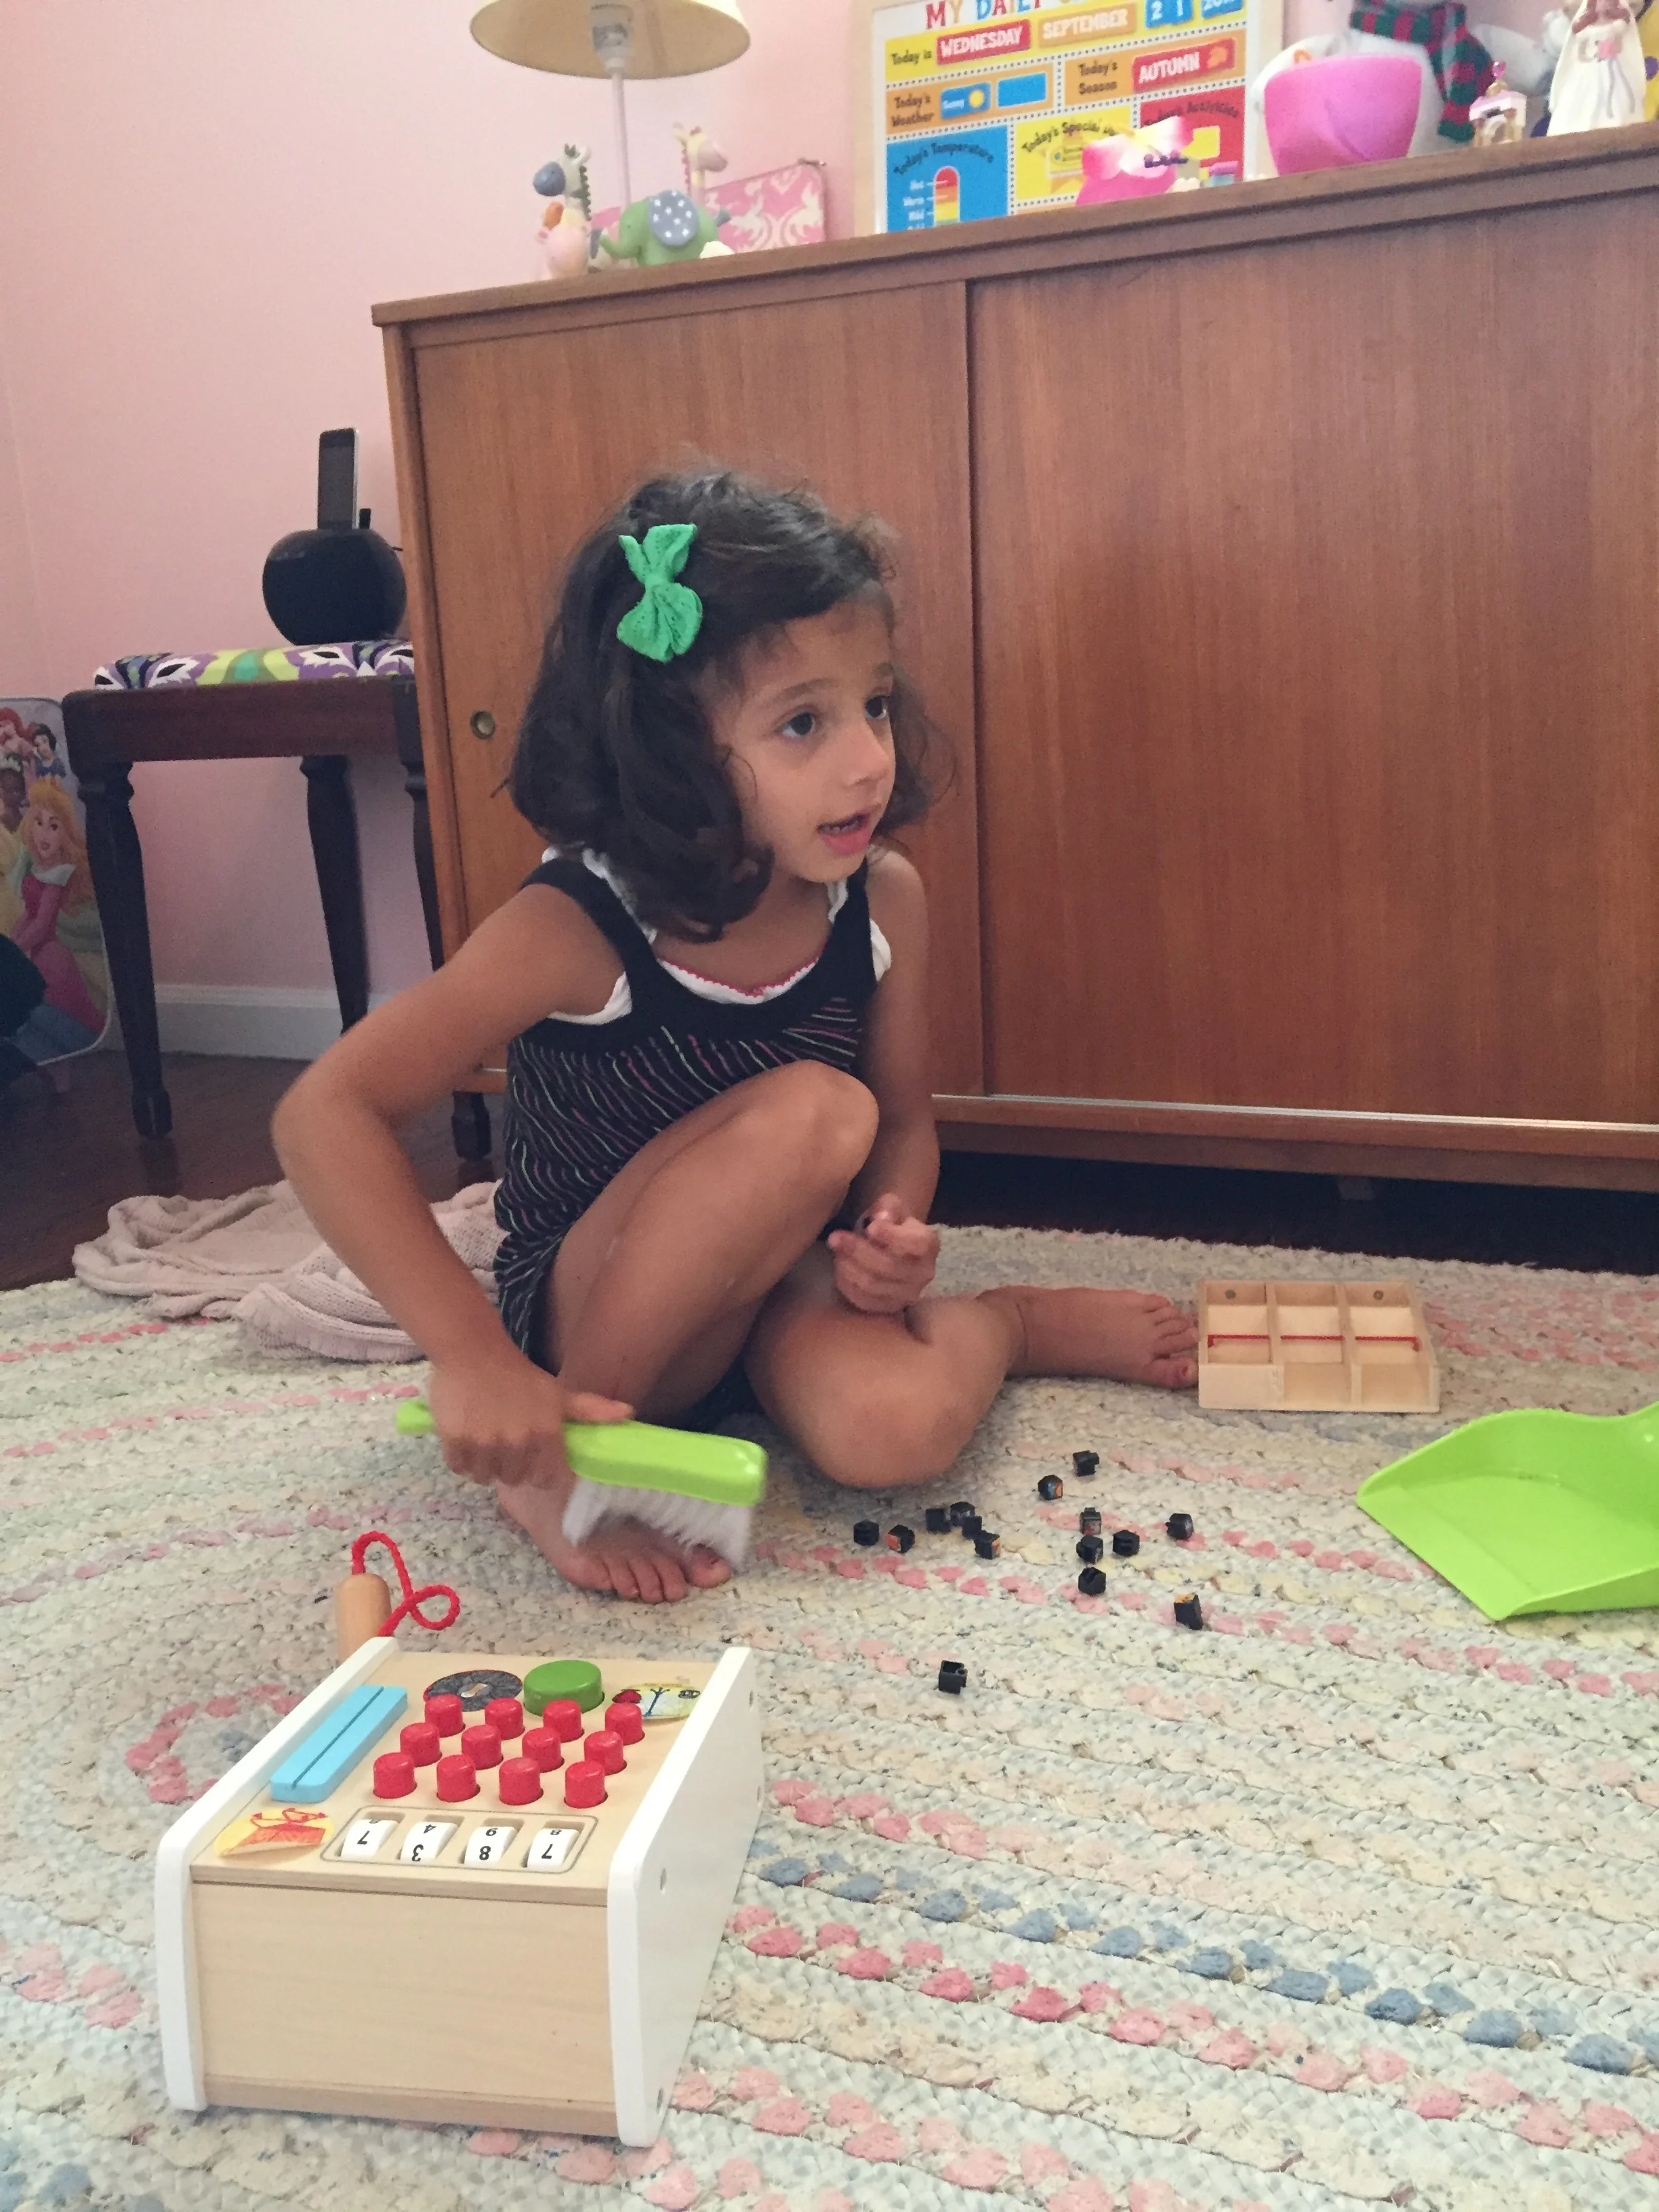
Everything is down to her level, so there is nothing in the room that is out of her reach and she can be completely independent in there. I really tried to make it so that everything was perfect for her size (per the Montessori methods).
I also included sources on everything so you can see that it doesn't cost a lot to put a kid's room together. The paint was probably the most expensive thing.
See the final results below:
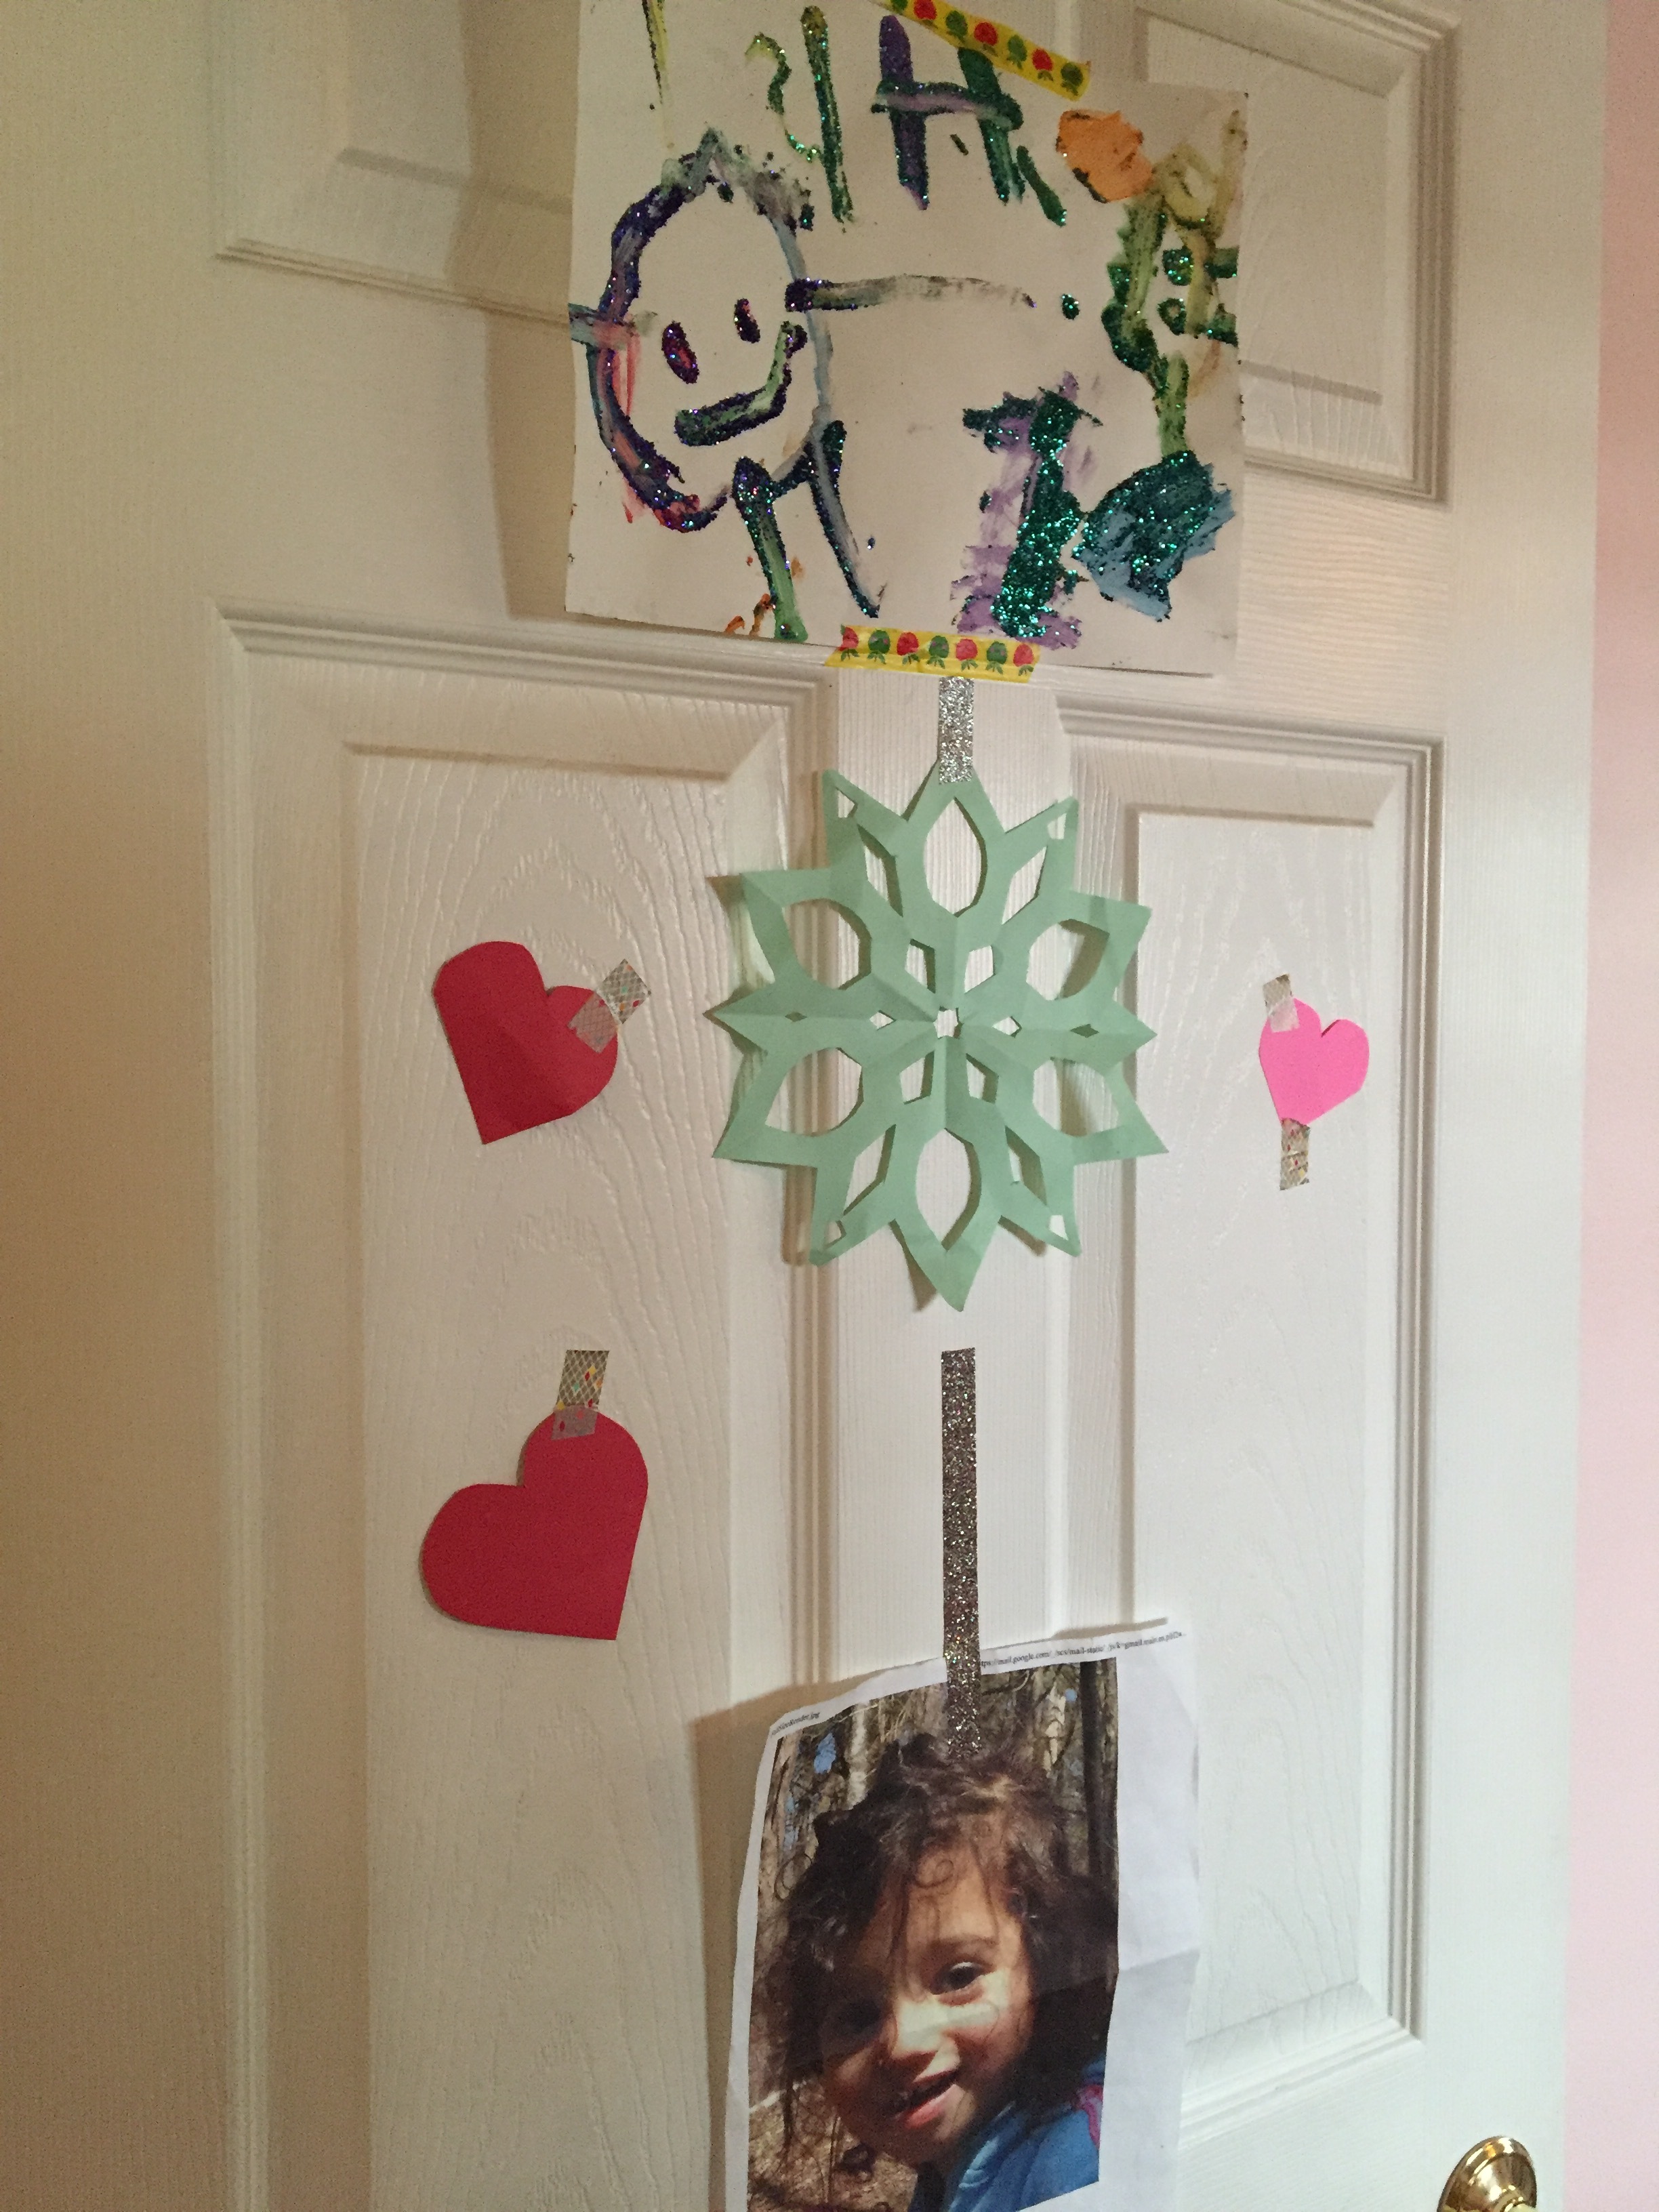
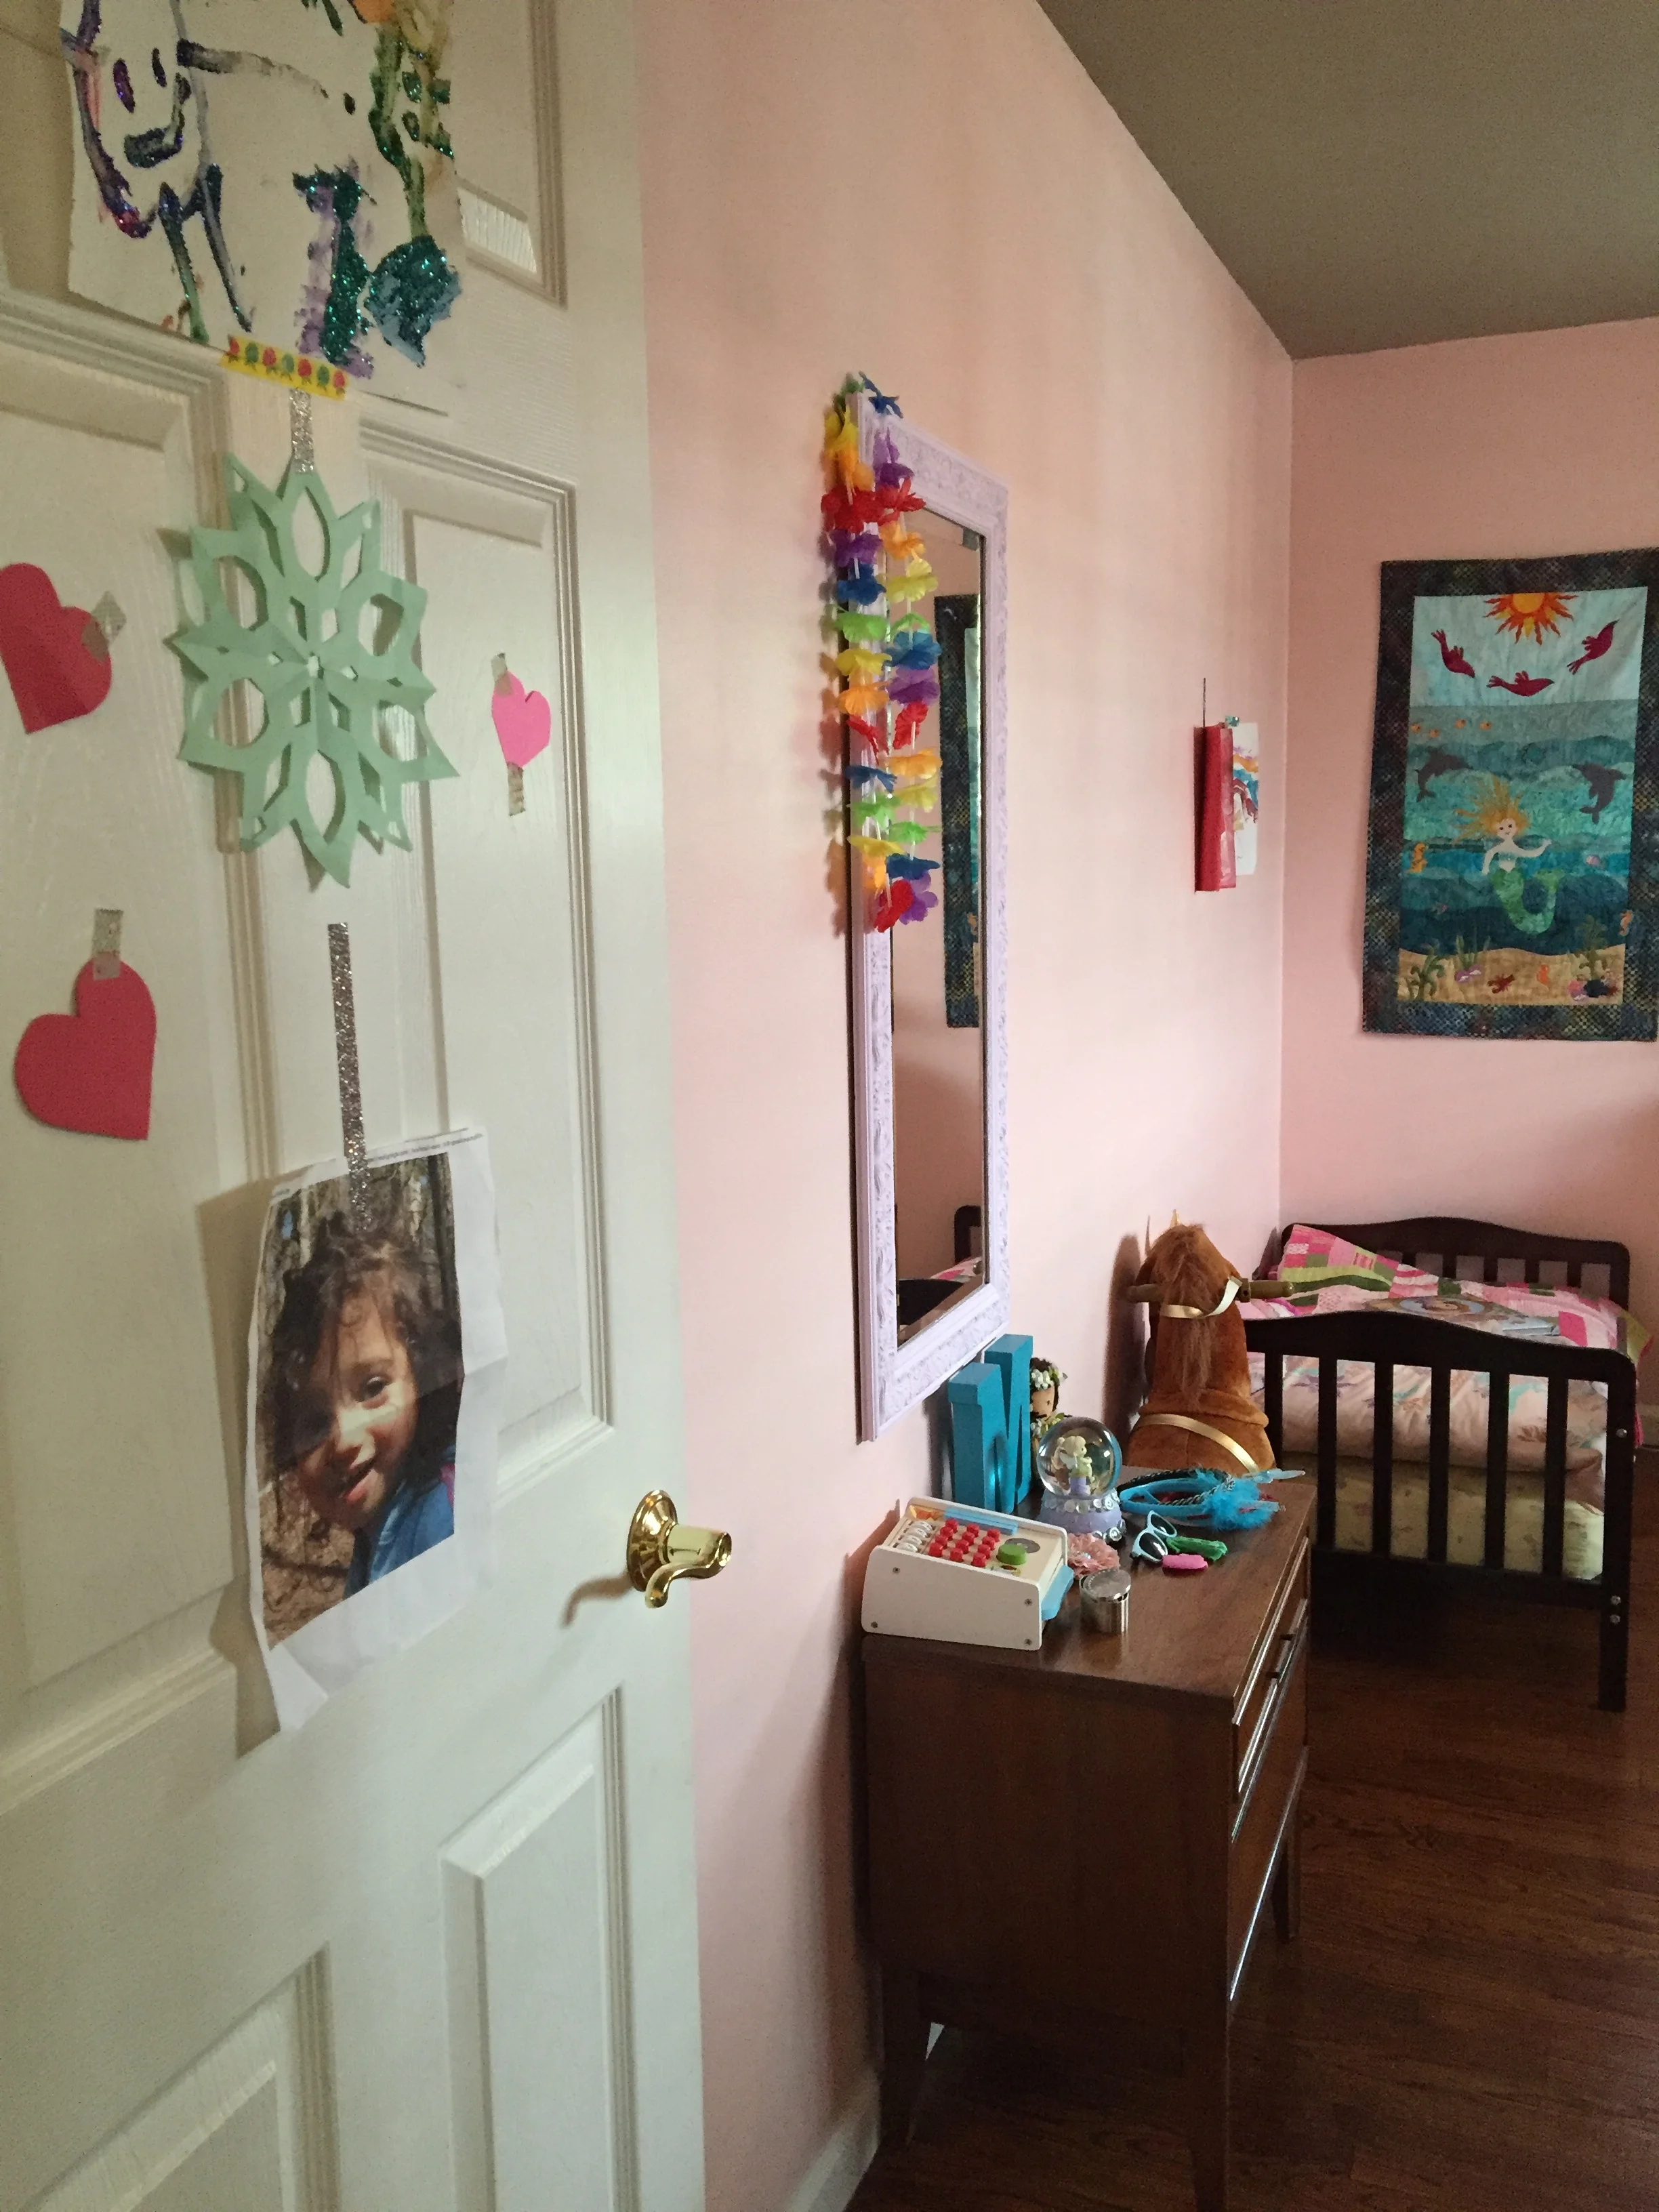
Meena's Door: We put up whatever she wants on that door, so she gets to do all the decorating. Everything is stuck on with washi tape, which is the BEST thing you can have when it comes to decorating a kid's room.
Welcome!
"Let's do a lap before we commit to a location." If you can guess what movie that line is from, you get a million awesome points in my book. Hint: One of the best movies of the 90s.
So, when you walk in, obviously everything is painted pink now. Almost everything. This little wall to the right when you walk in is the only part that is still the original chocolate color. That's because I'm still deciding what I want to do with it. It may be wallpapered or painted; still deciding.
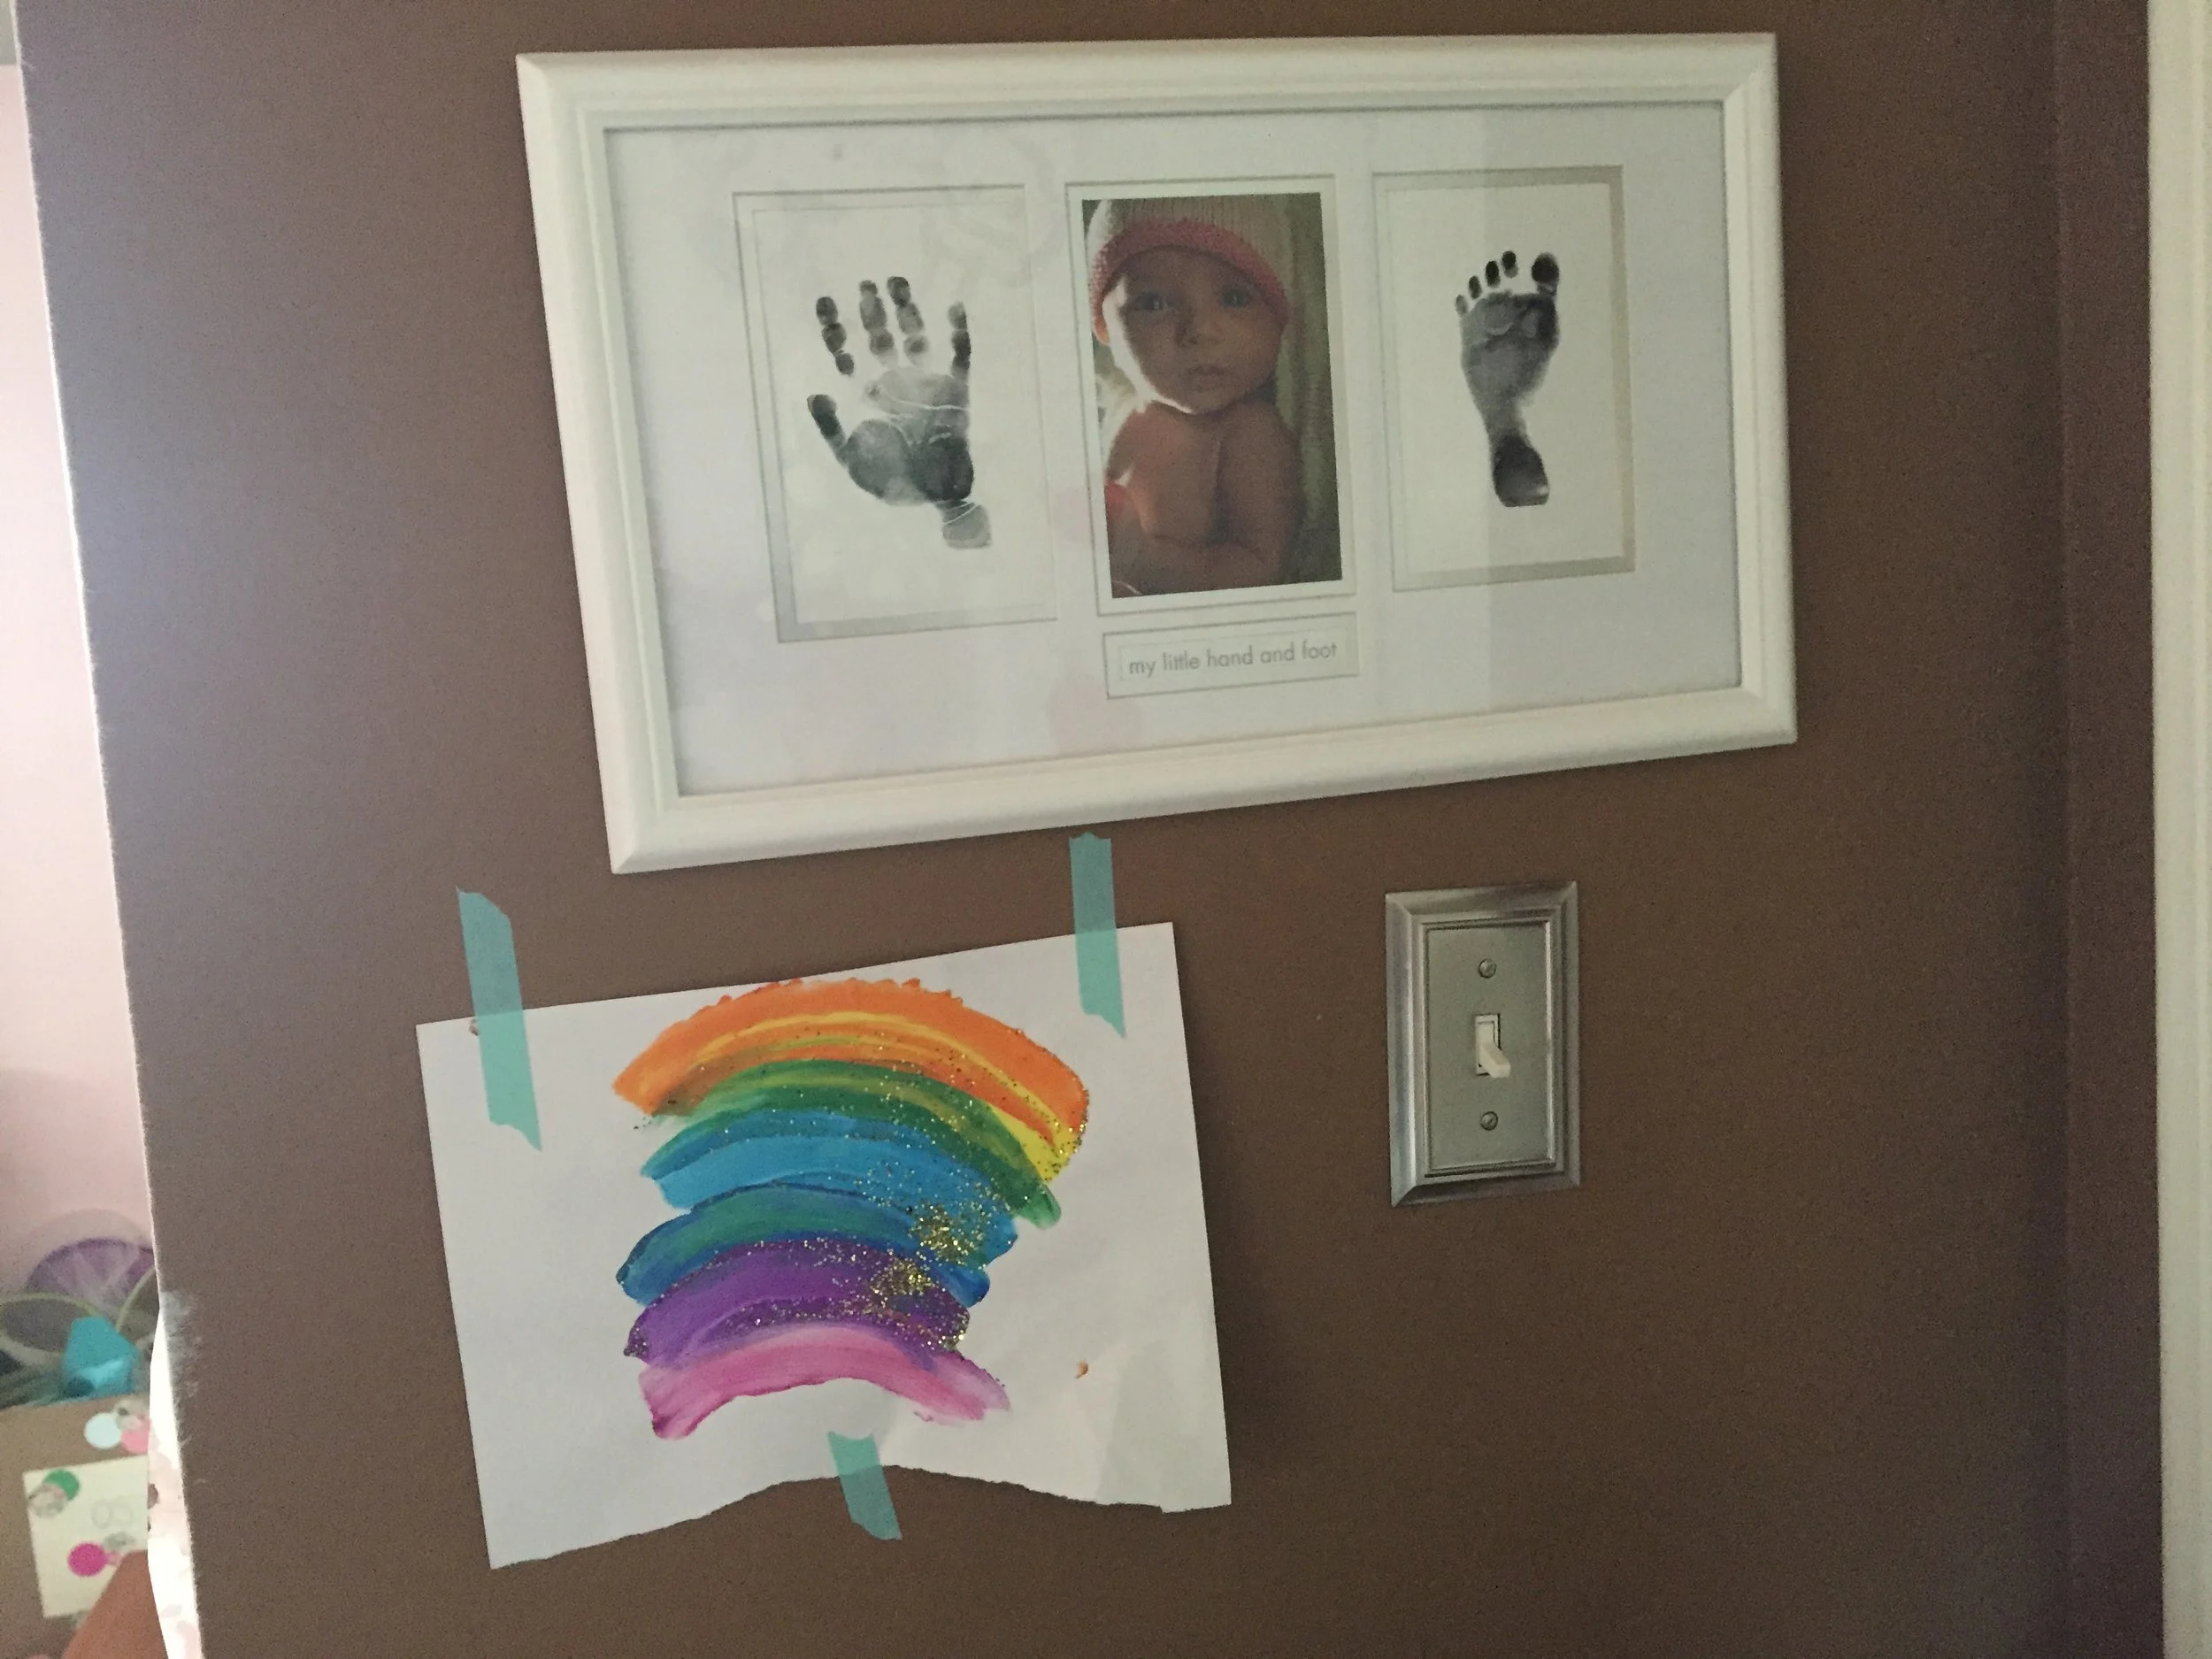
Meena's baby pic and hand/footprint. Frame gifted from my sister-in-law. Art by Meena.
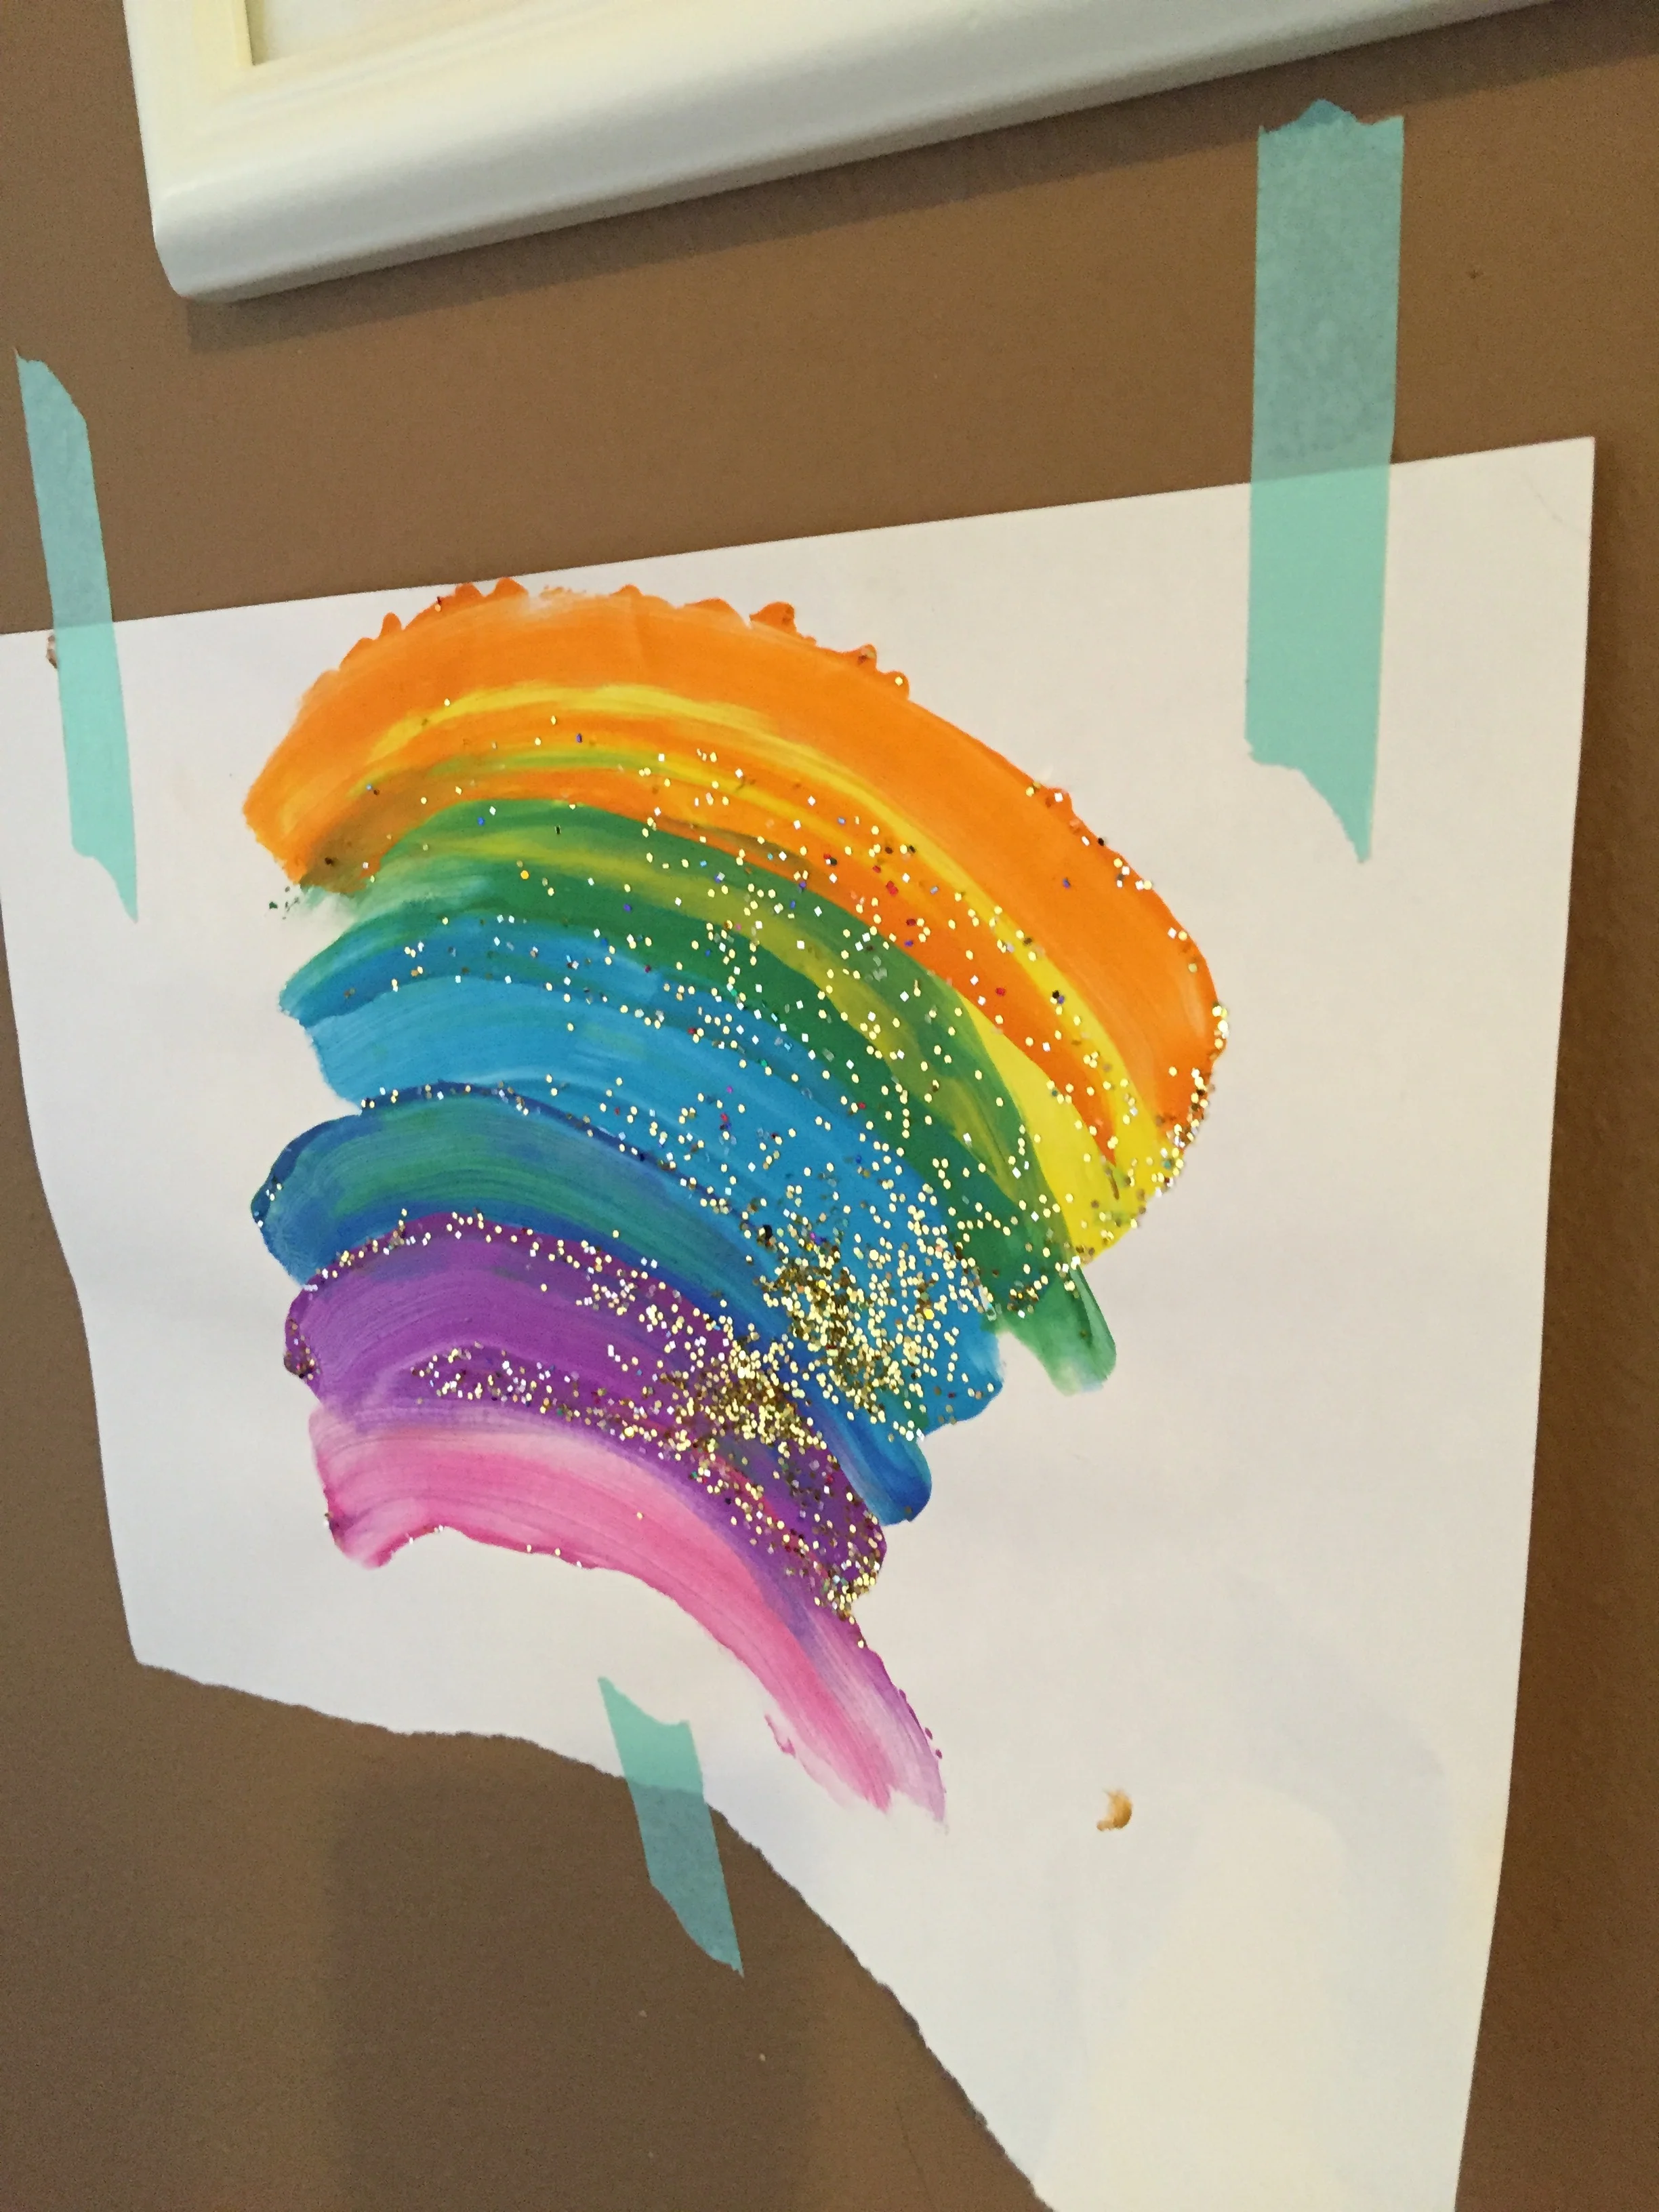
Rainbows + Glitter = Awesome.

Walking straight in.....
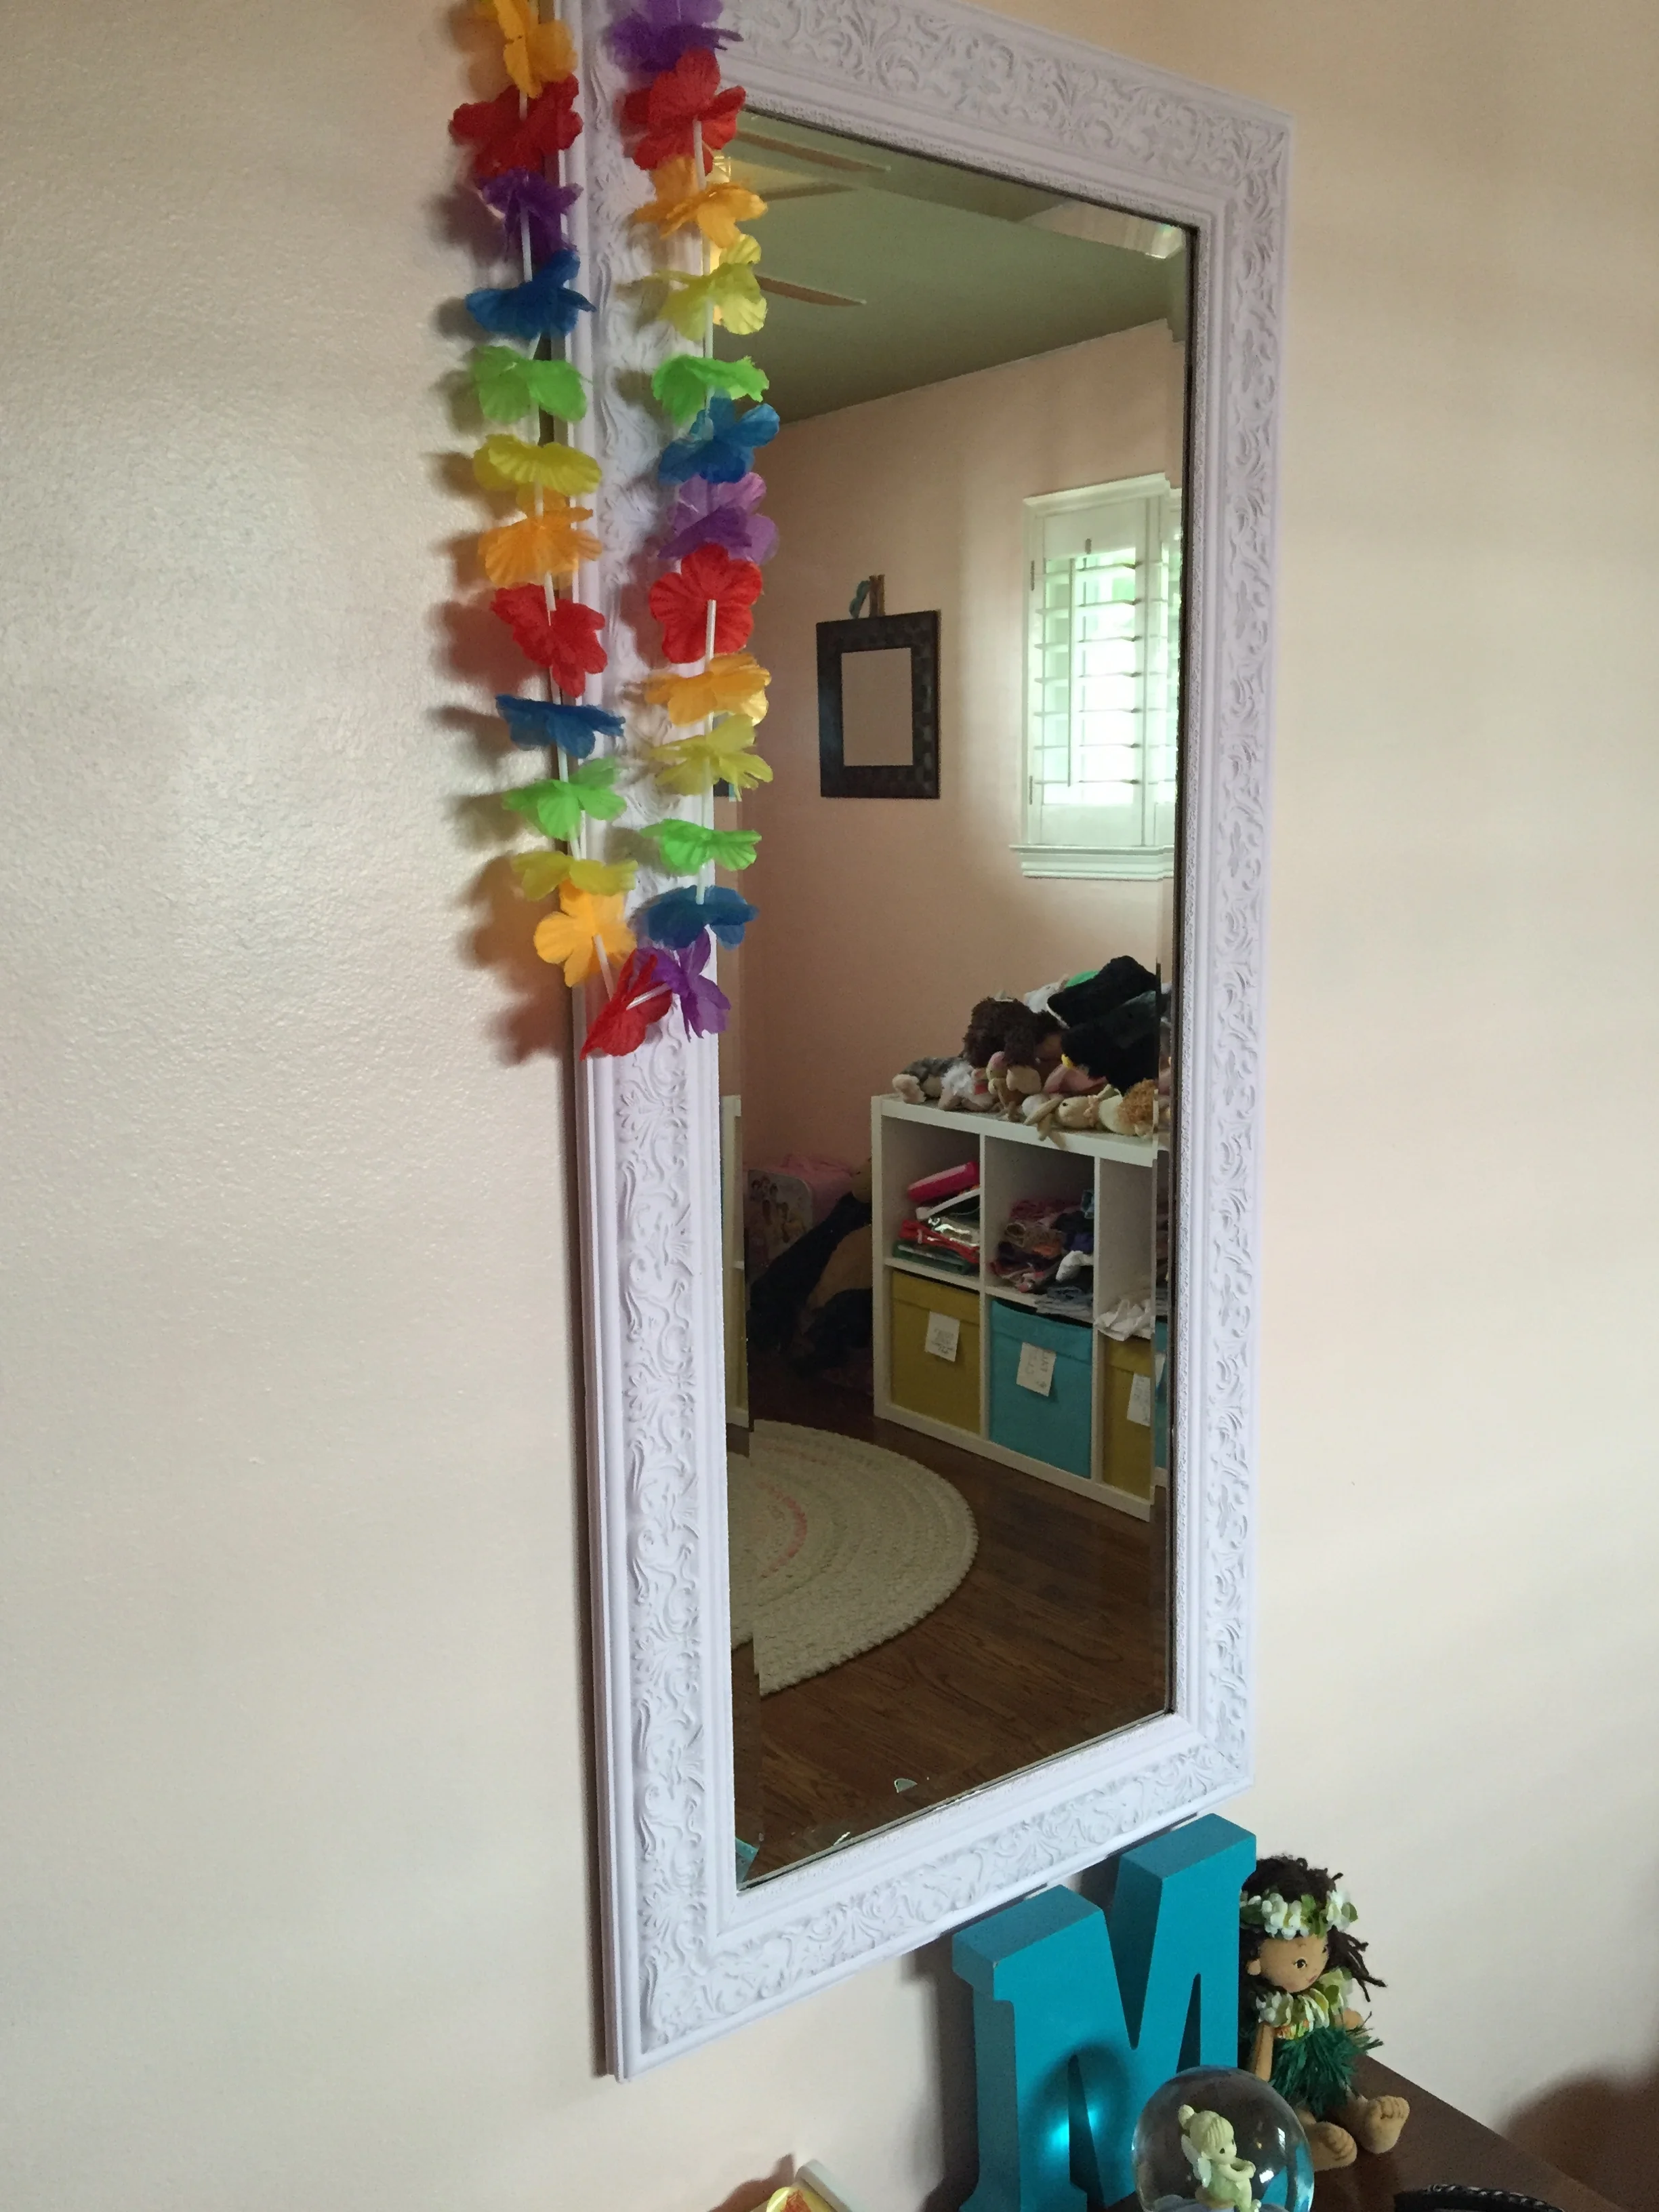
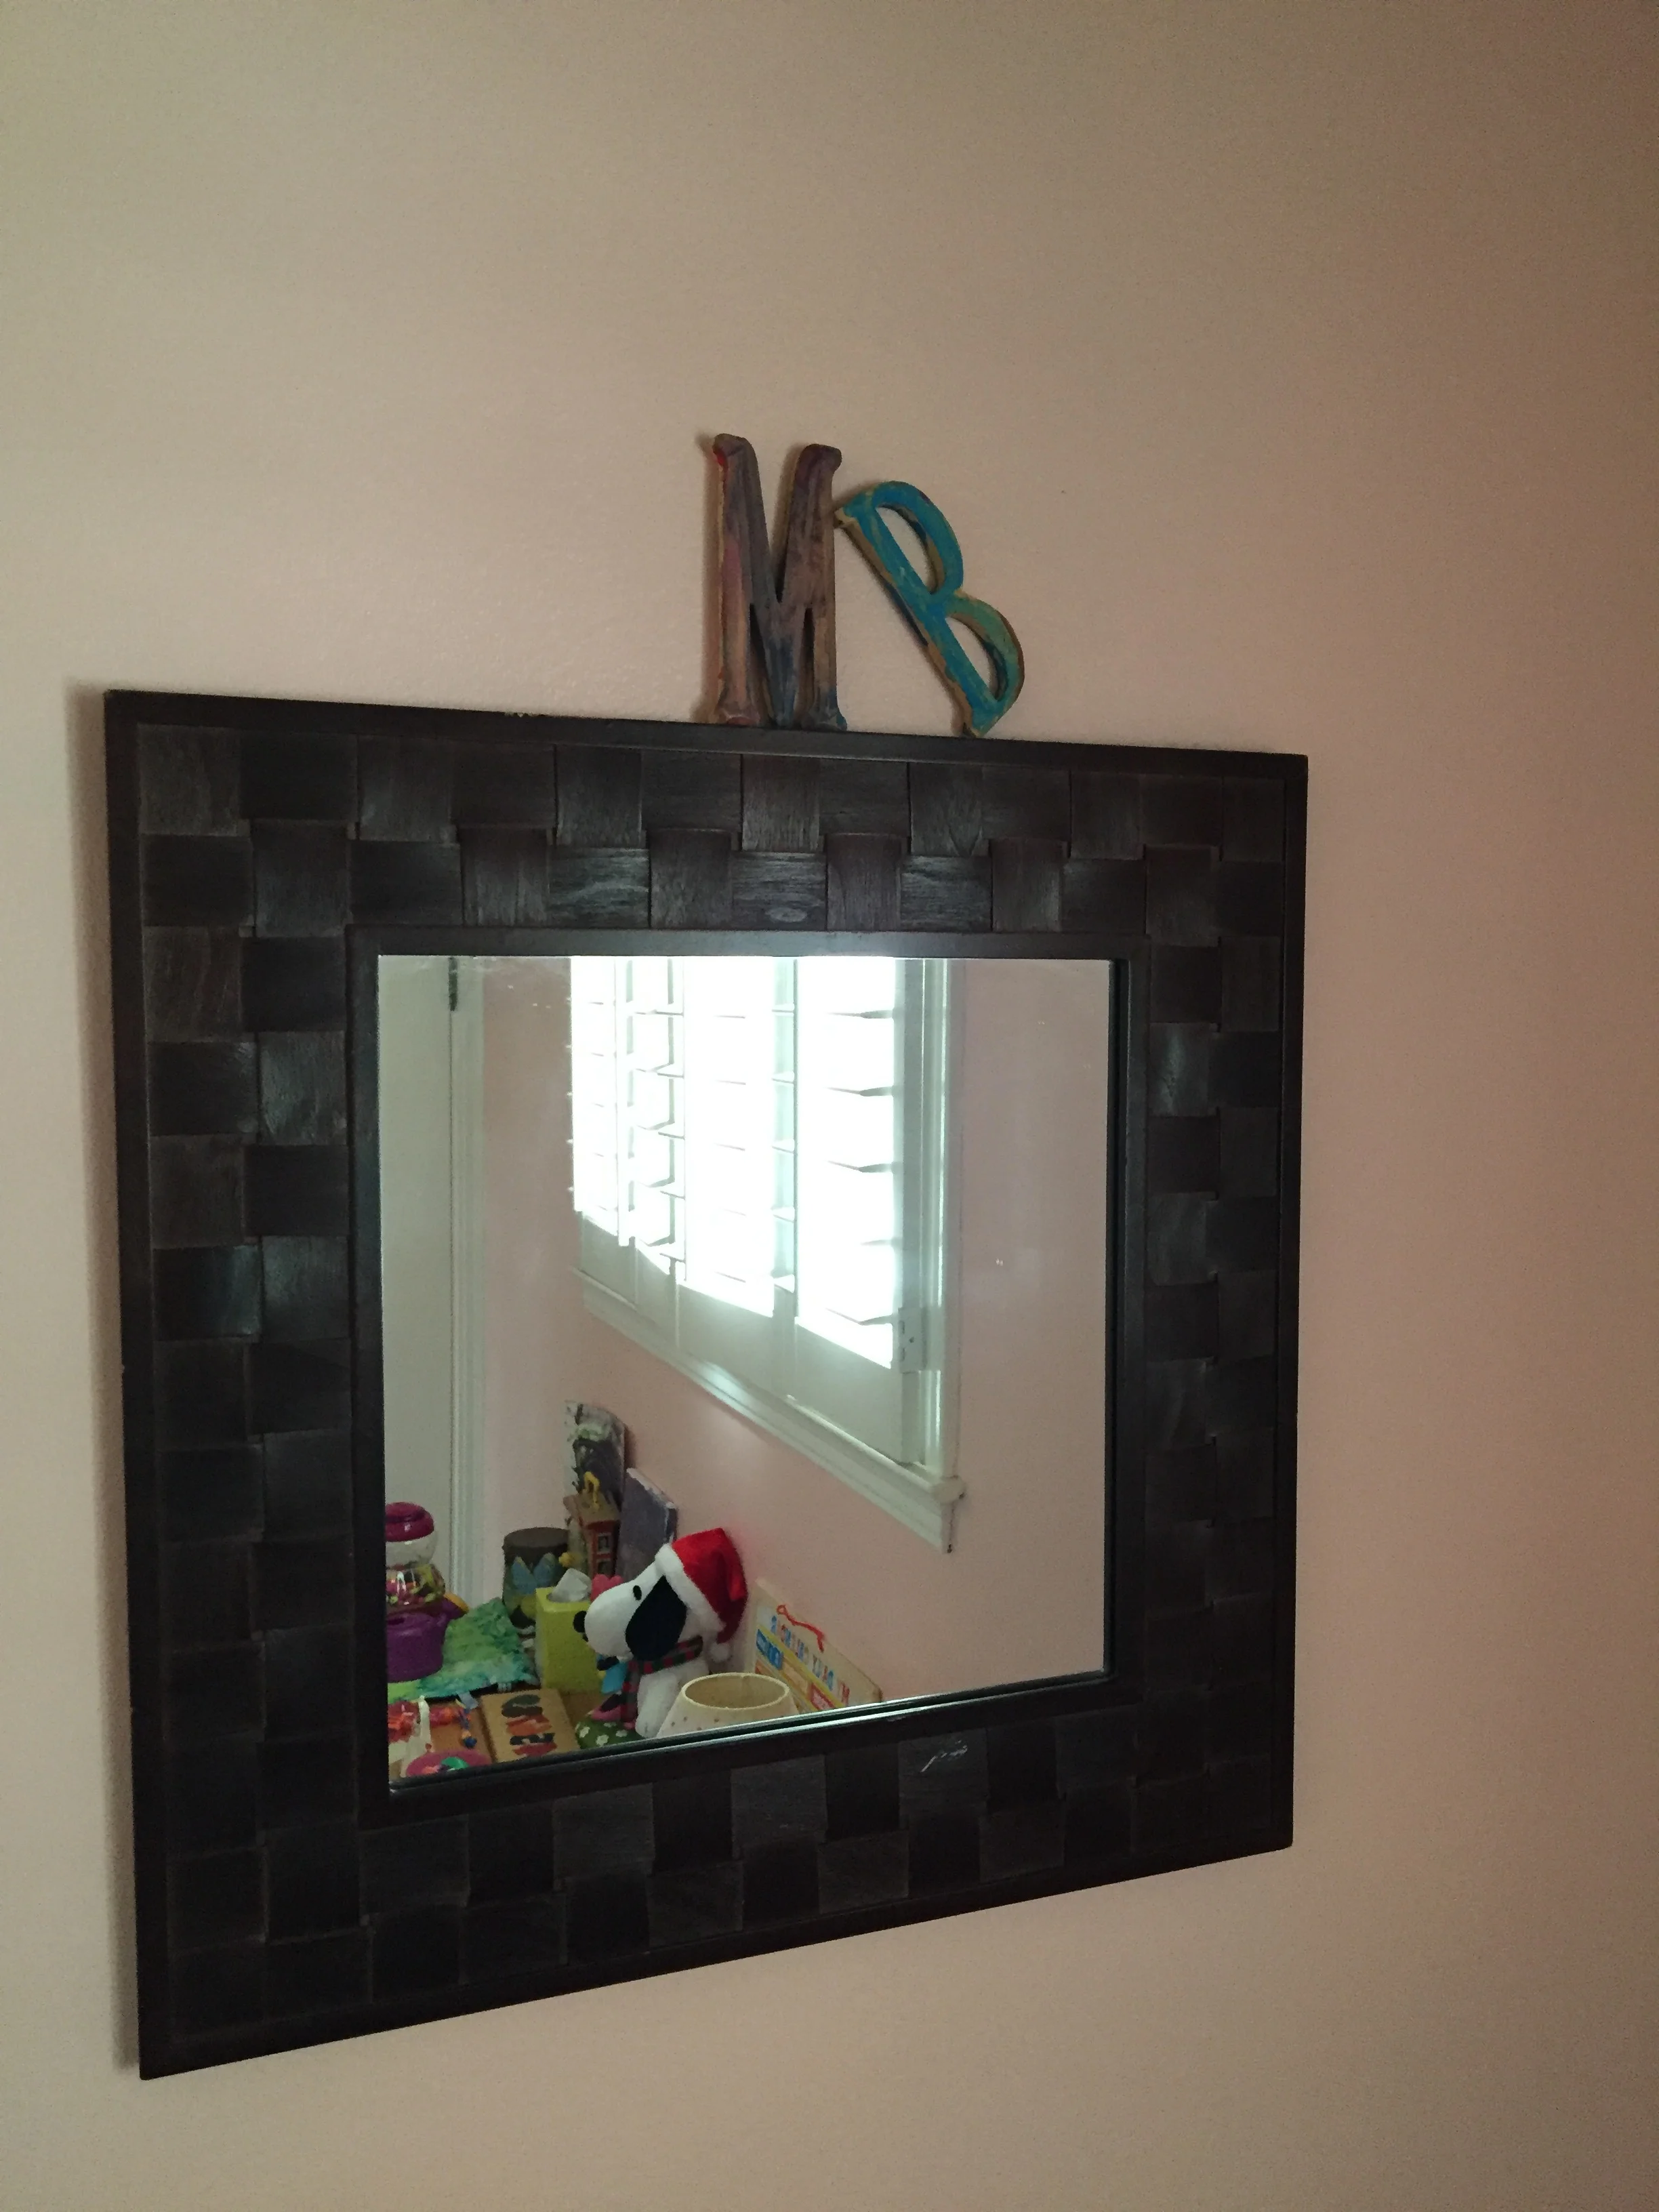
On the left is the formerly black mirror that was in the before pictures. Meena can check herself out in this mirror before school in the morning ;)
Mirror: Belonged to my hubby before we got married (I think. Otherwise, it just appeared out of thin air and we've been using it ever since.)
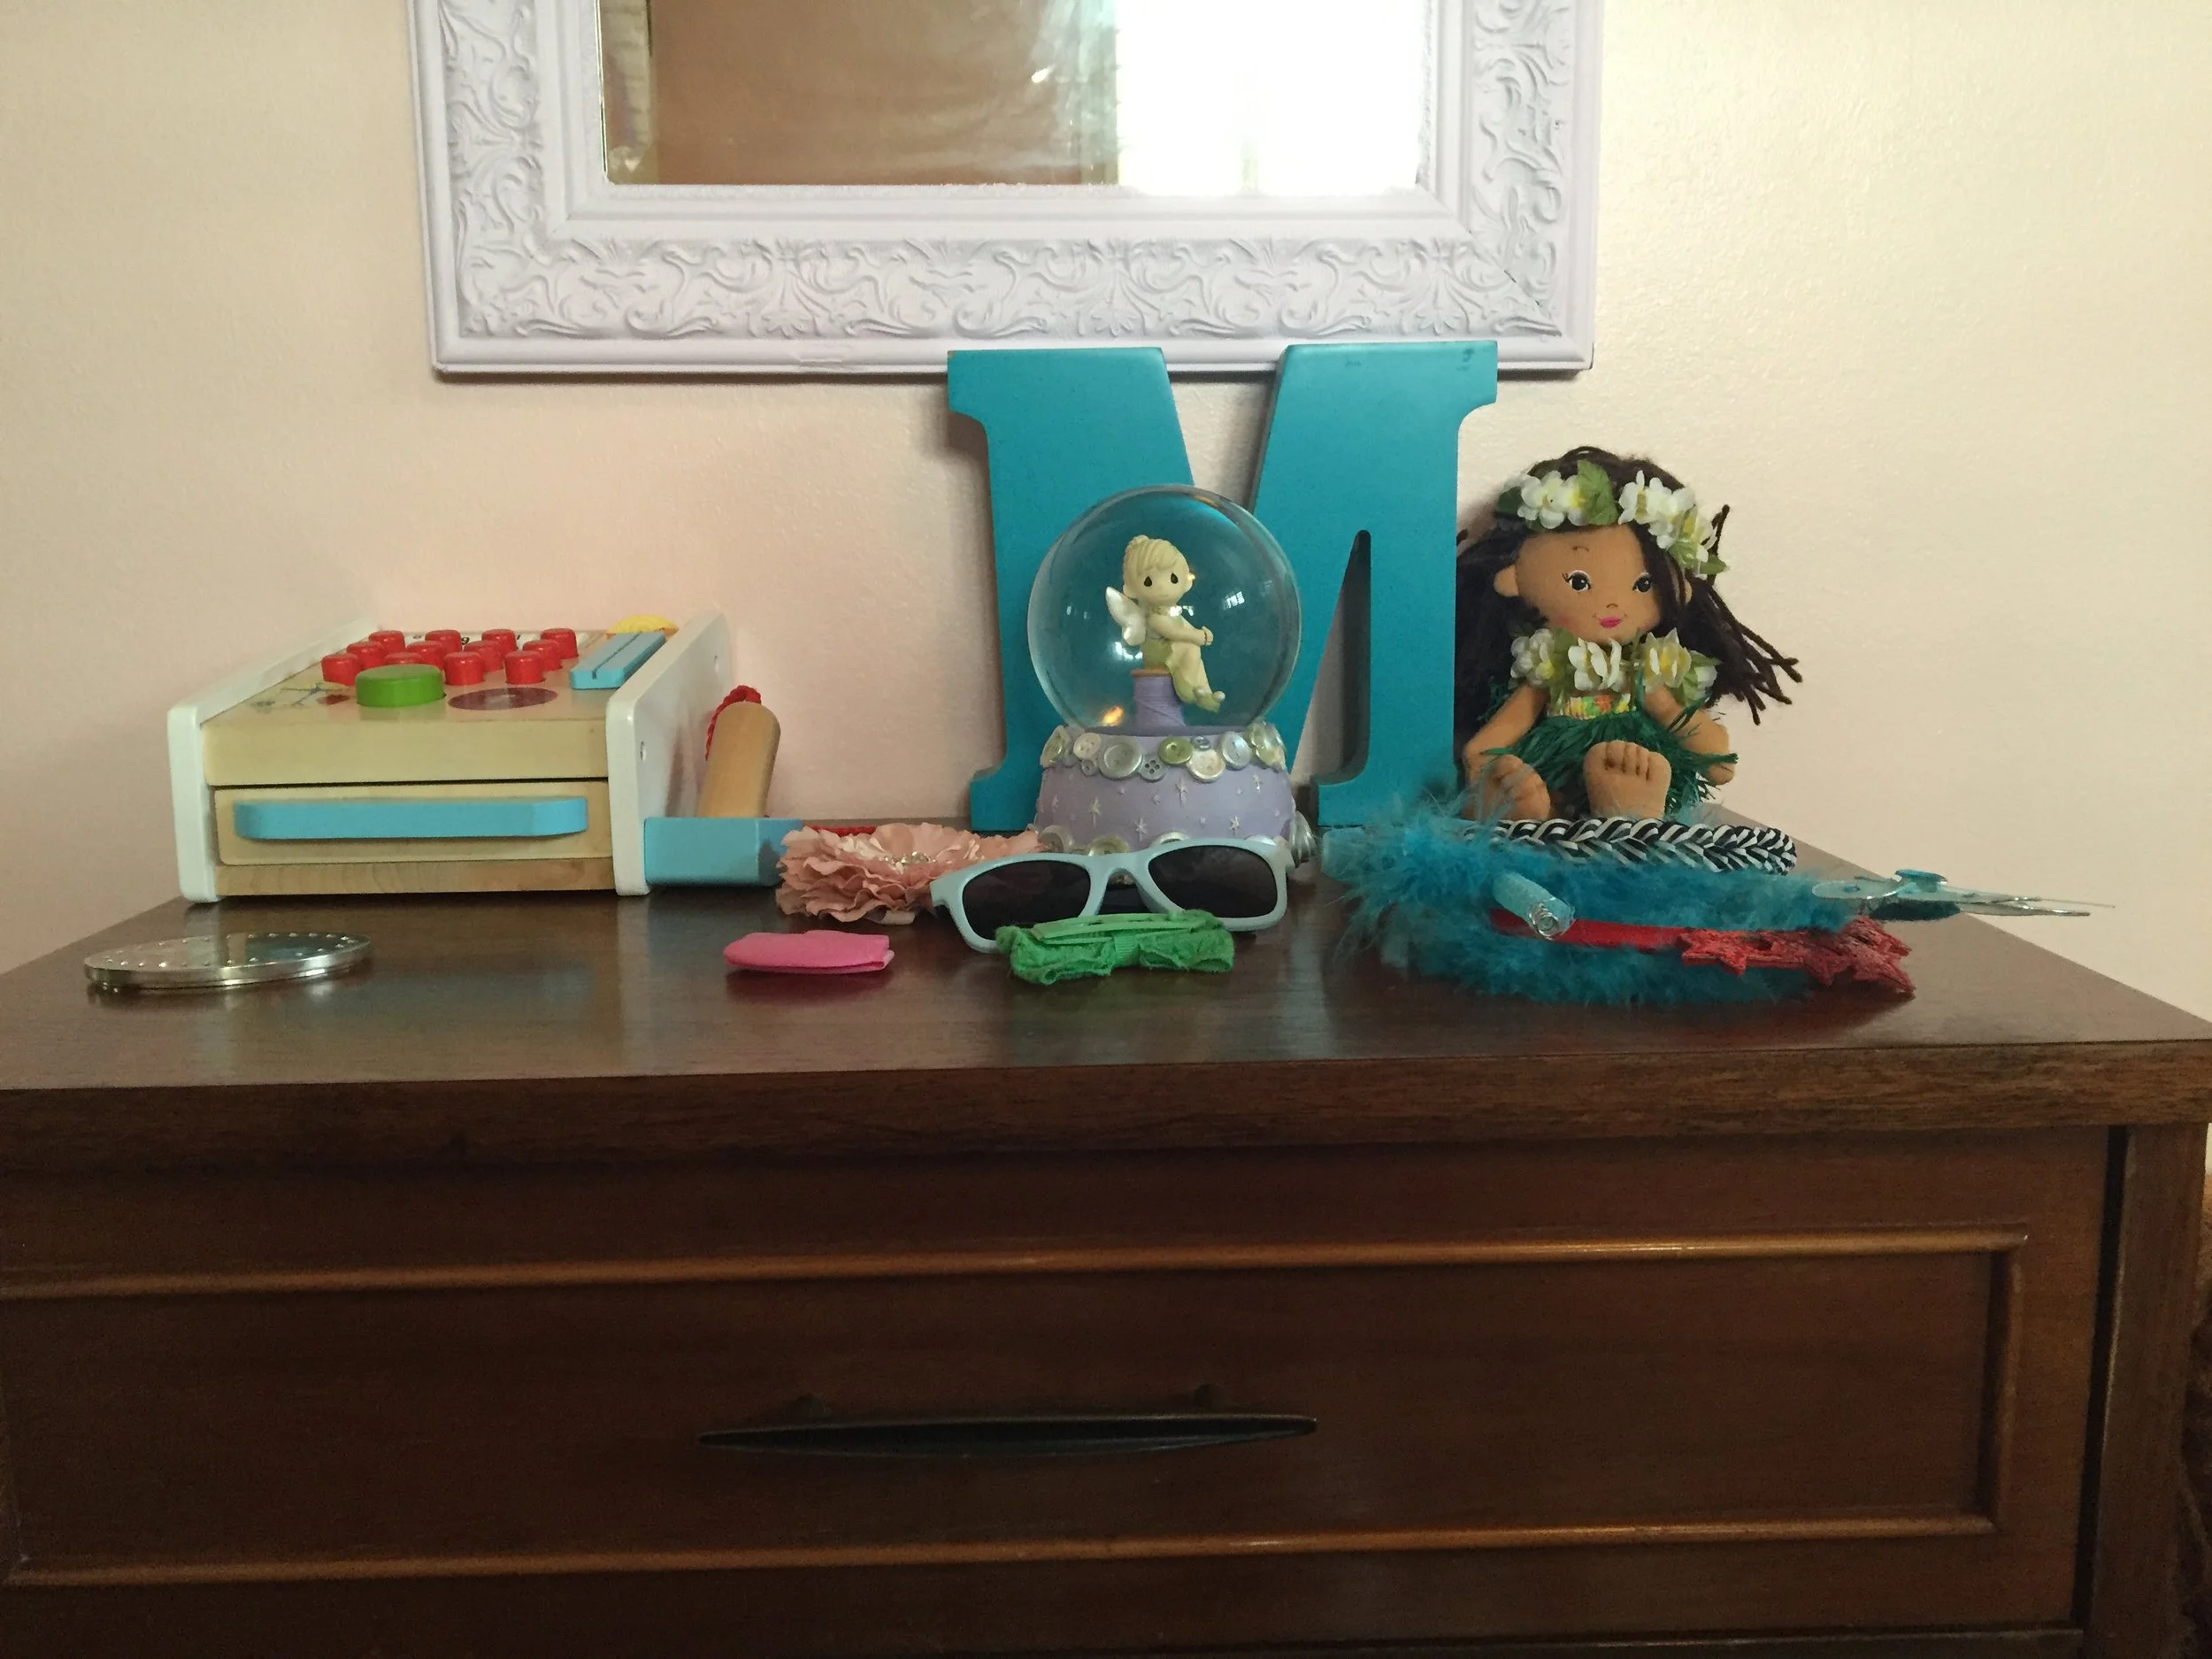
Below the mirror is a two-drawer nightstand. This is the PERFECT size "dresser" for Meena. Nightstands actually make amazing toddler "dressers" because they hold stuff, and they're the perfect height for a child. Meena can get her socks and such for herself and it is too small to topple over on her.

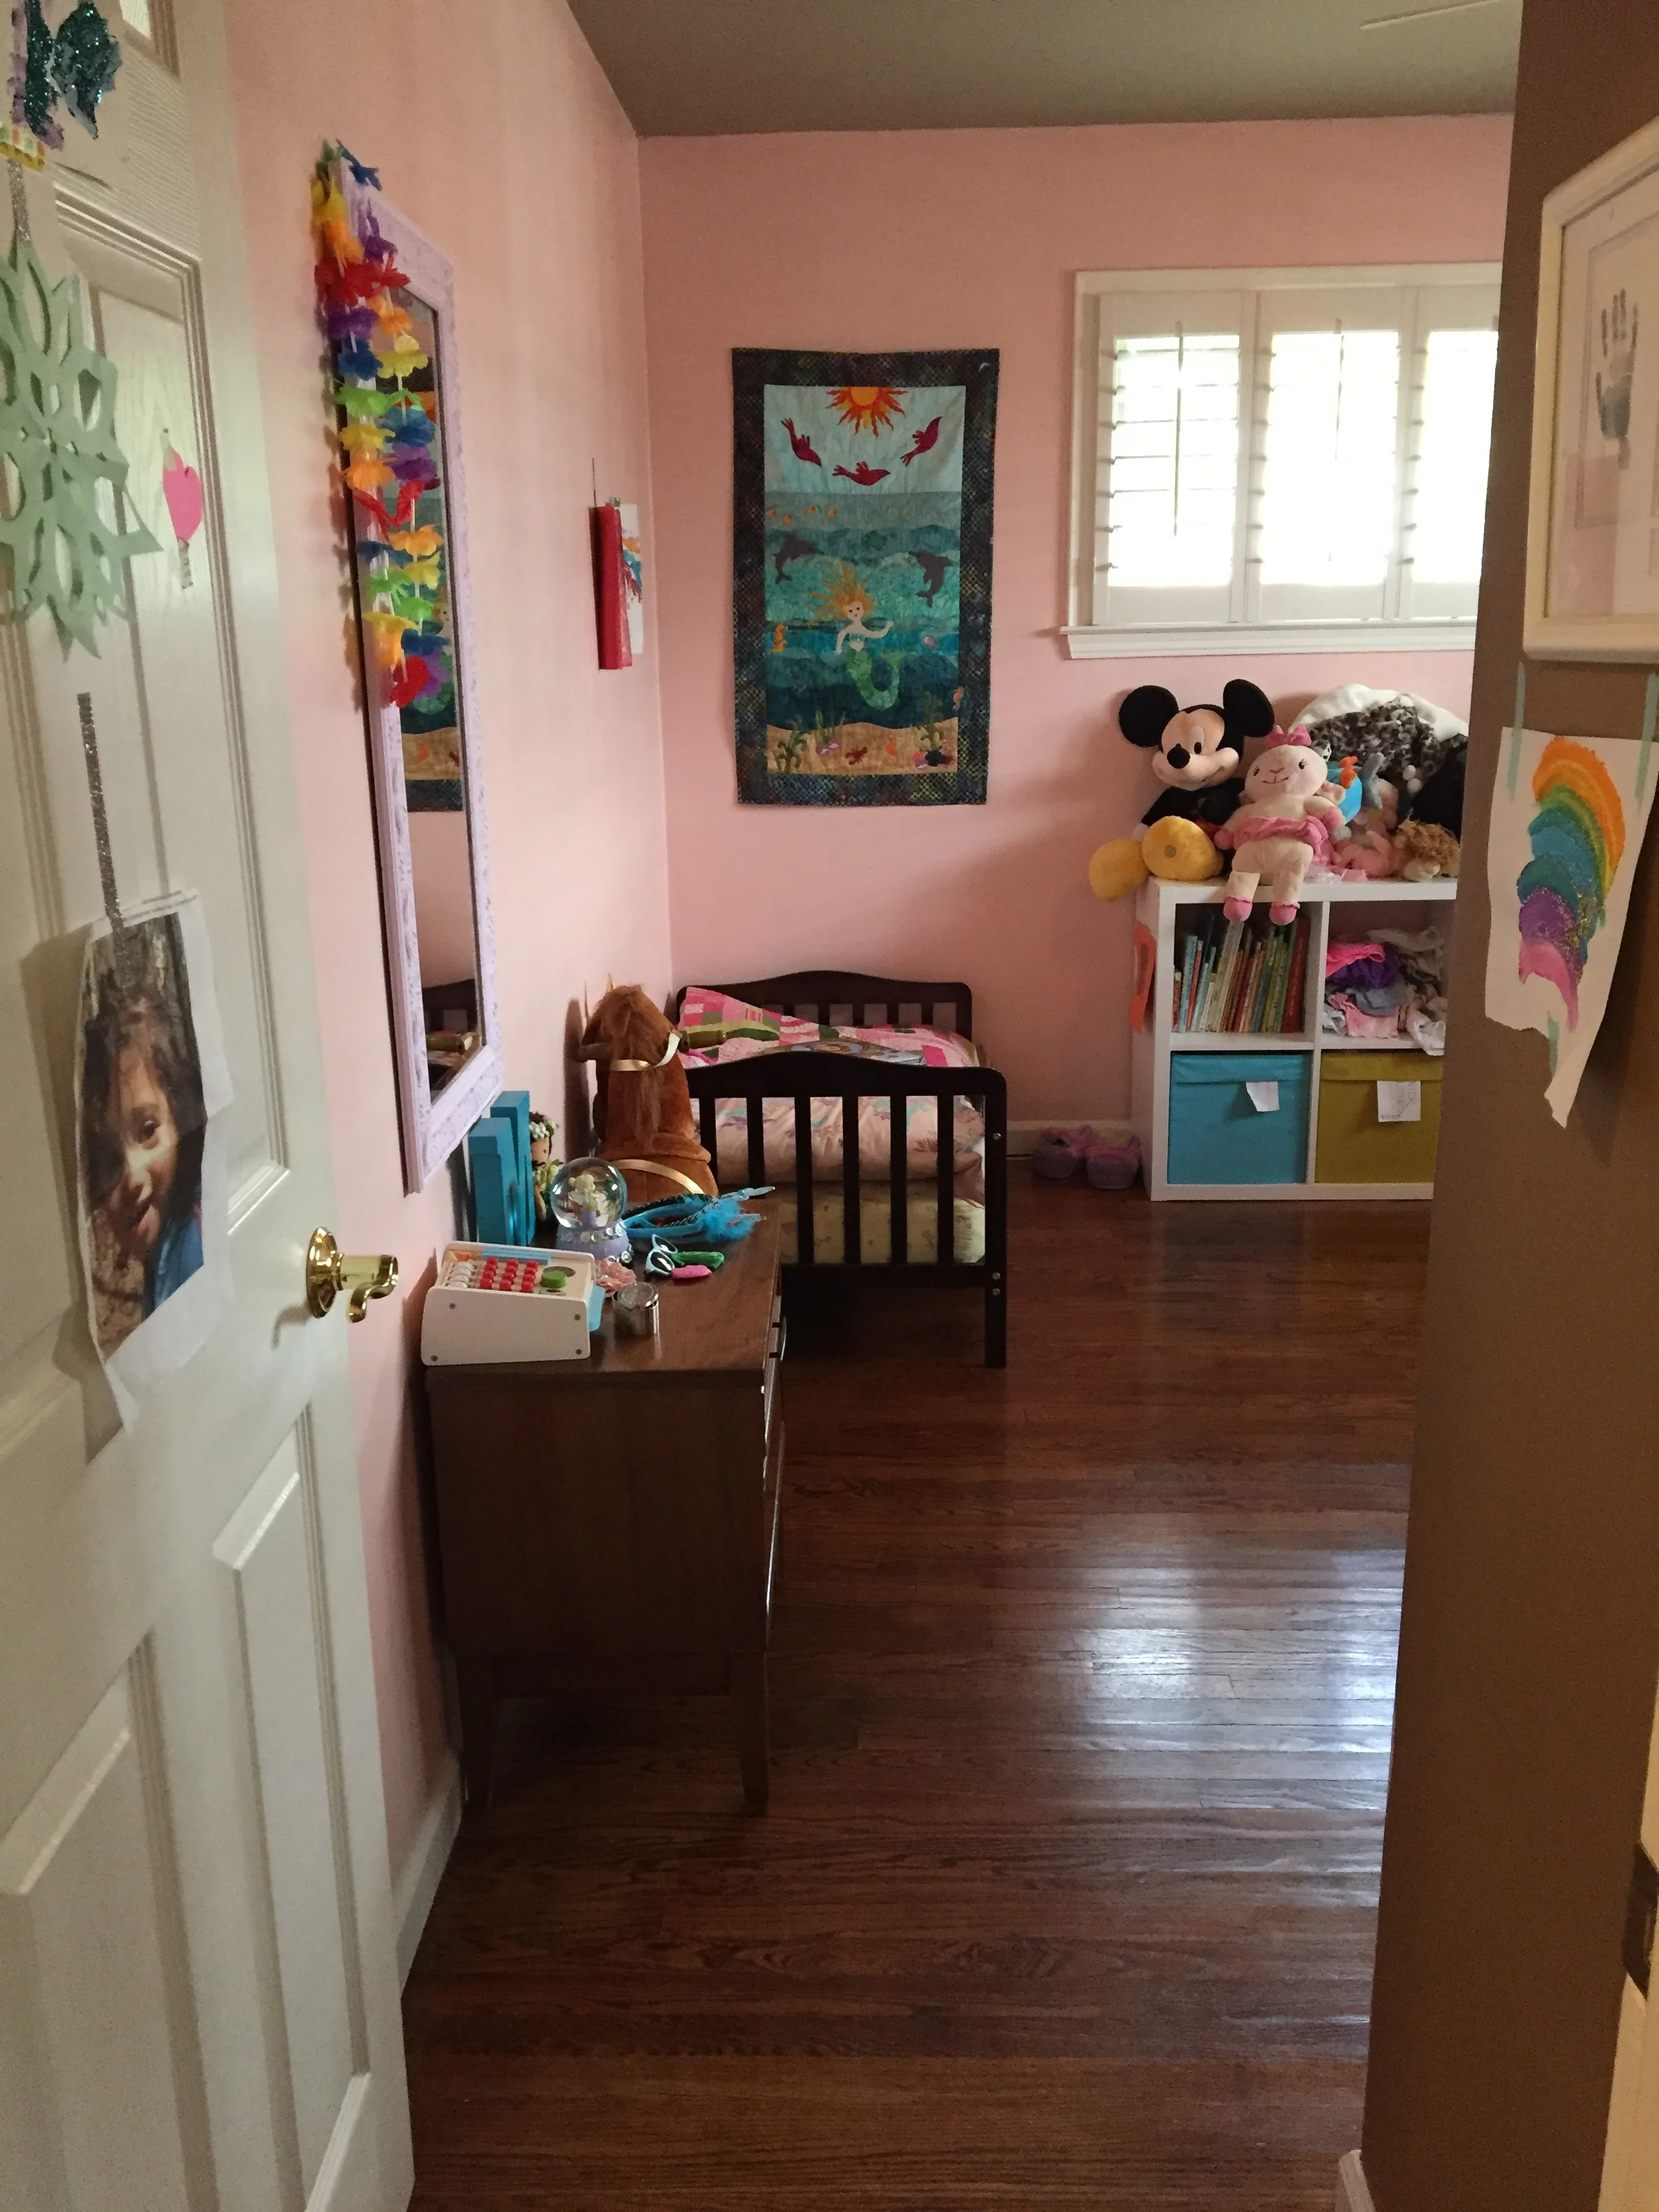
Continuing on the tour. Straight in.
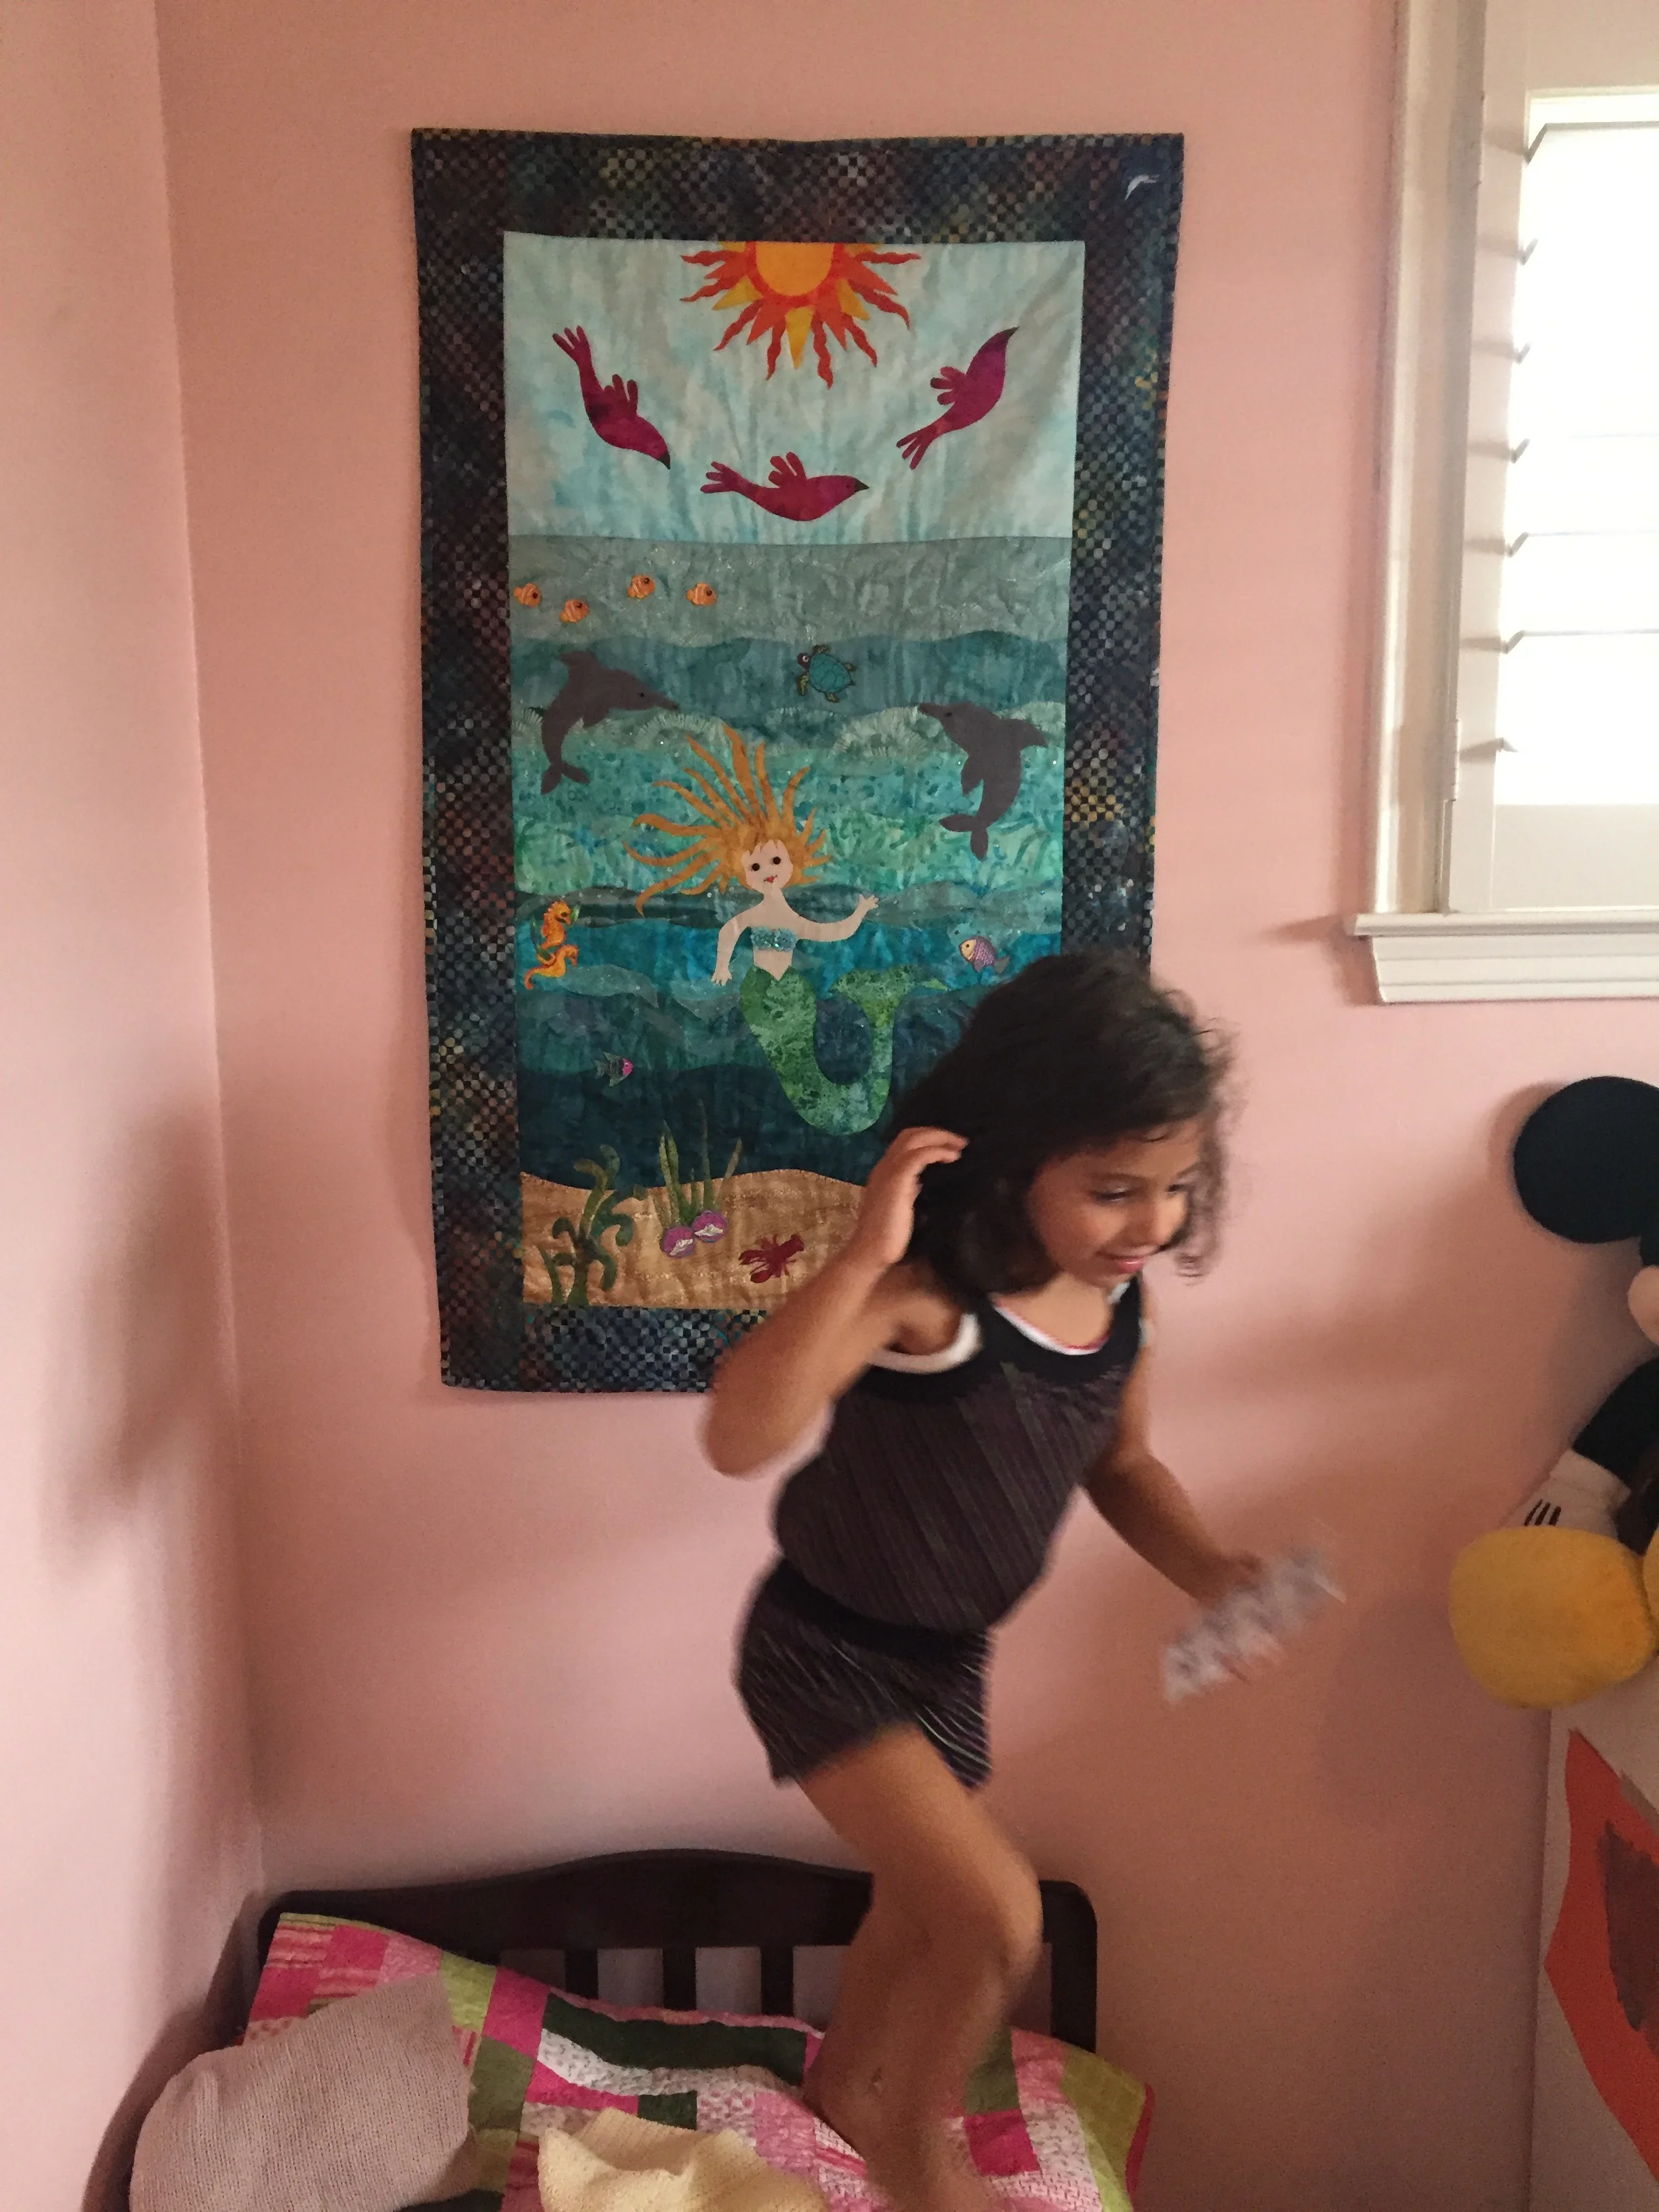
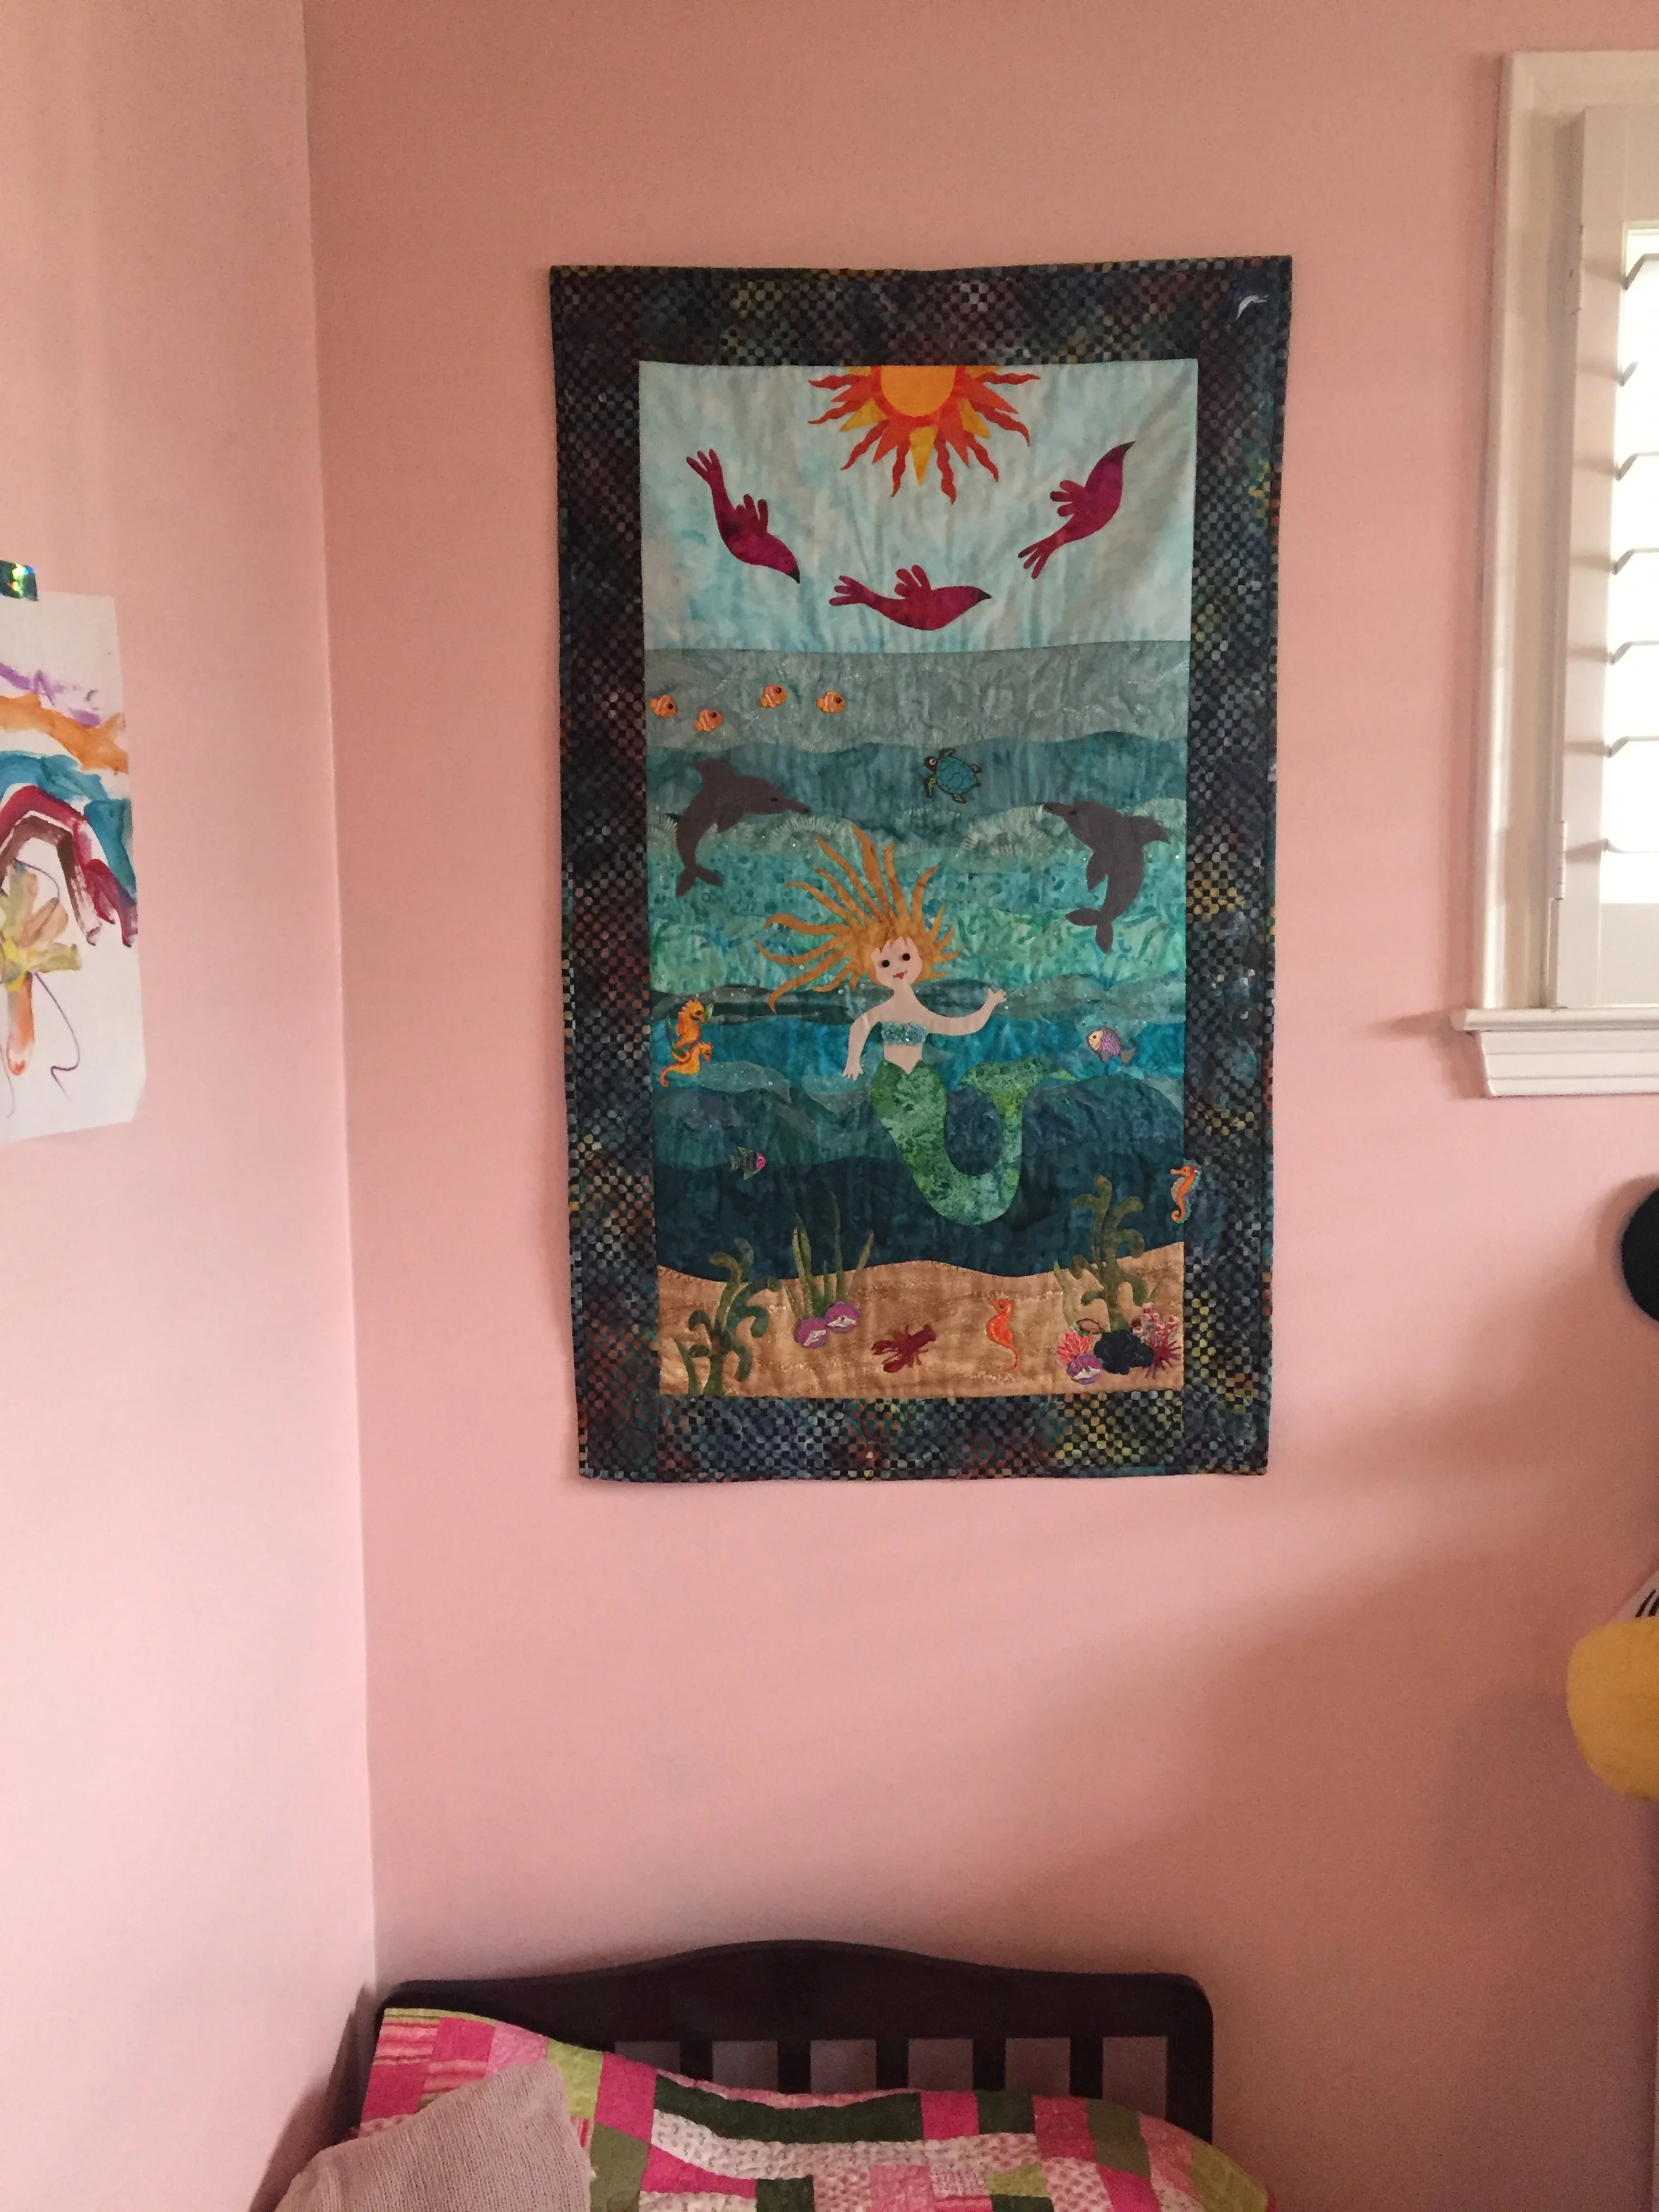
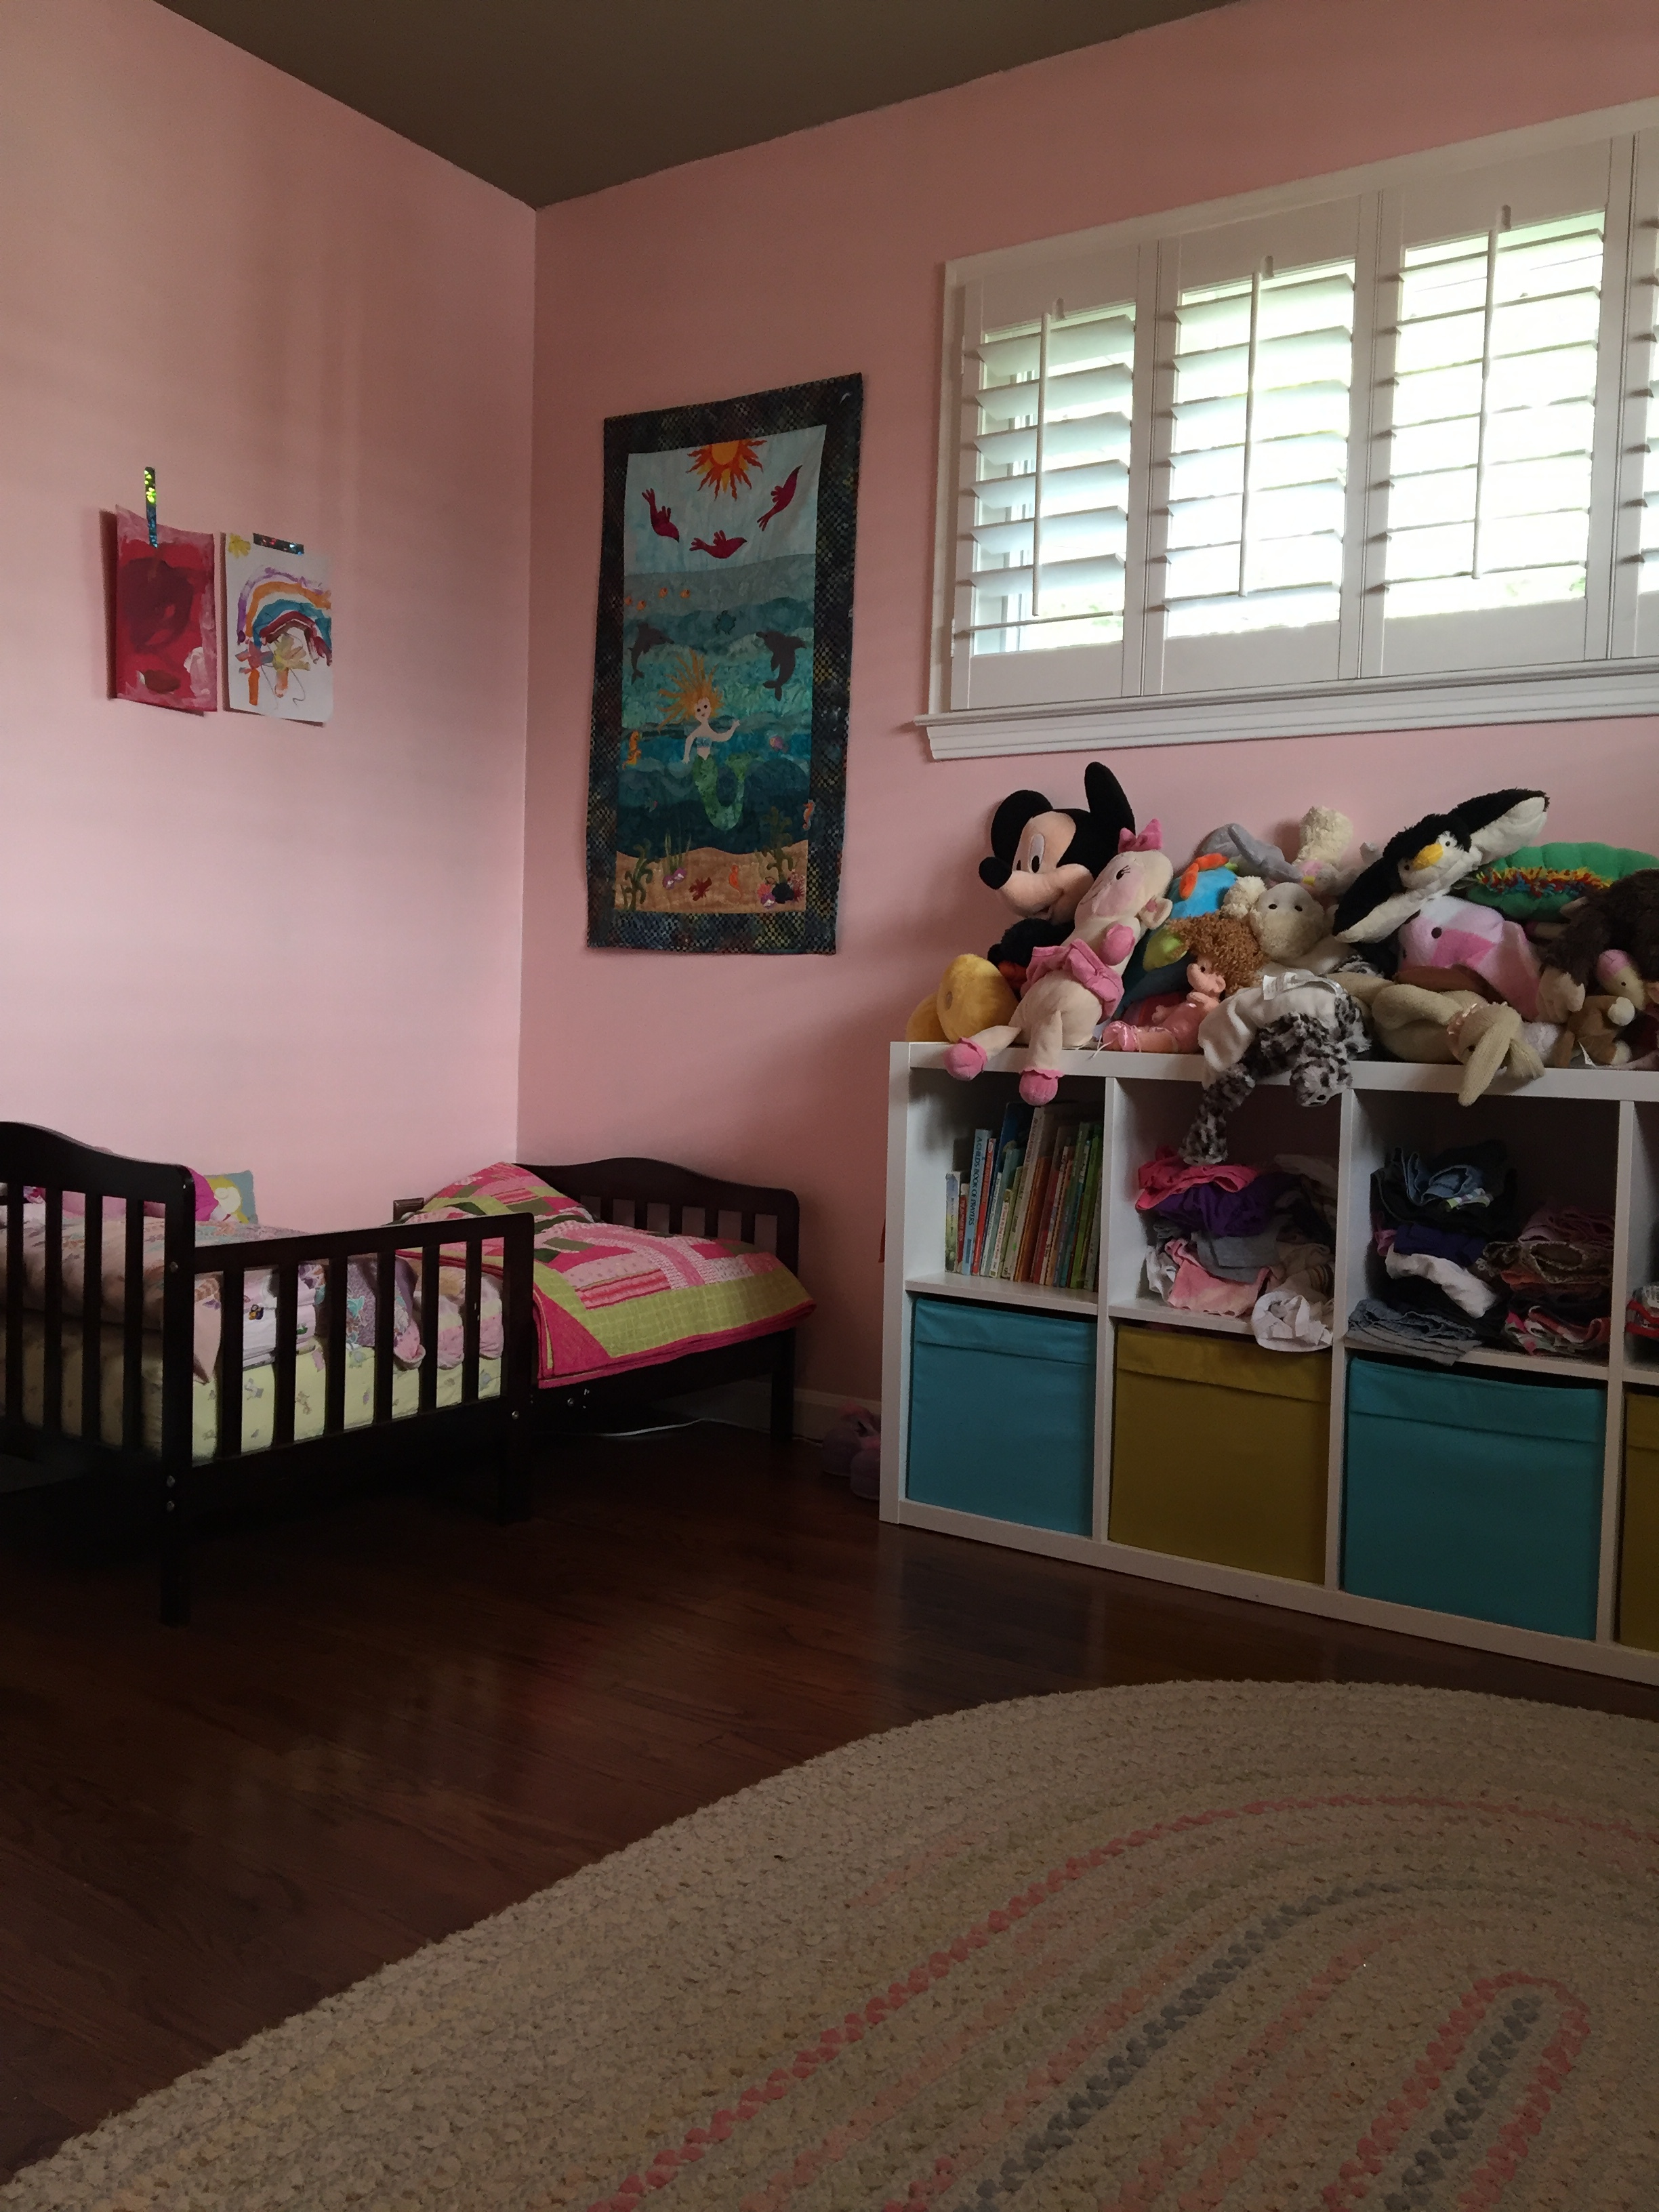
The mermaid wall hanging above the bed was made by my mother-in-law. She is super talented with quilts.
More art by Meena above the bed. Stuck up with washi tape of course.
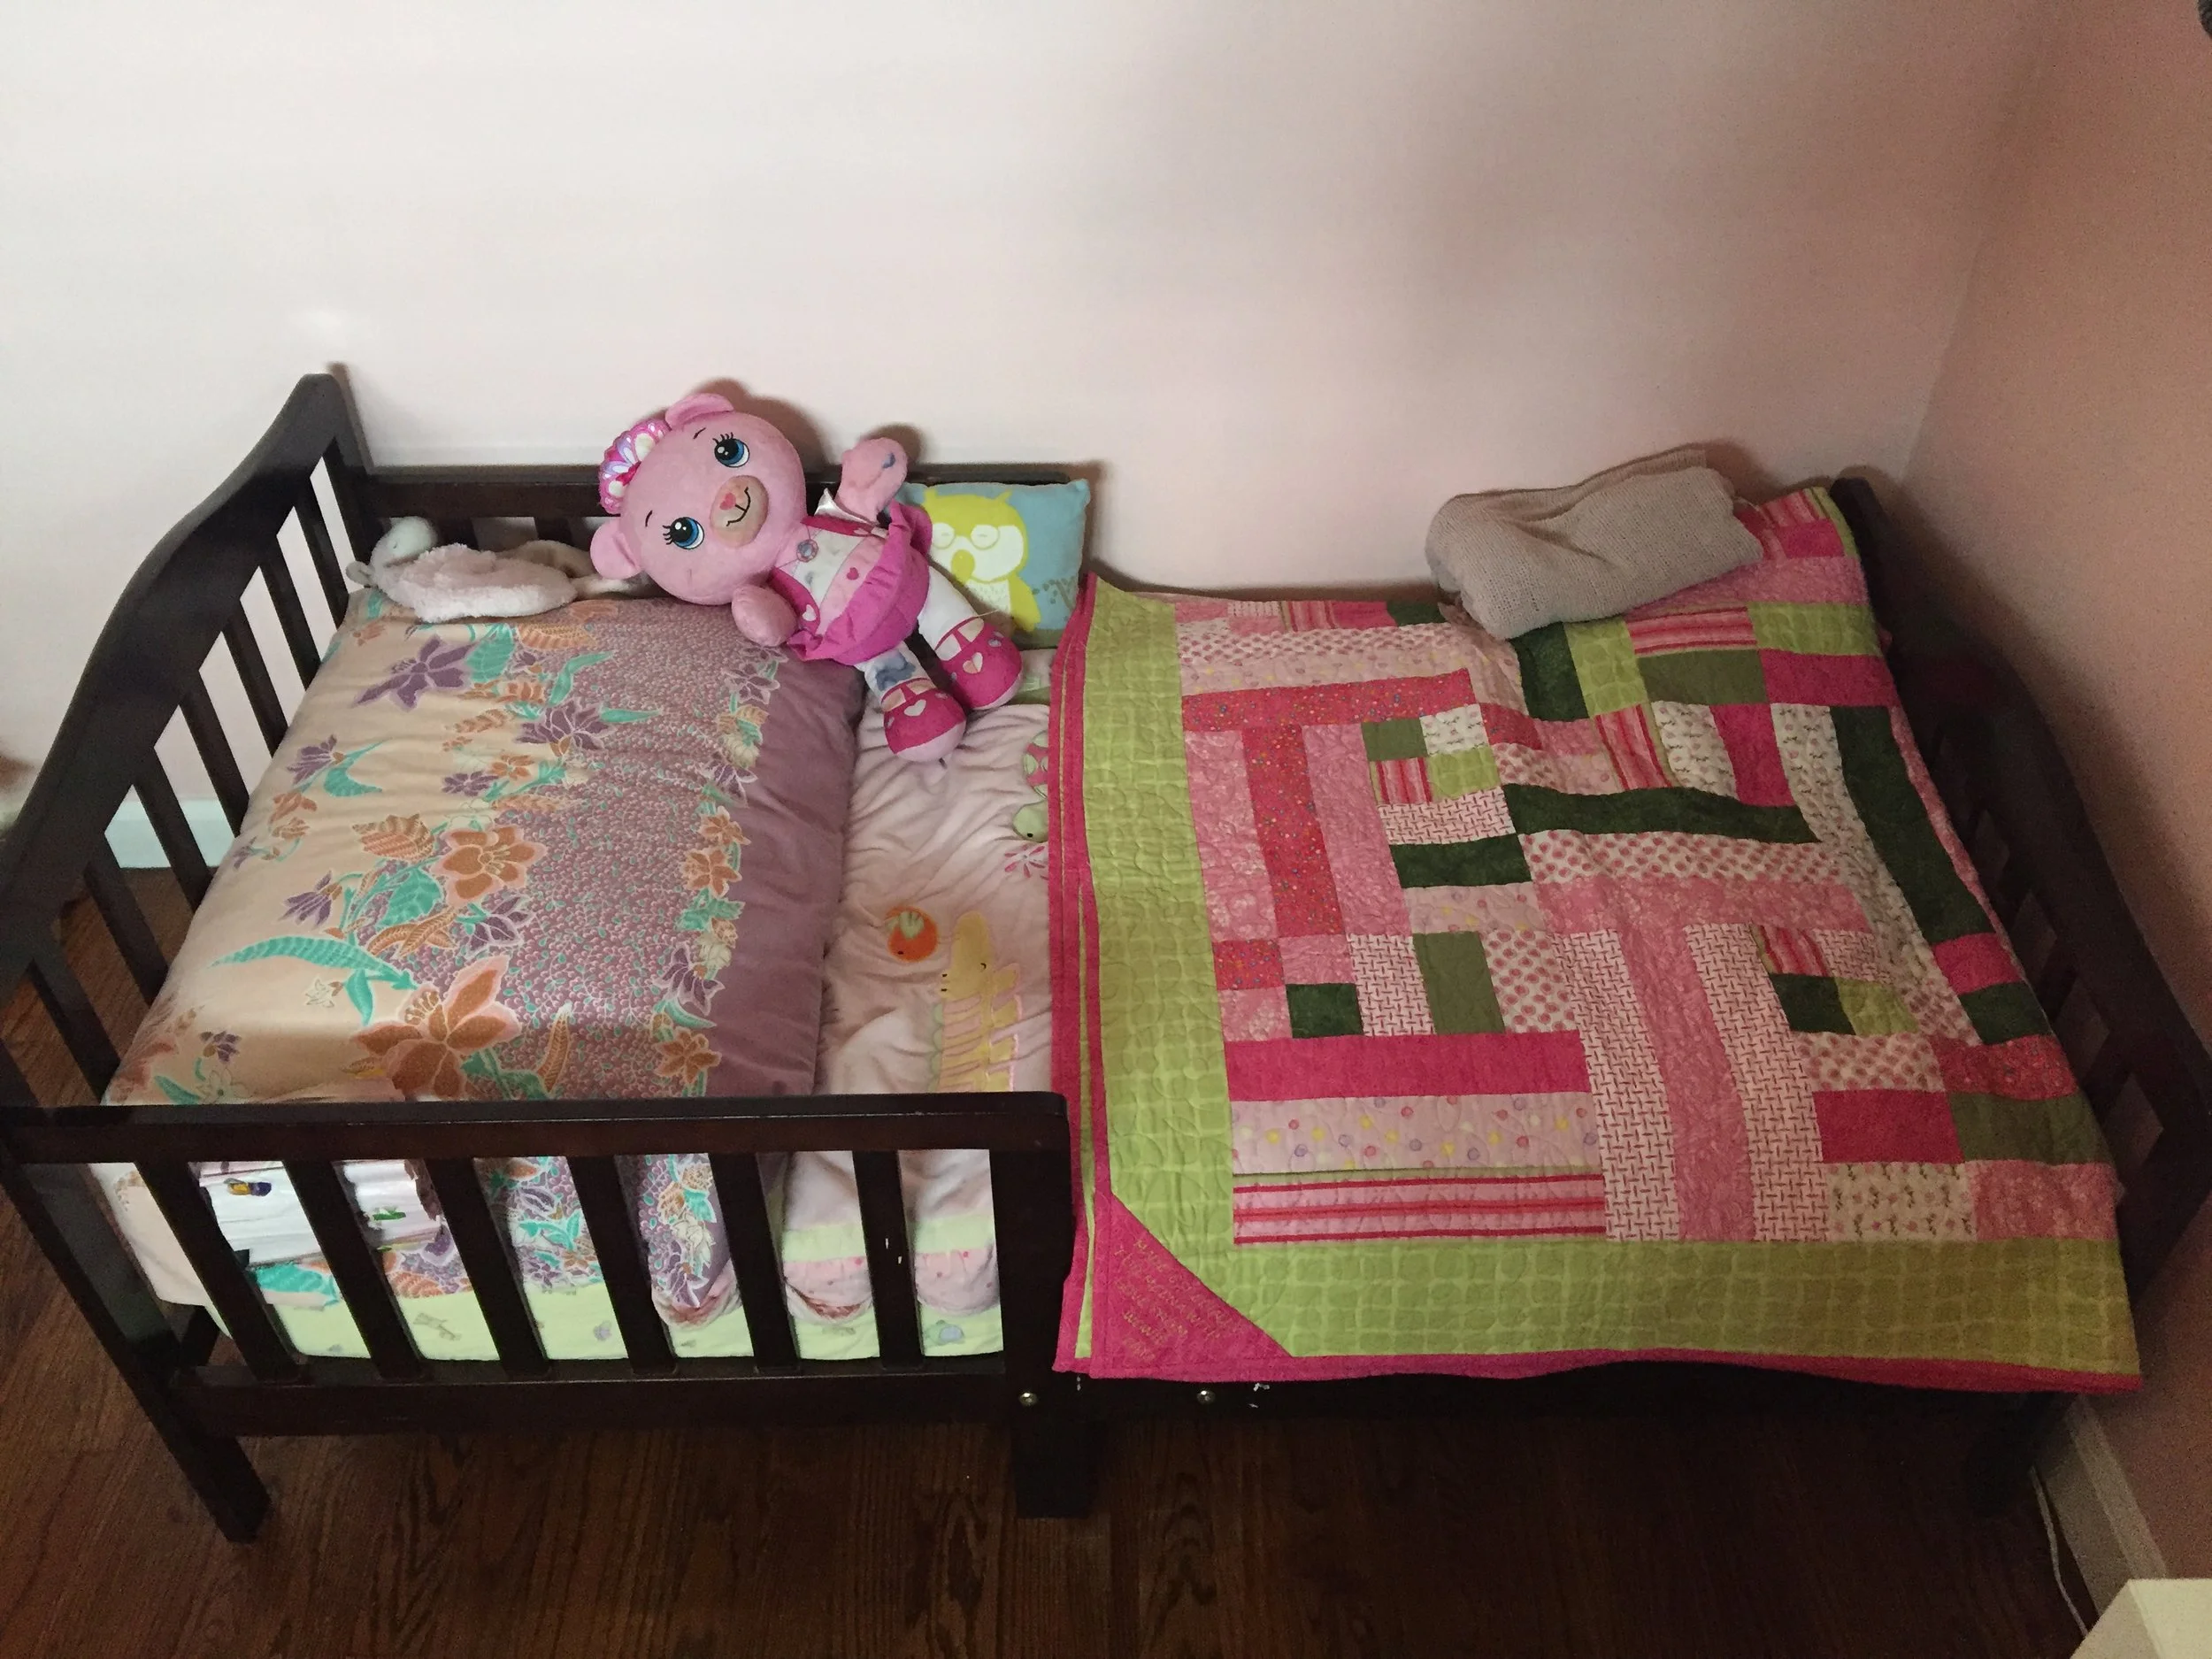
The toddler bed is just the perfect size for Meena, easy to get in and out of. Meena likes to sleep facing the mermaid because she doesn't want to look at the closet.
Bed: Craigslist; Quilt: made by my MIL for Meena.
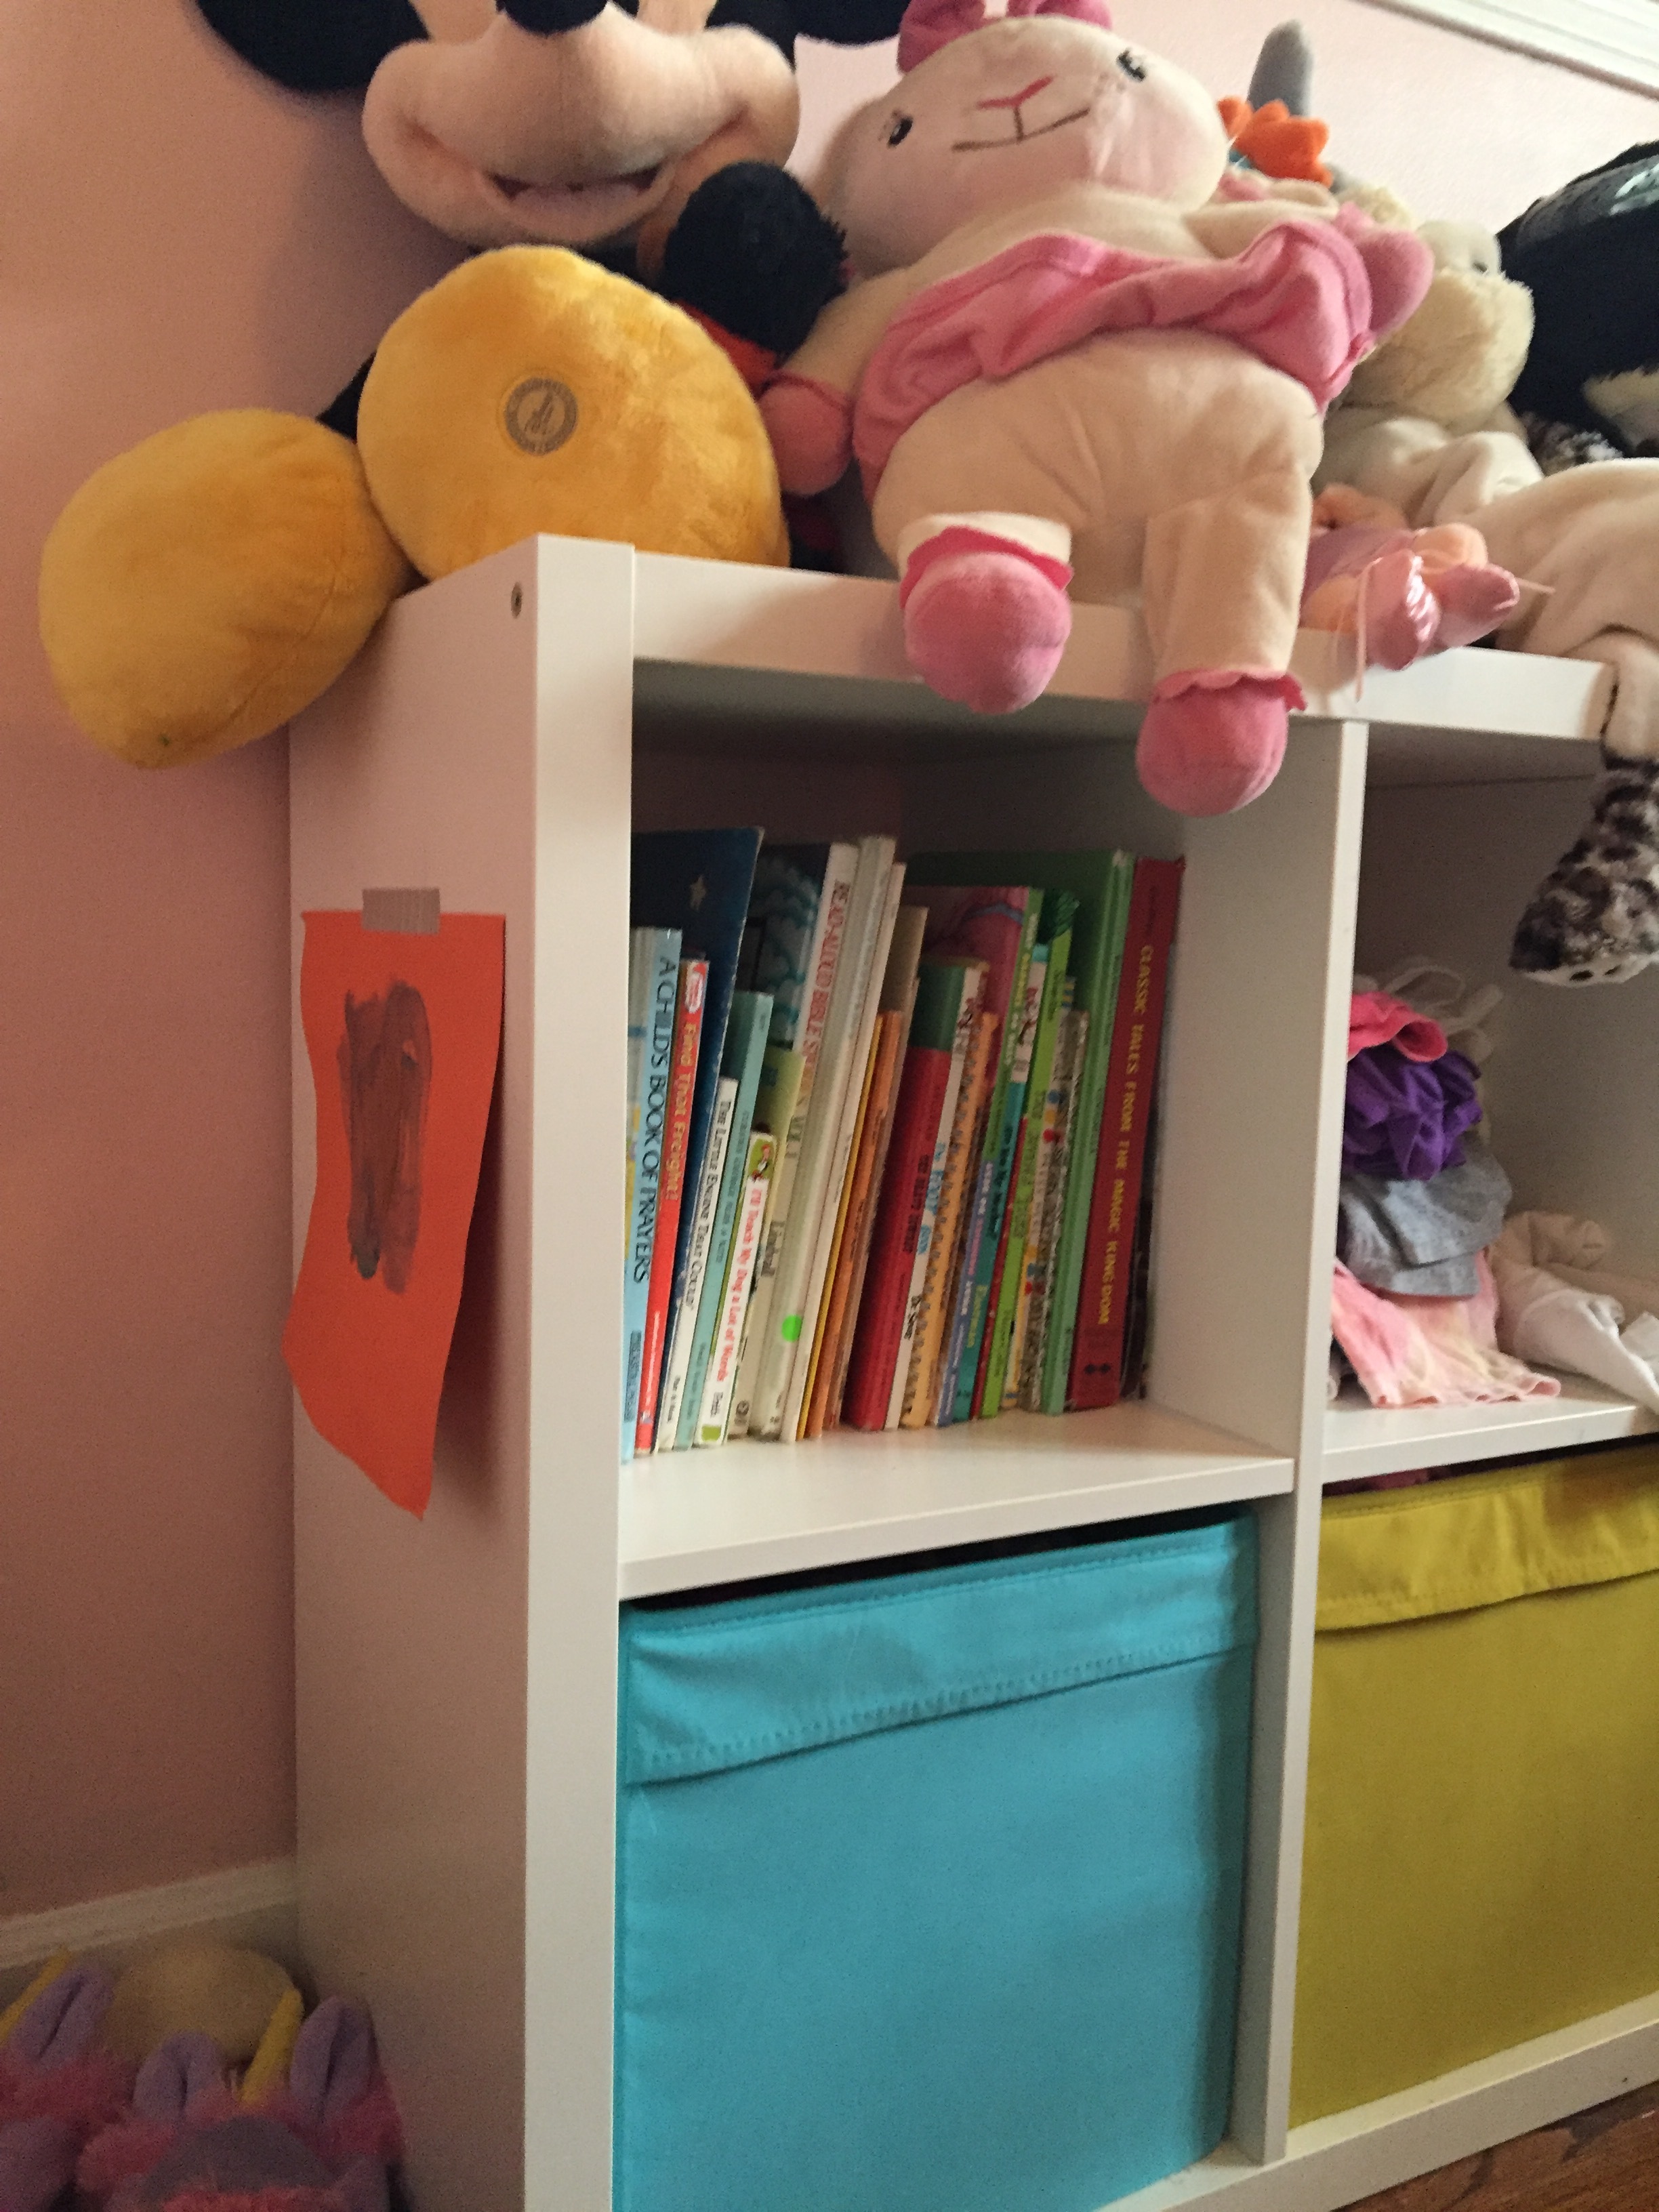
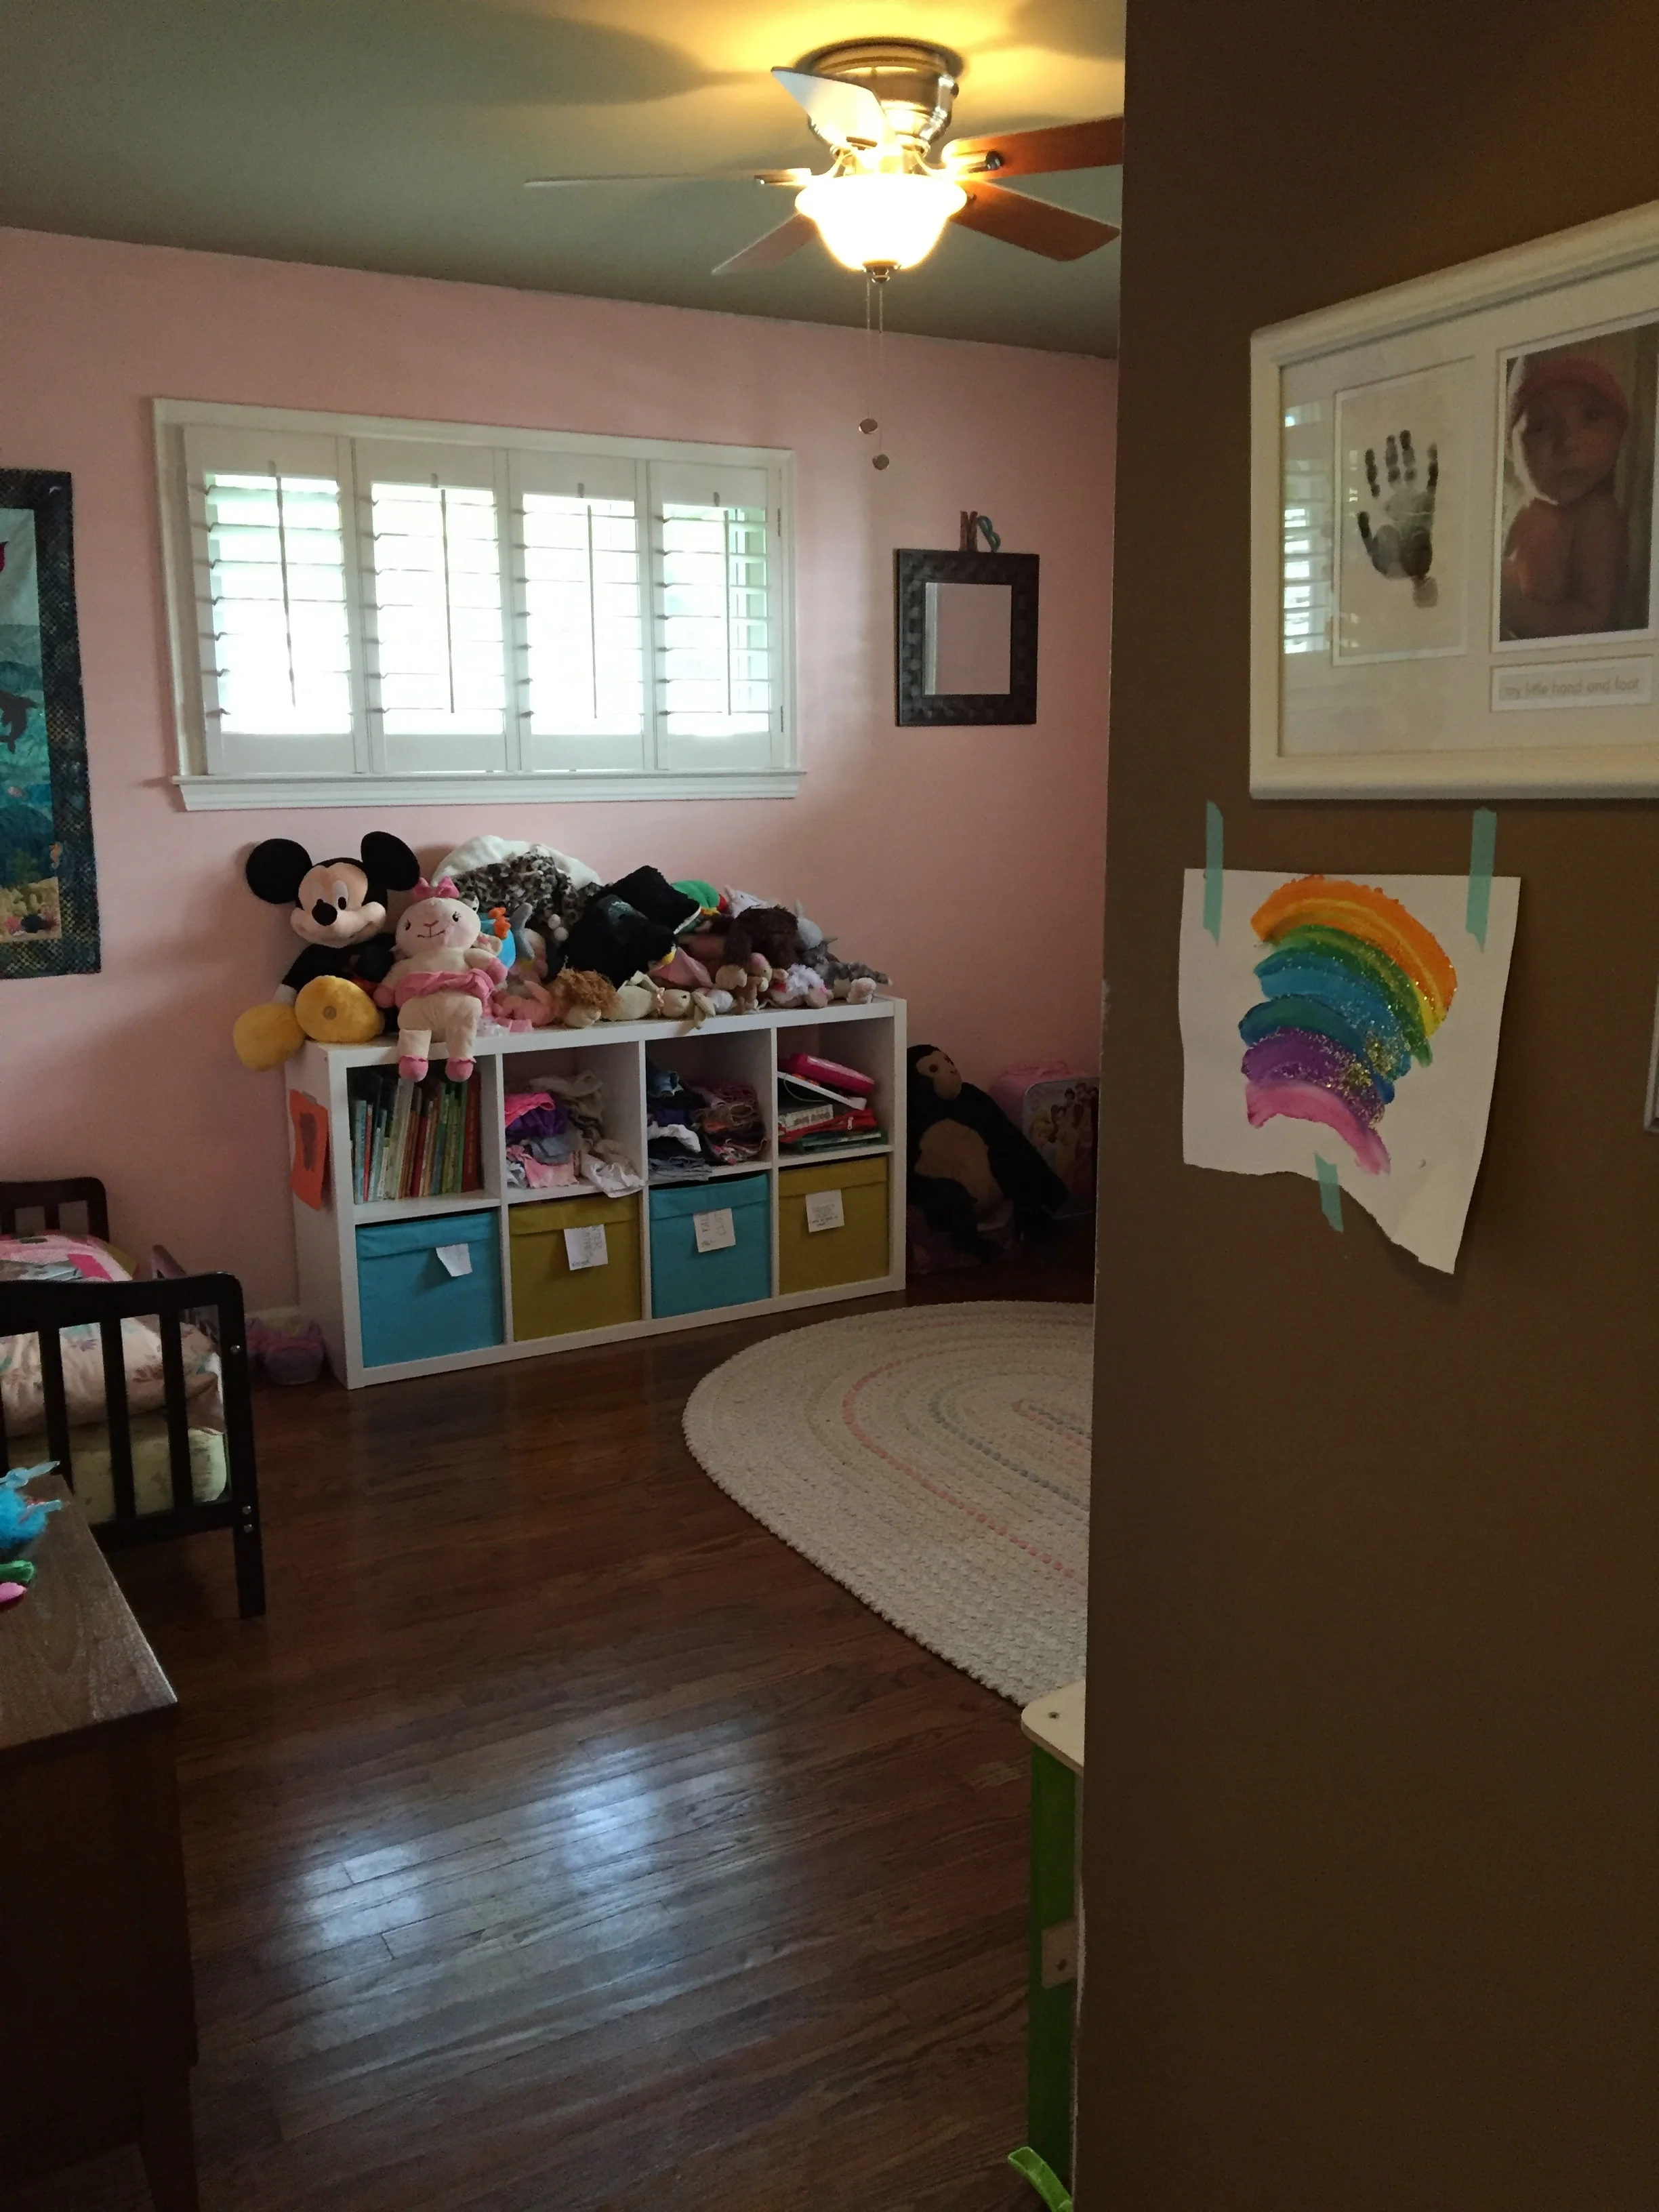
To the right of the bed is the cubby shelf that houses clothes, books, and toys. And another place to stick up some art.
Cubby Shelf: IKEA; this is literally the ONLY thing in the room that was bought "new".
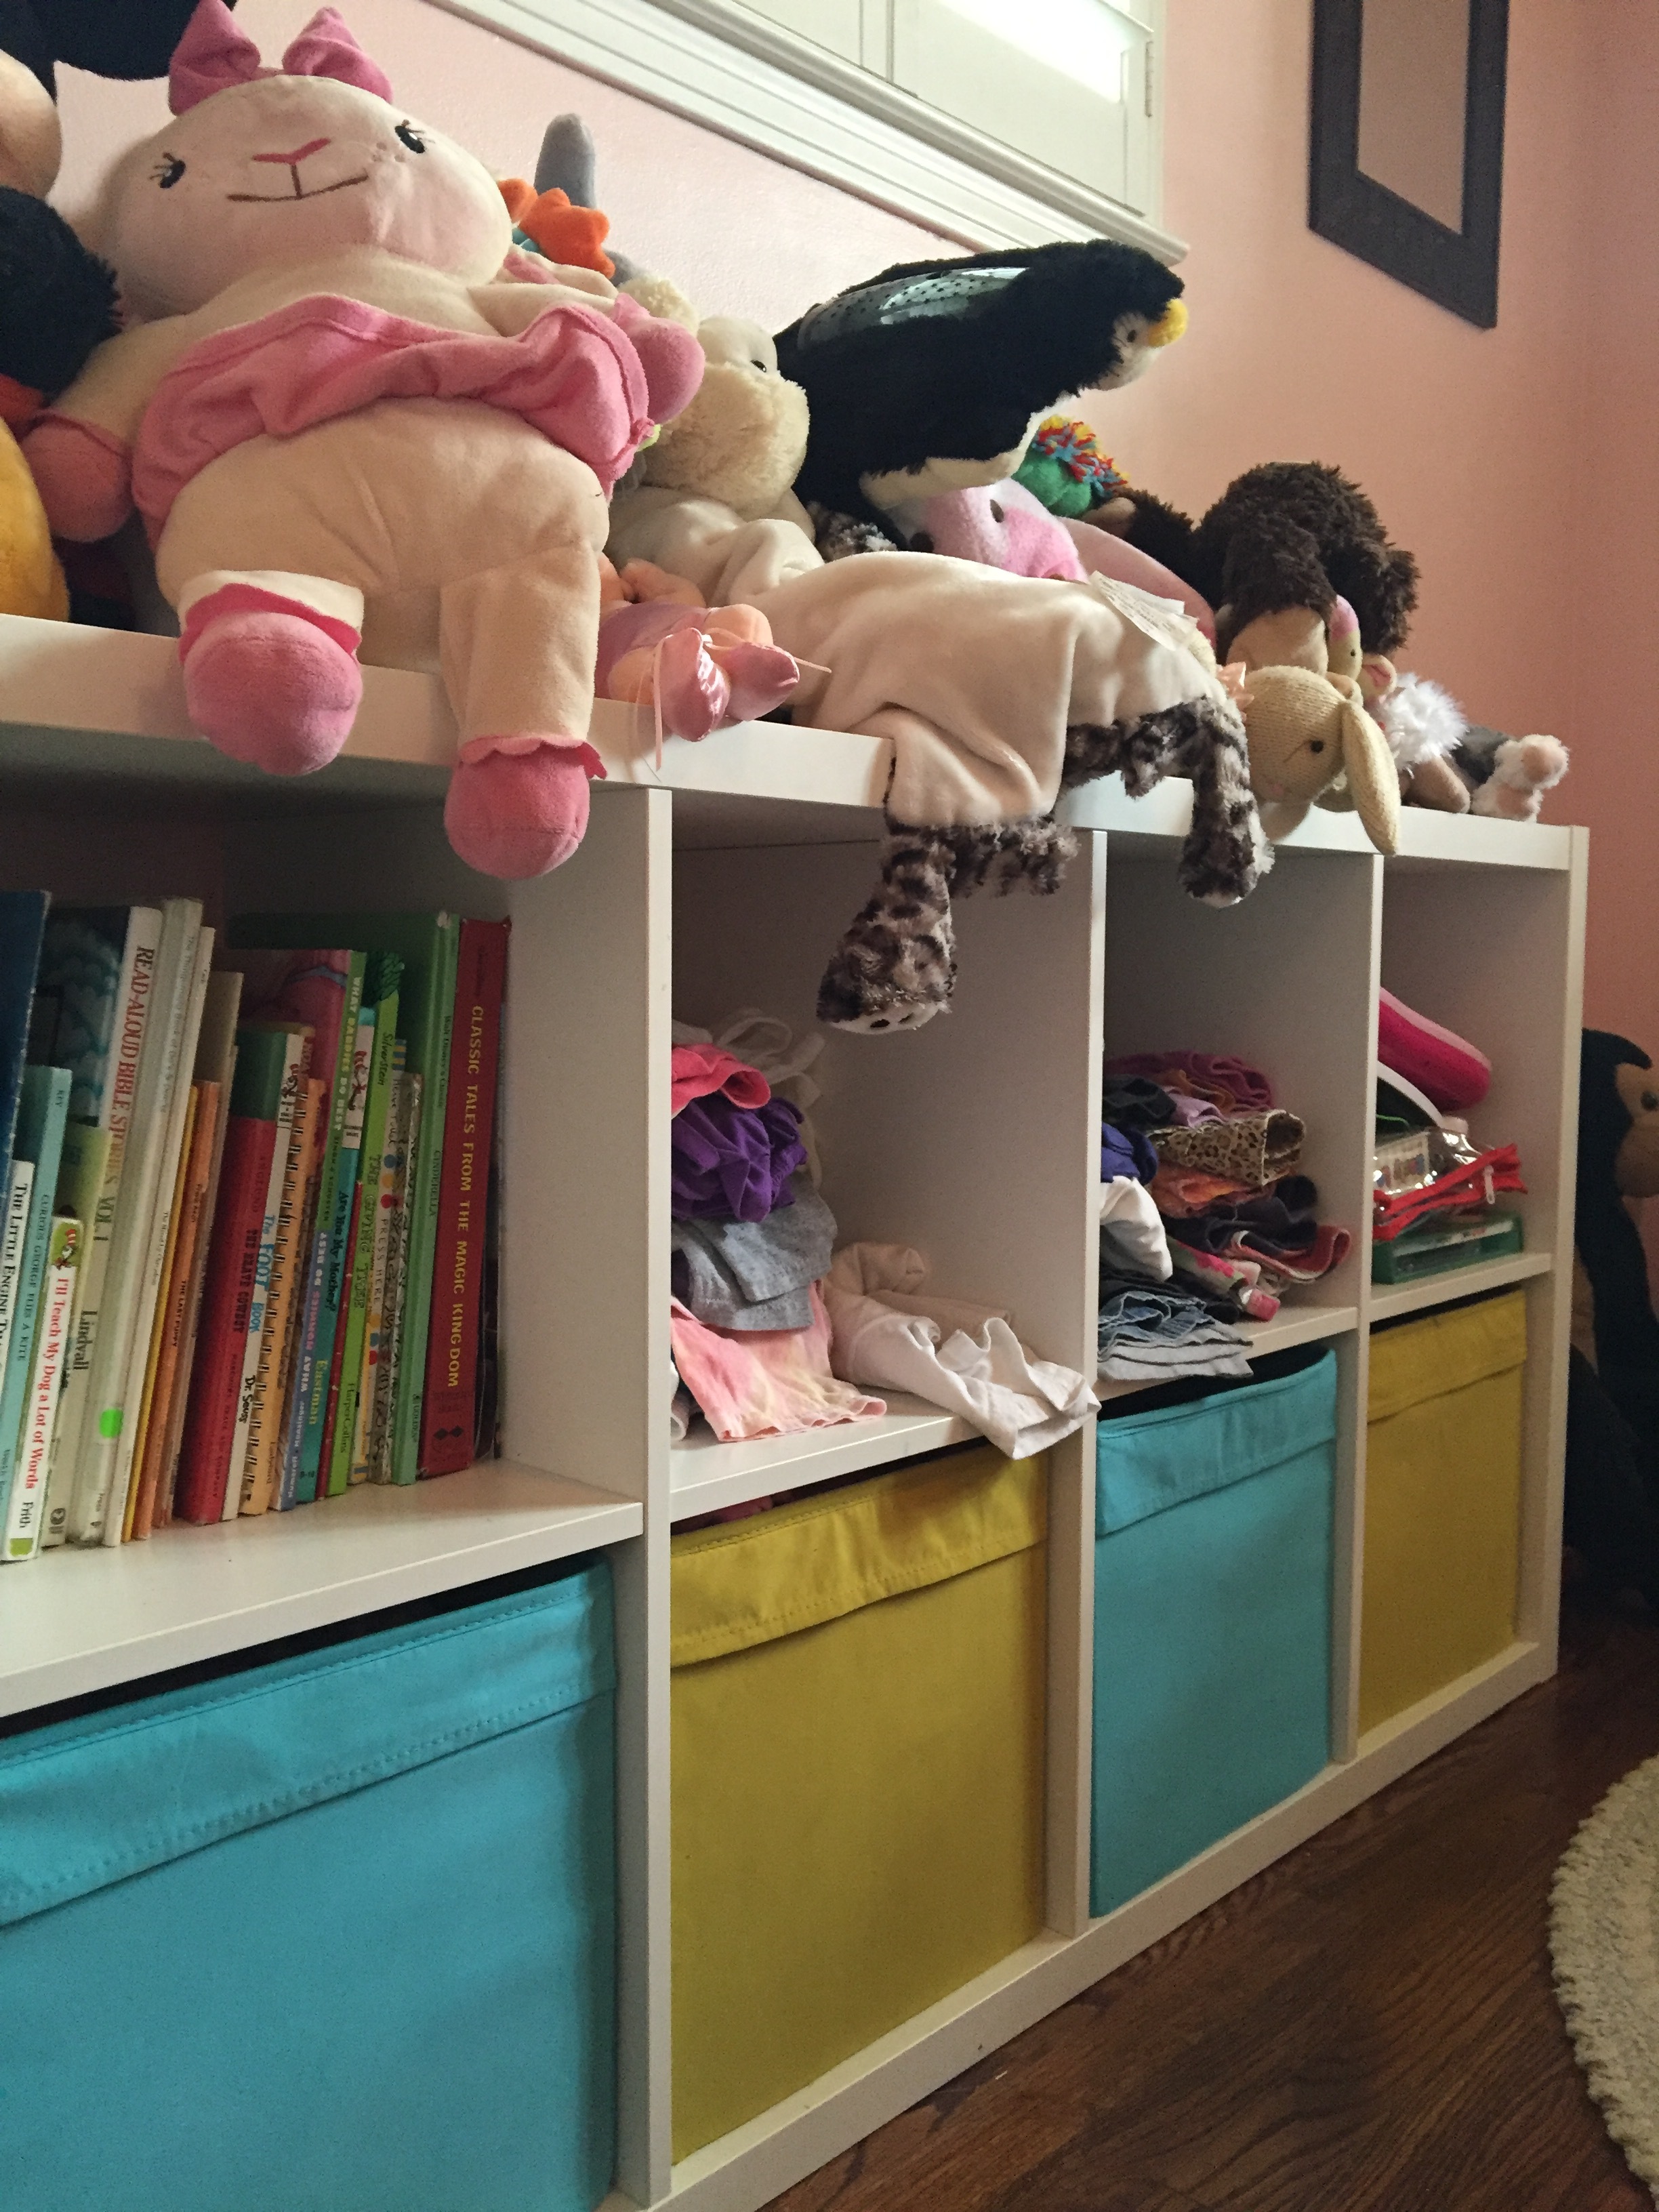
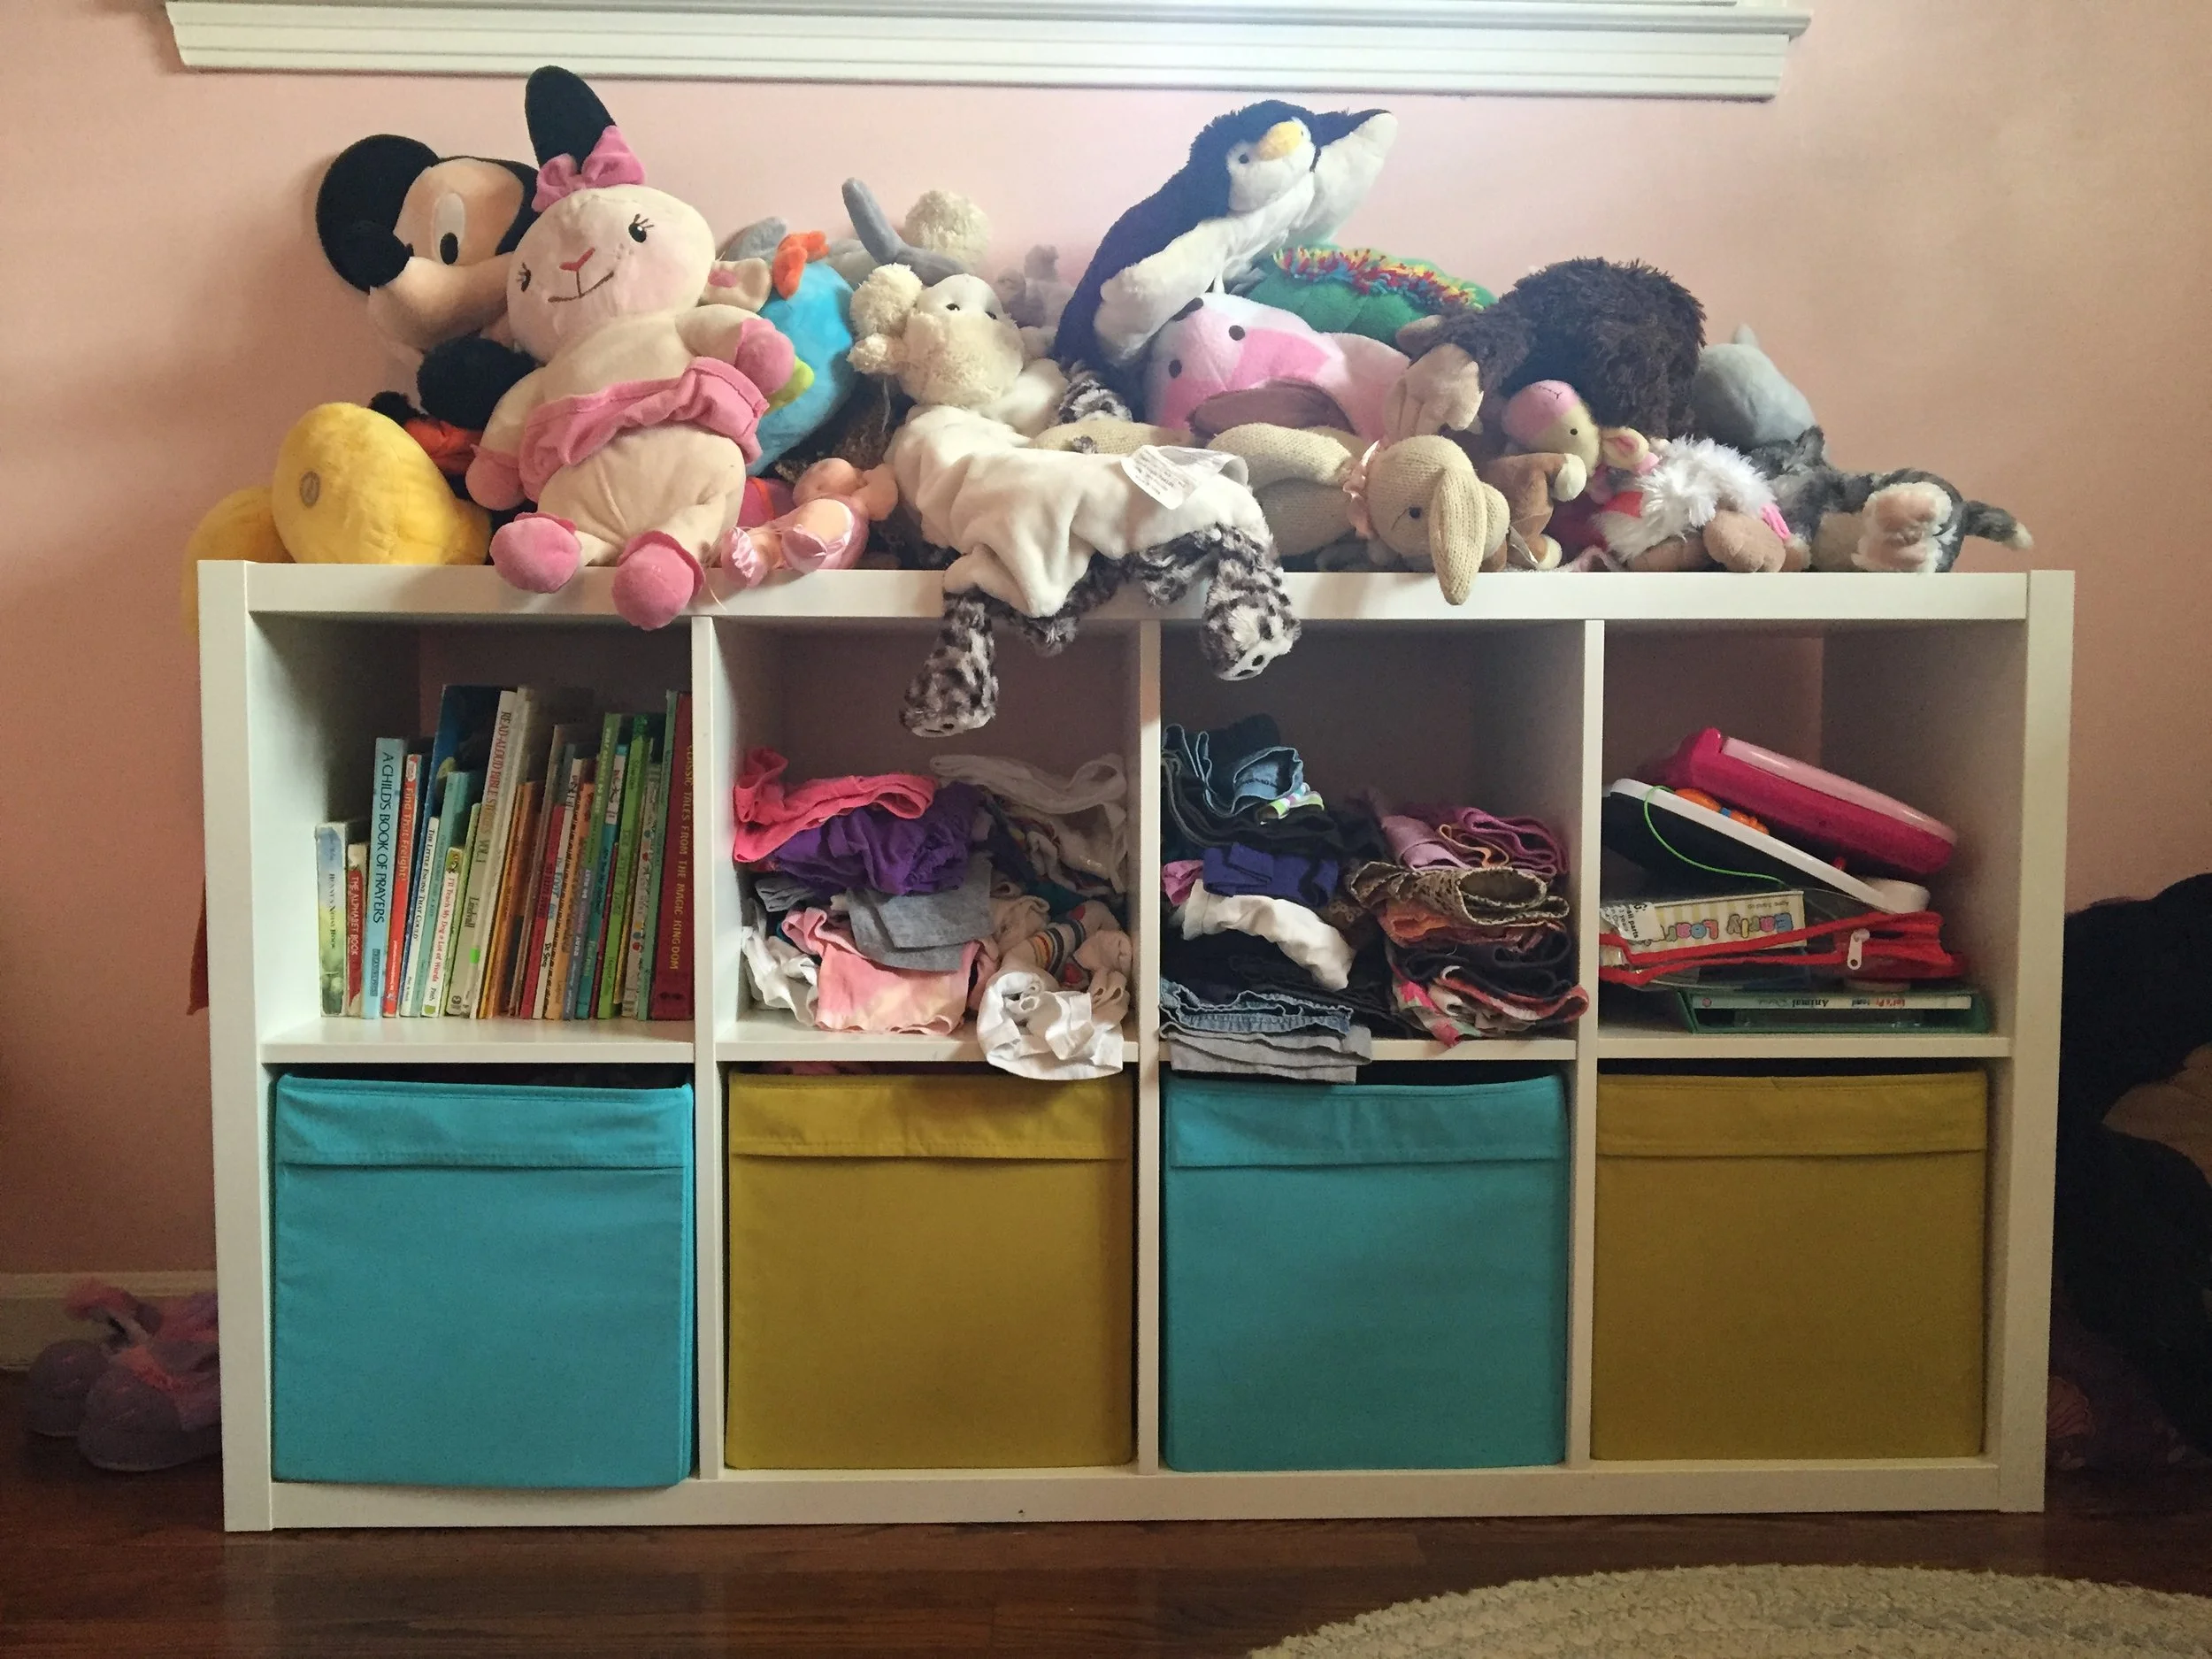
Books, clothes (they look like a big mess, but they're actually organized for Meena, so she knows where everything is) in the middle two top cubbies, and toys in the last. The bottom bins are more clothes organized for her. I have everything separated out so that she can get her own clothes out easily and dress herself. No dresser with heavy drawers that can fall out on her. Everything is perfect for her height. And this shelf is perfect for throwing her zoo of stuffed animals up on.
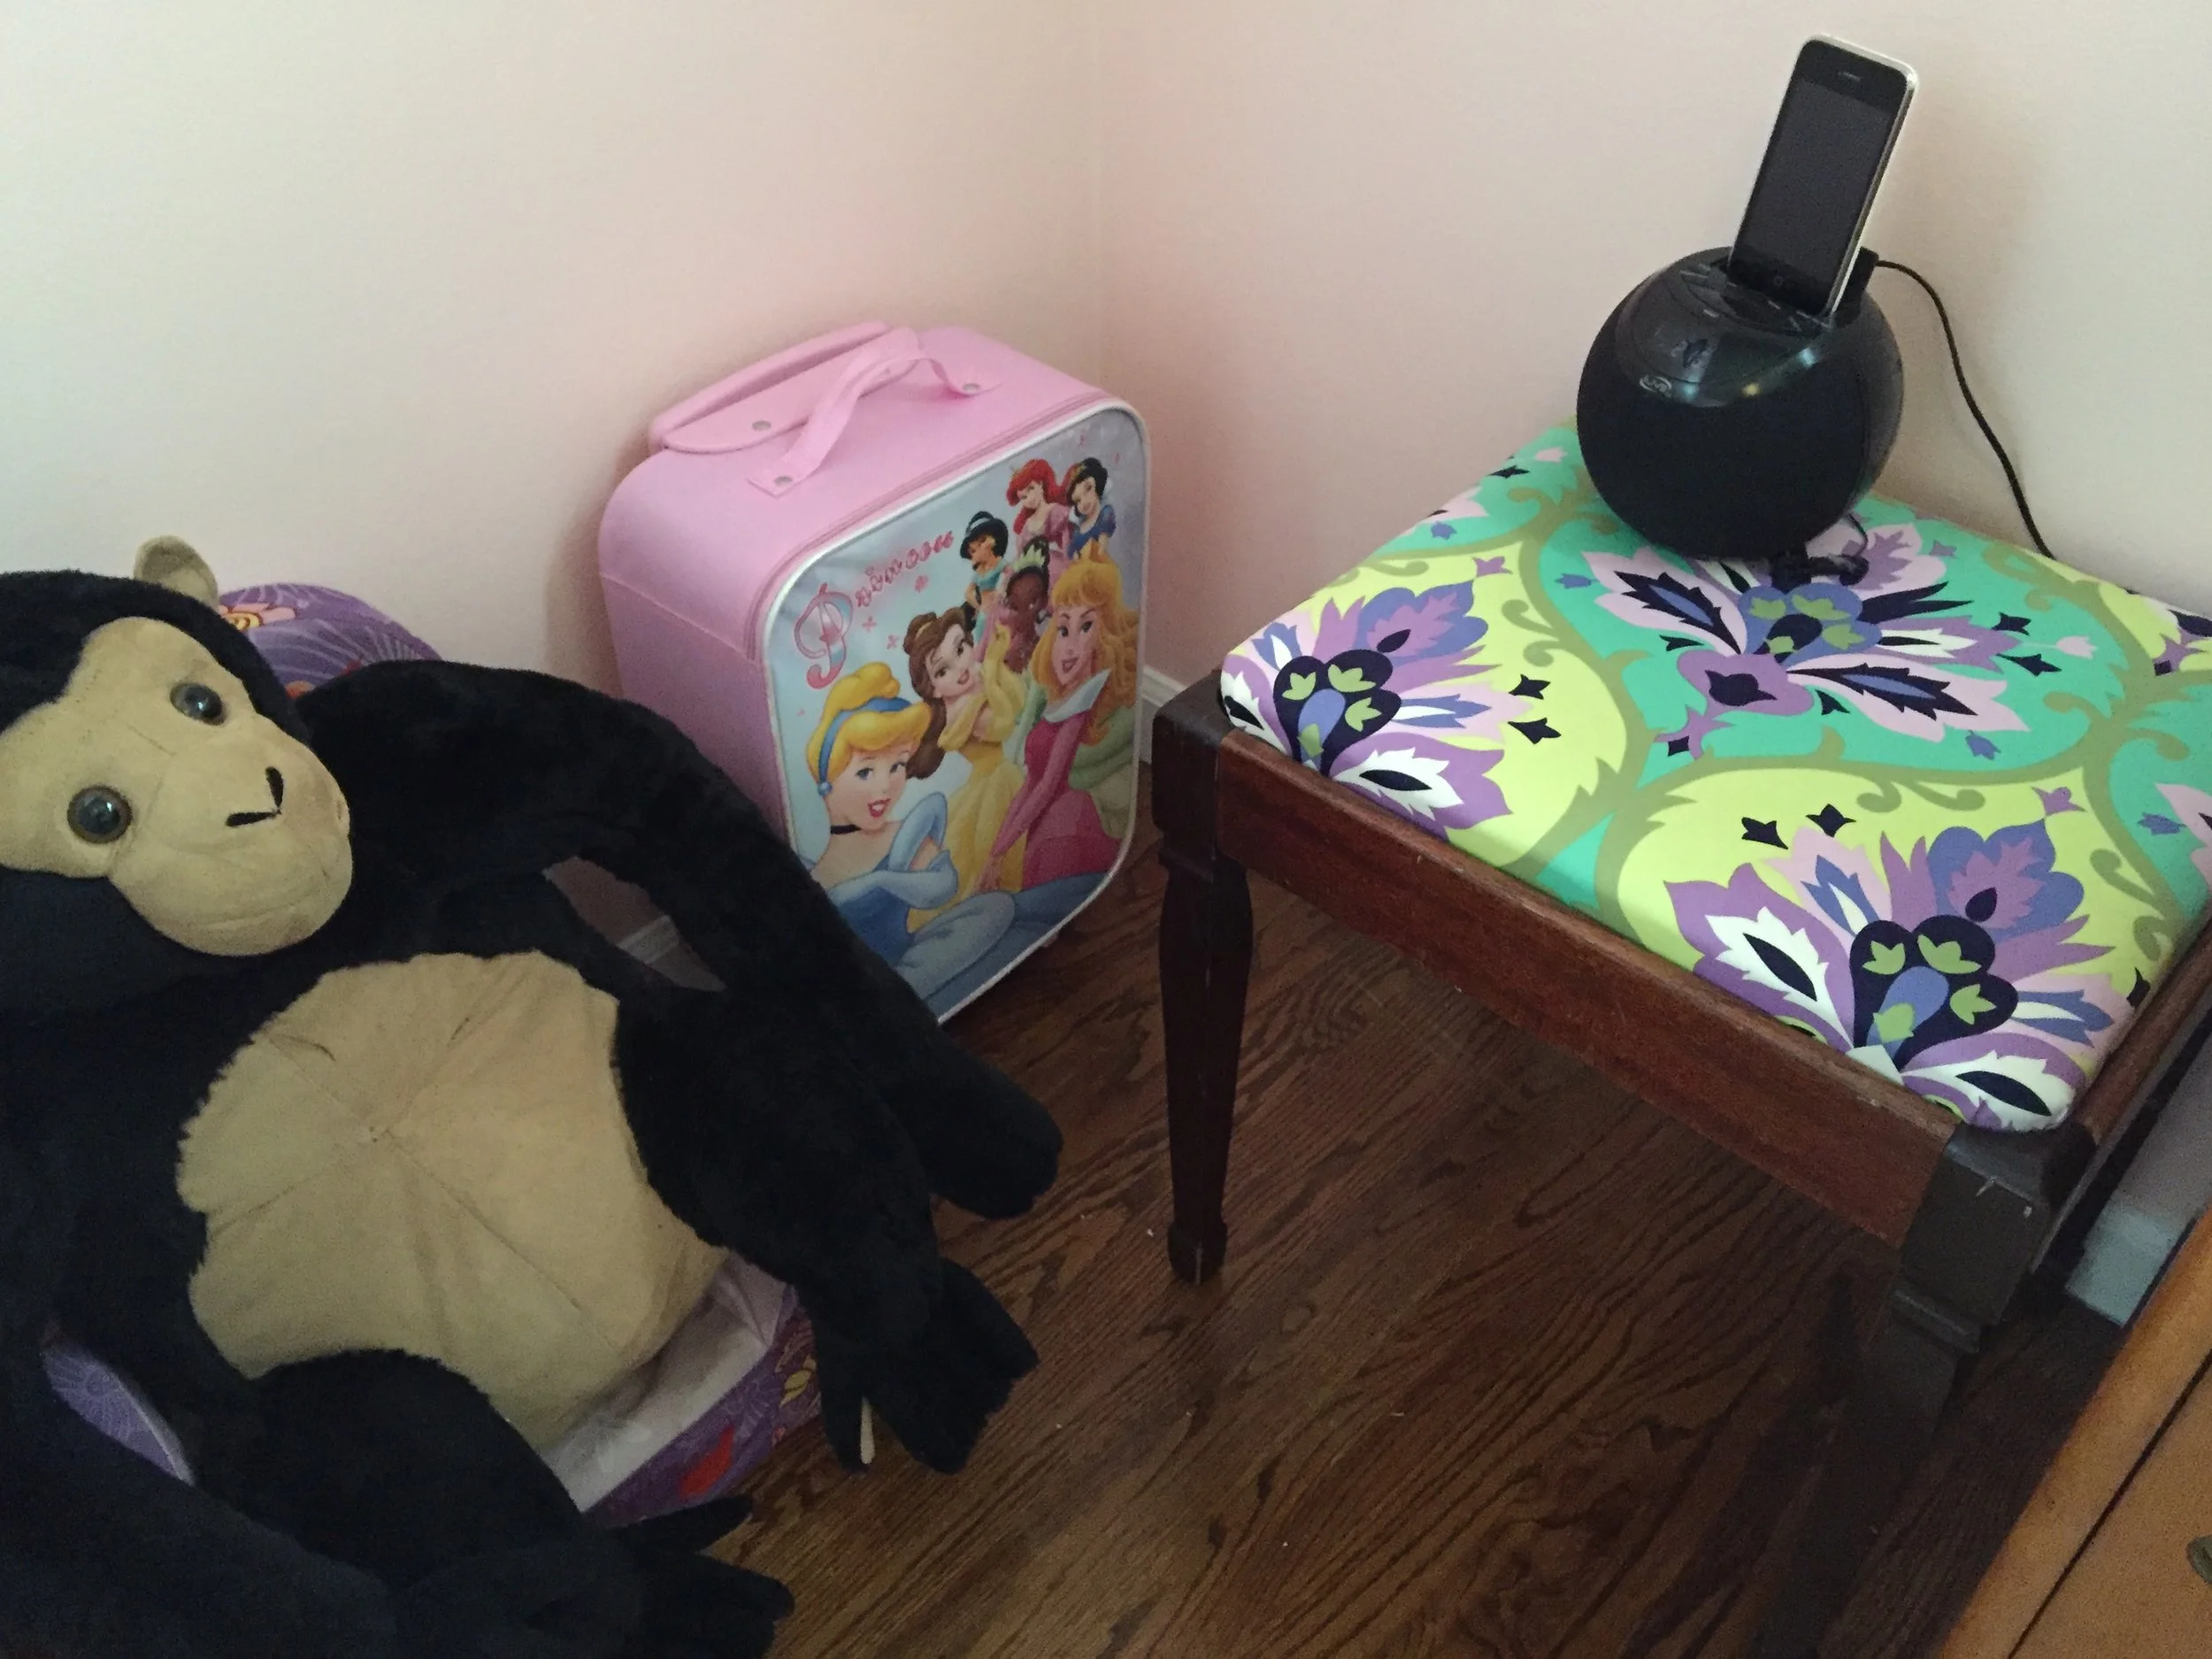
Next to the cubby shelf in this corner of the room is her squishy chair being used by her pet gorilla, her princess suitcase full of dolls, and a little stool that I recovered in a fun fabric.
Stool/Bench: Garage sale; Suitcase: From my SIL
Above the gorilla and suitcase is a mirror that may change colors in the future.
Mirror: Belonged to me from my college years
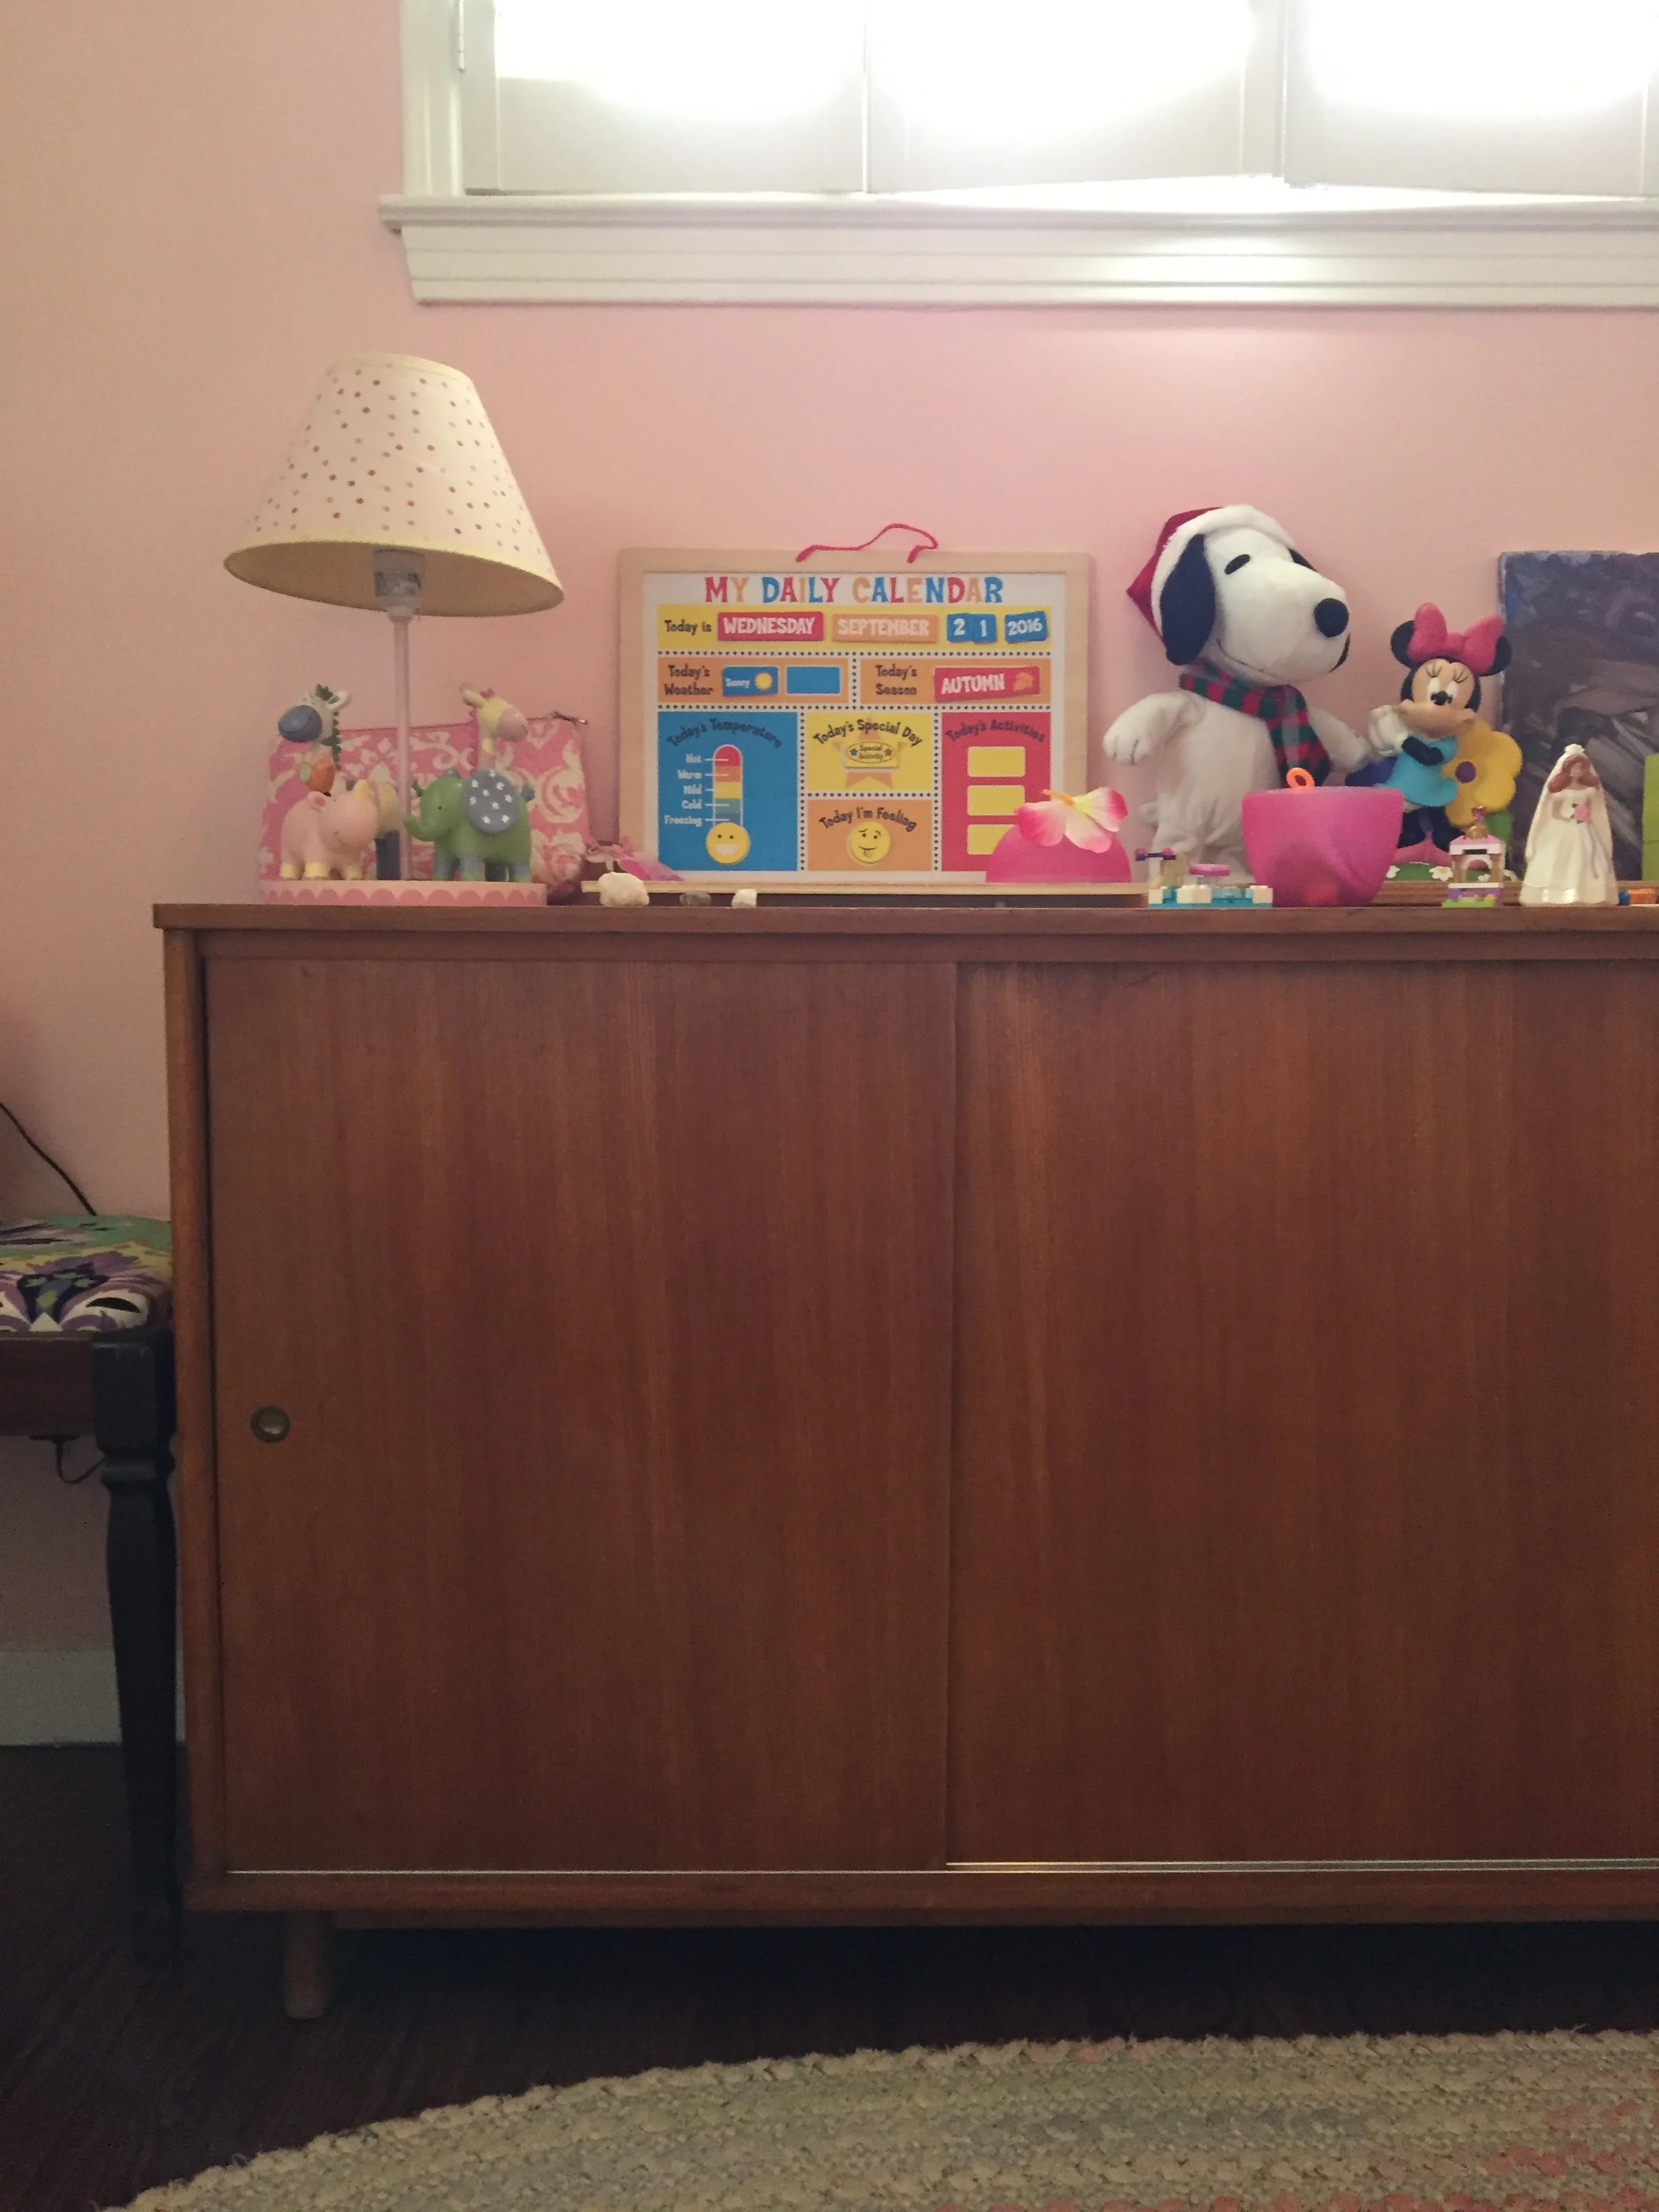
On the wall next to that stool/bench is a vintage teak credenza by Drexel. Everything on top is within reach to Meena, and she only uses the top of the credenza to store more toys and knick/knacks. The inside of the credenza is full of my crafting supplies.
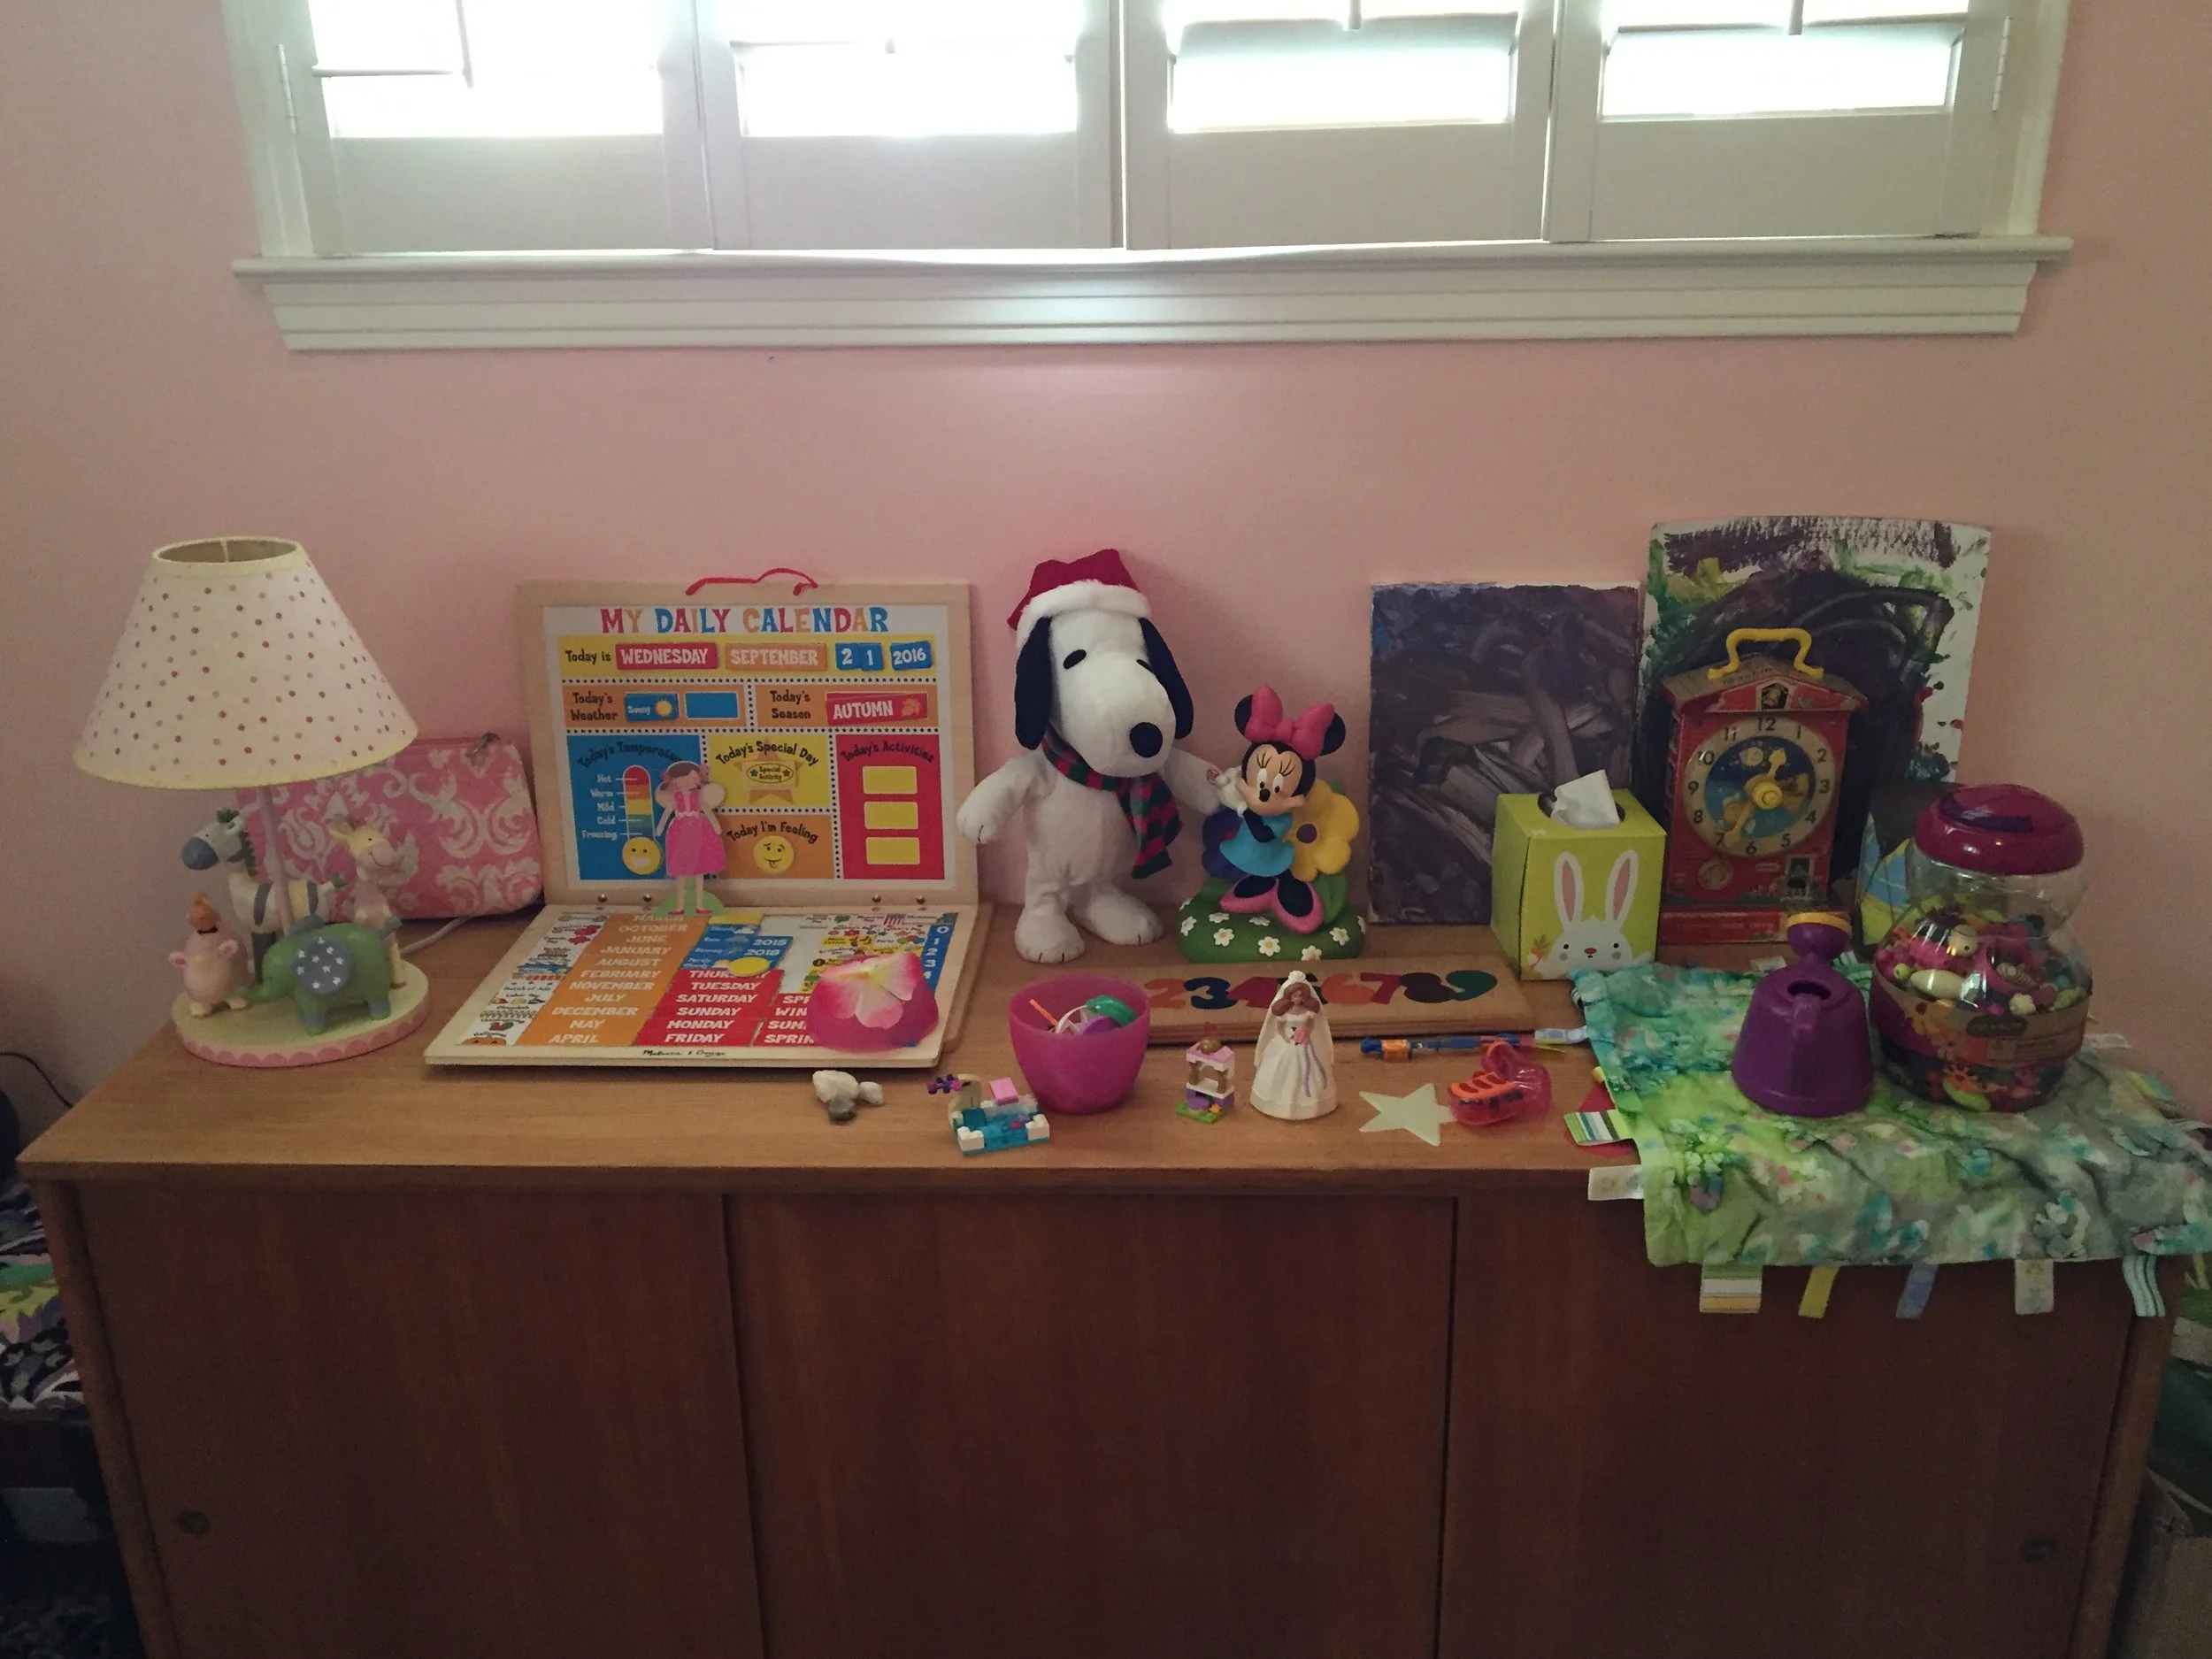
Vintage credenza: Craigslist

This is a big box of handed down costumes from my SIL. Princess dresses, princess shoes, fairy wings. Meena walks around in this stuff all day. It's so fun. Meena helped me decorate the box. Because who wants to just look at a plain cardboard box?
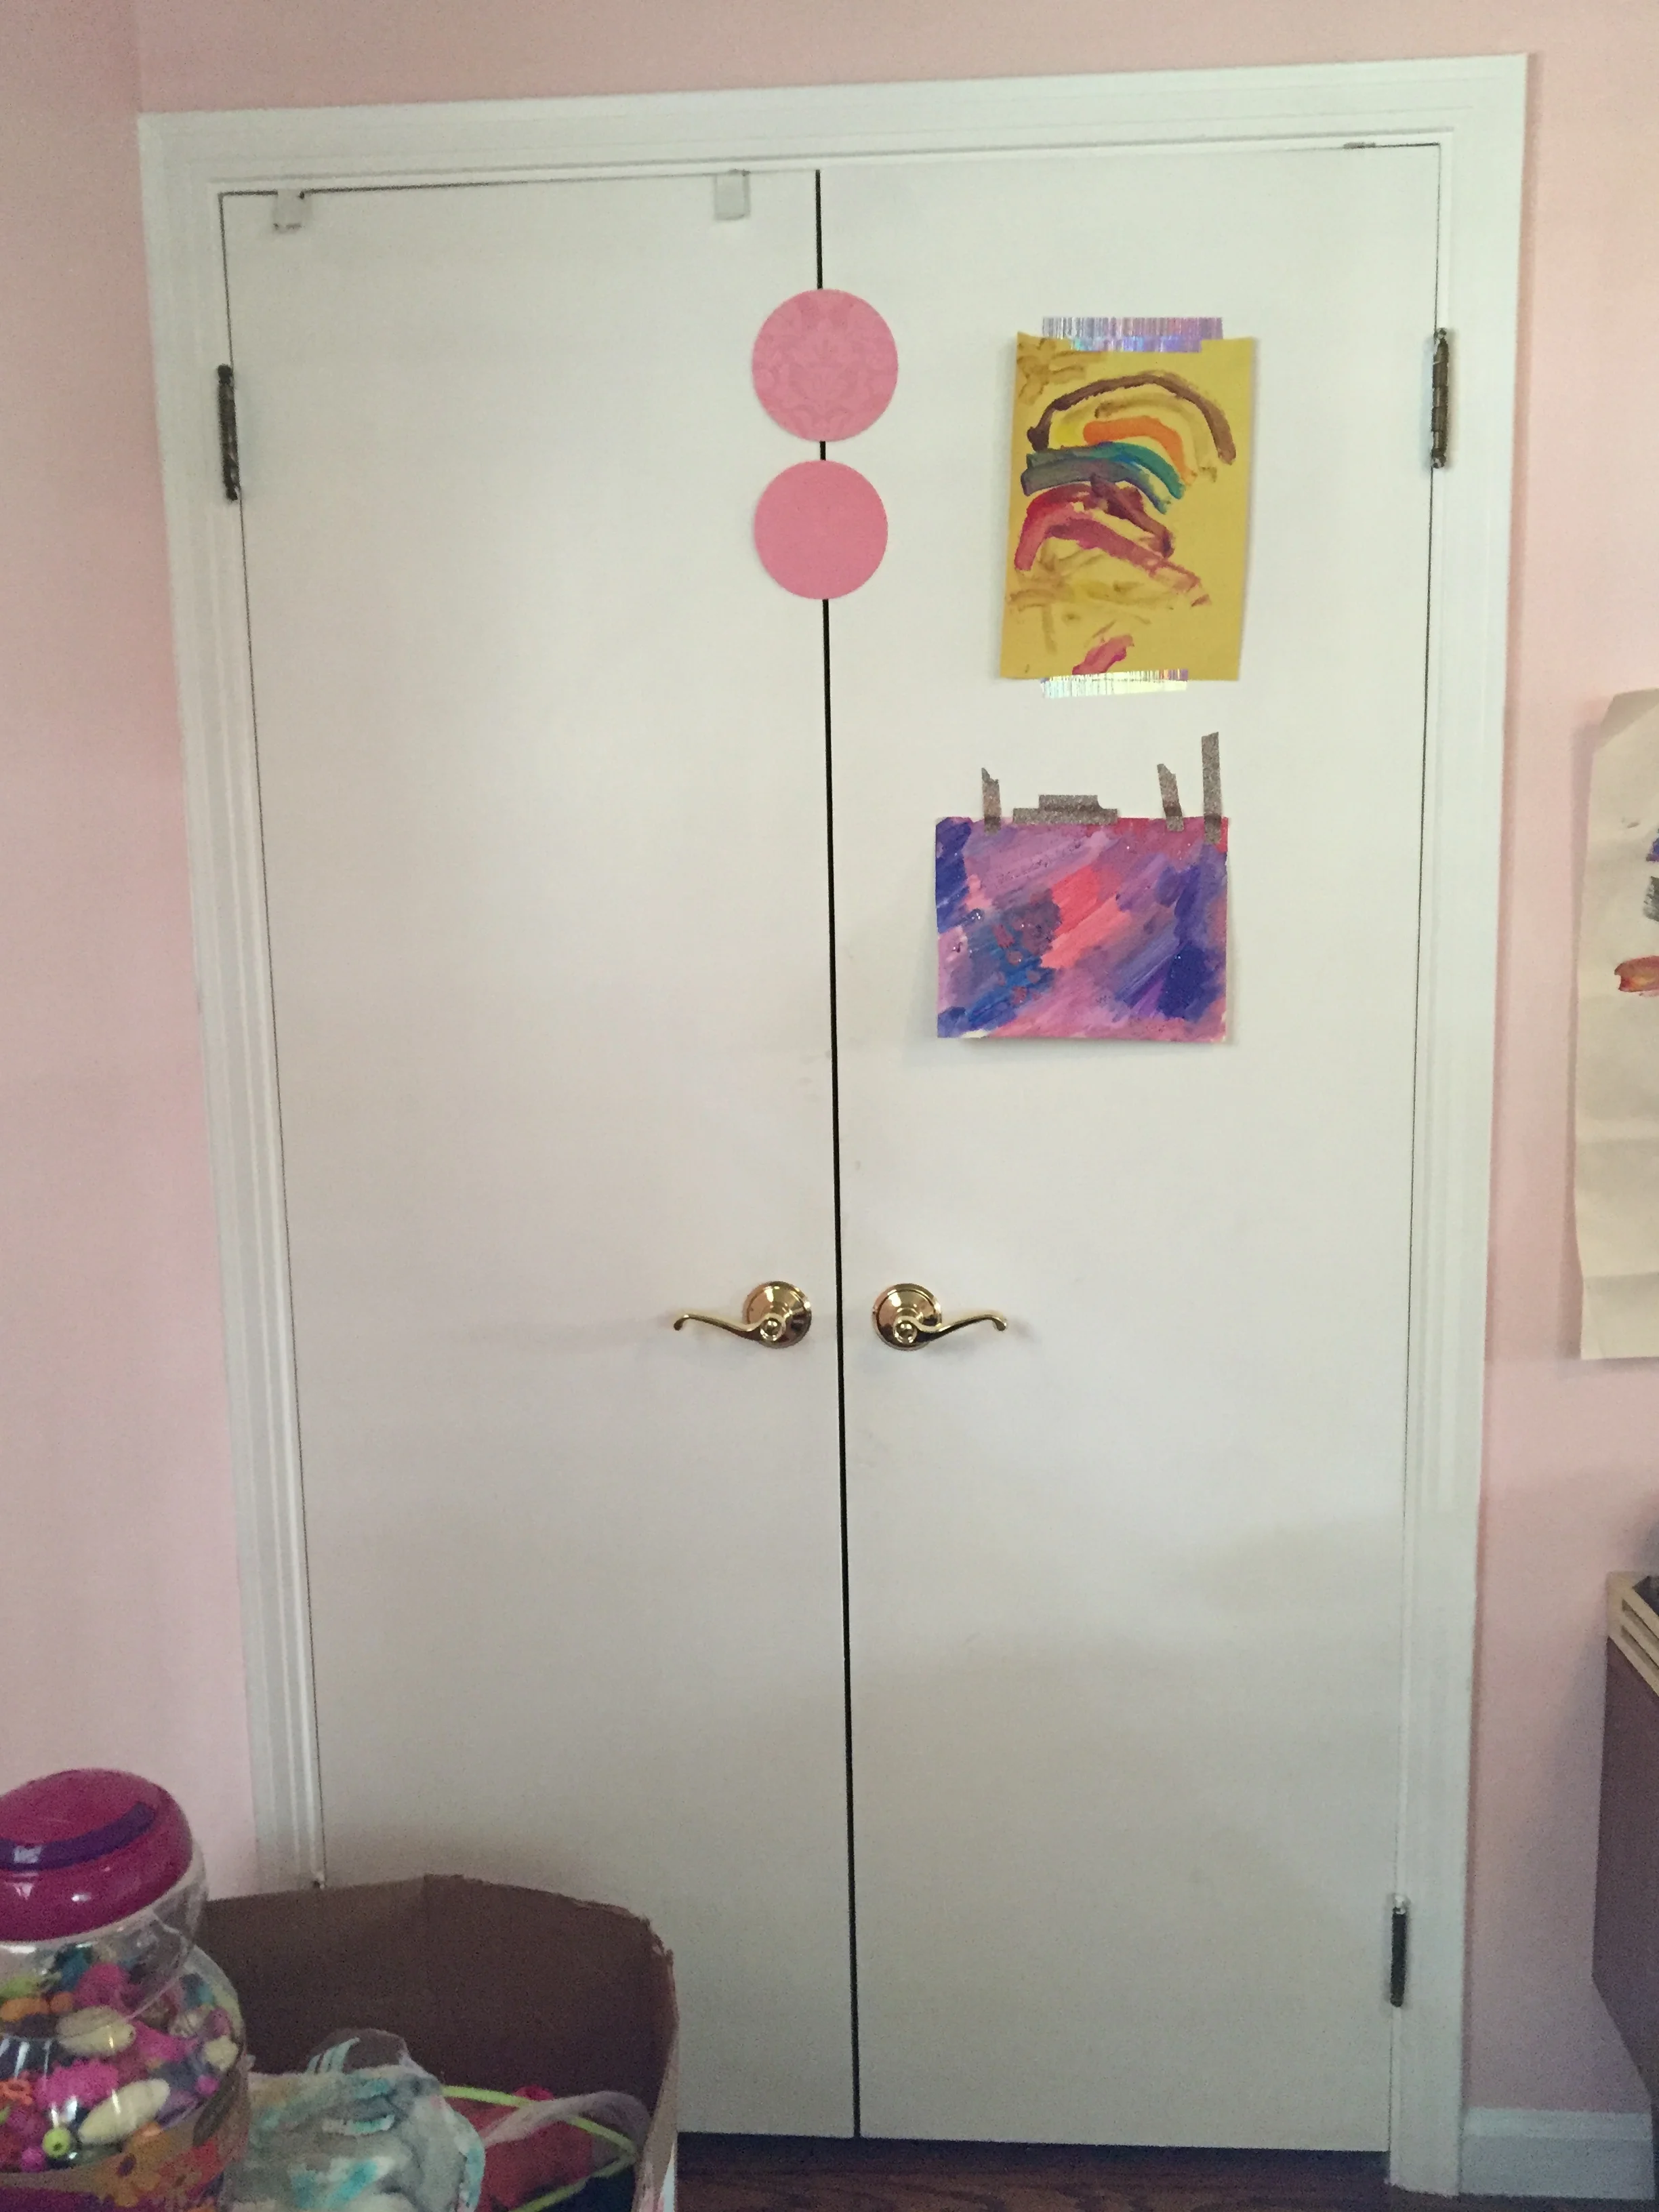
The closet has nothing special inside except for my hubby's and my extra clothes. And the doors just serve as another place to decorate with art.
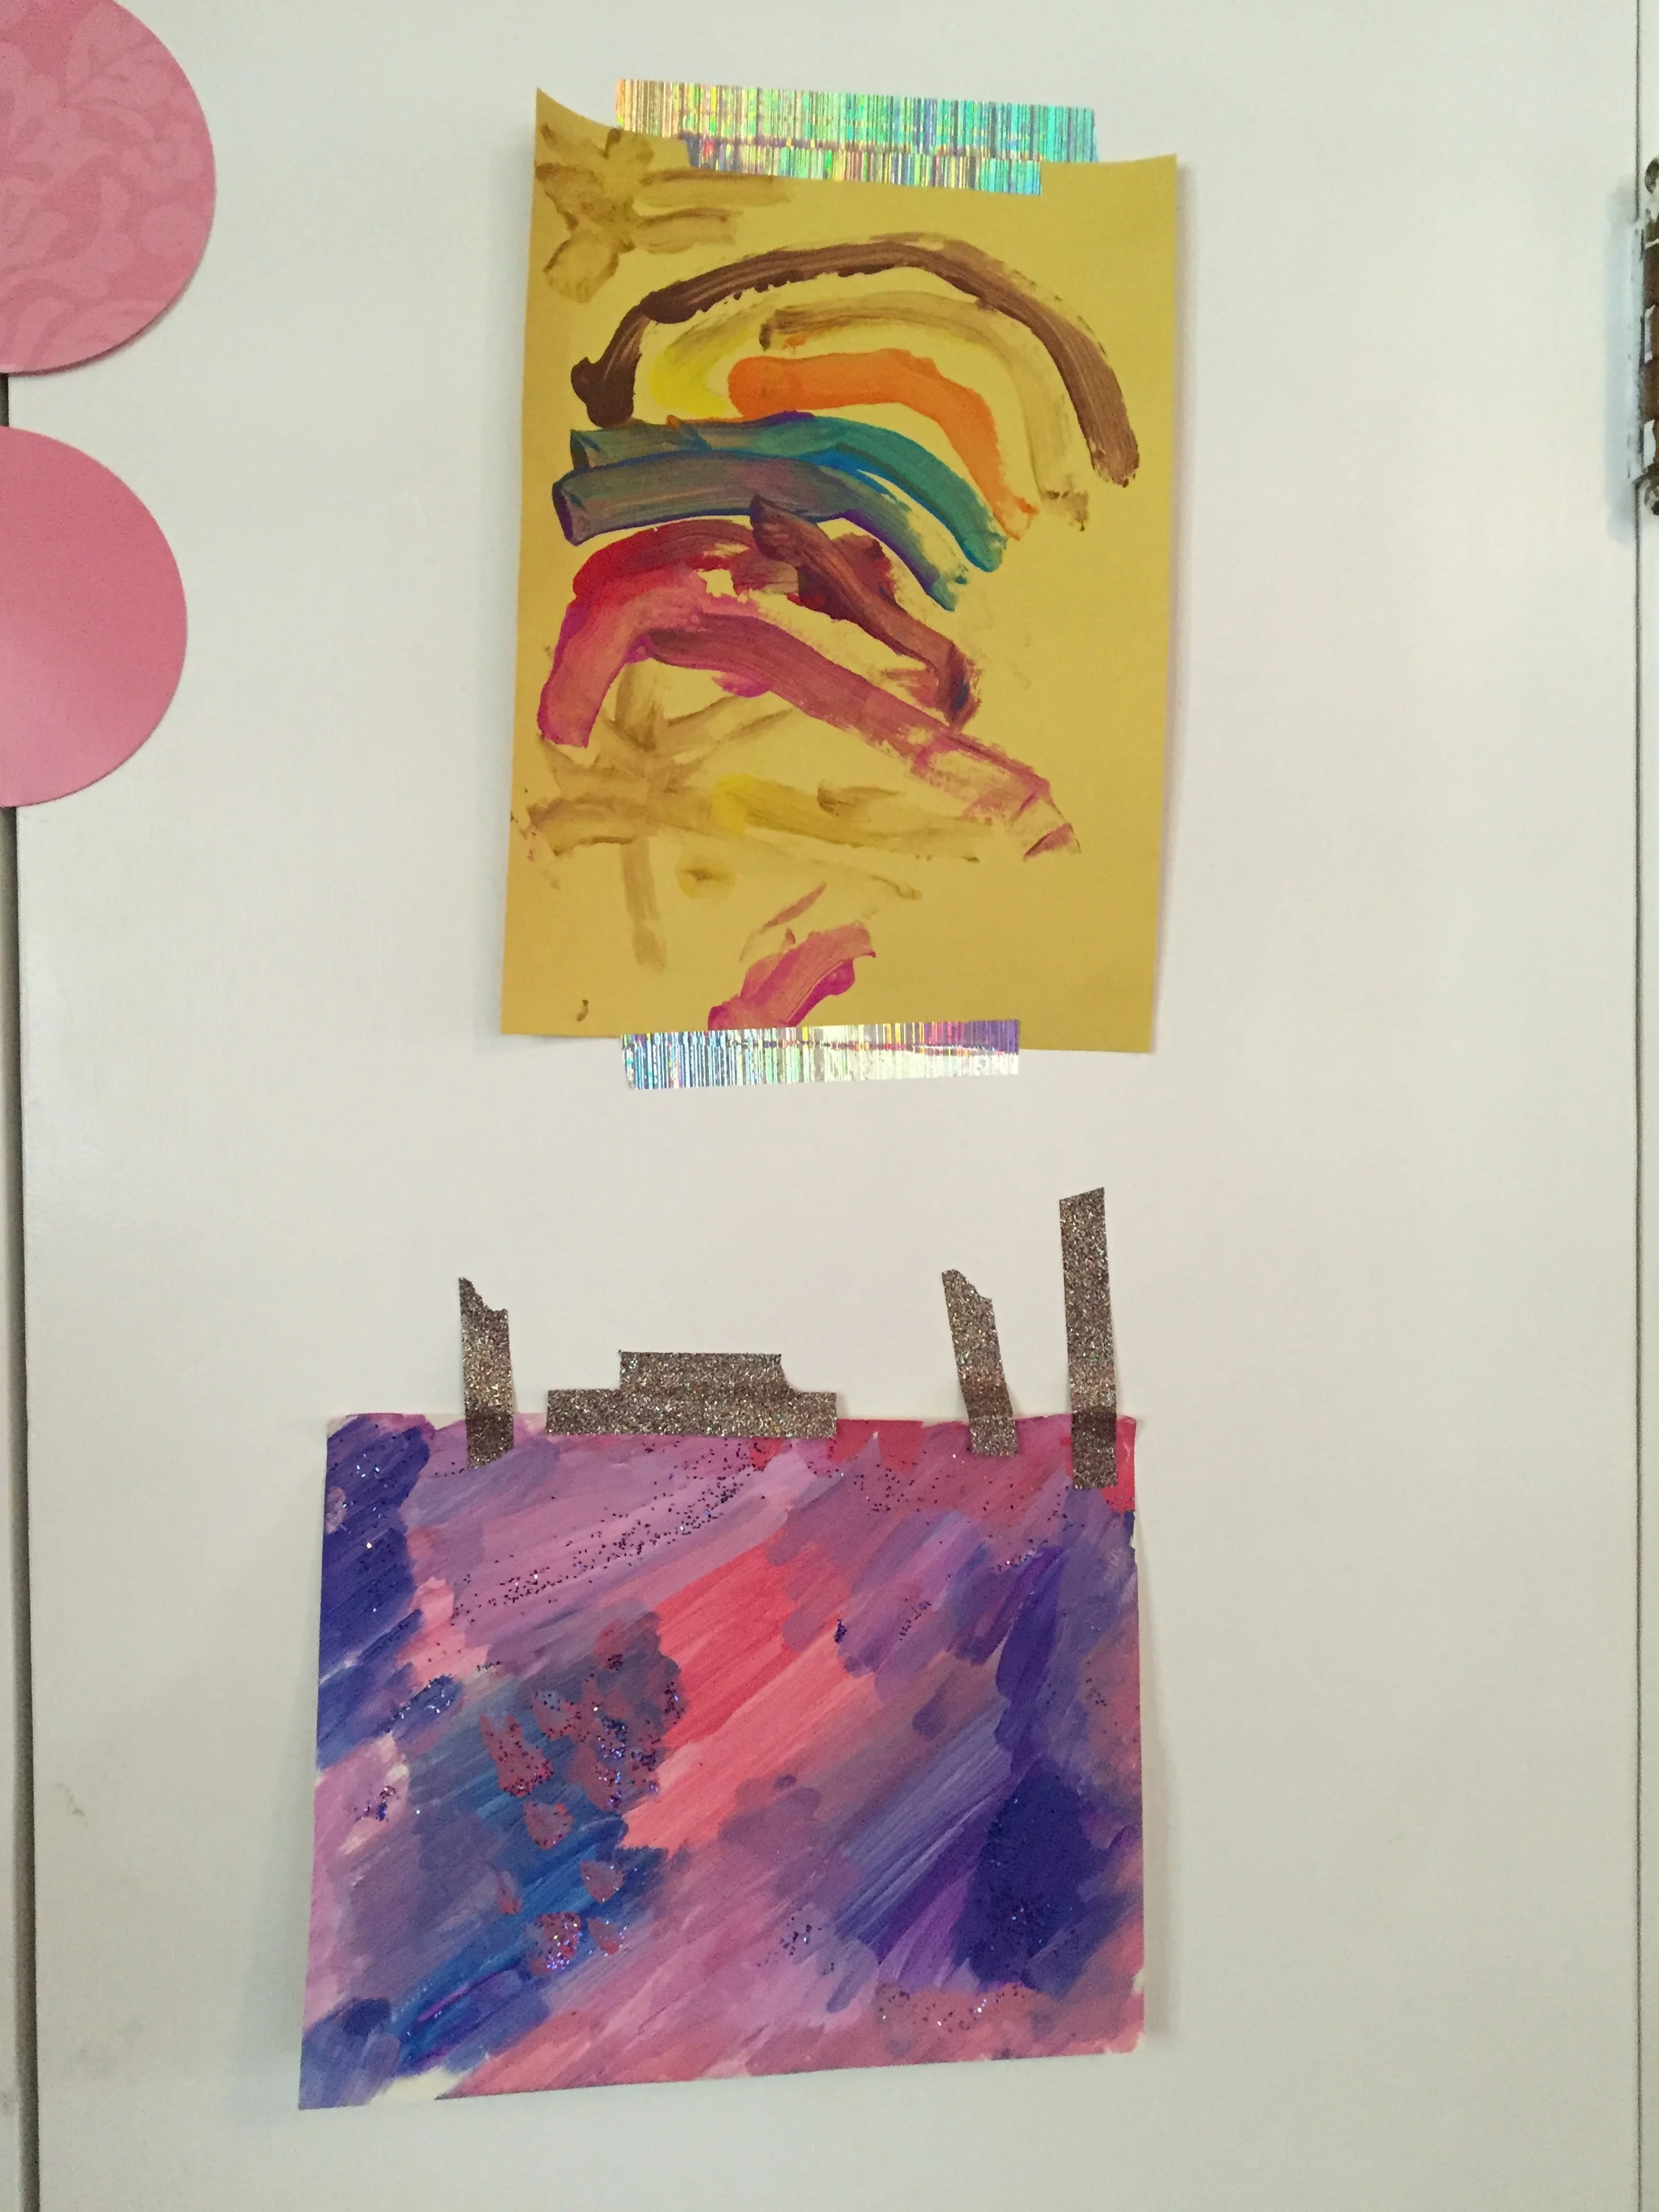
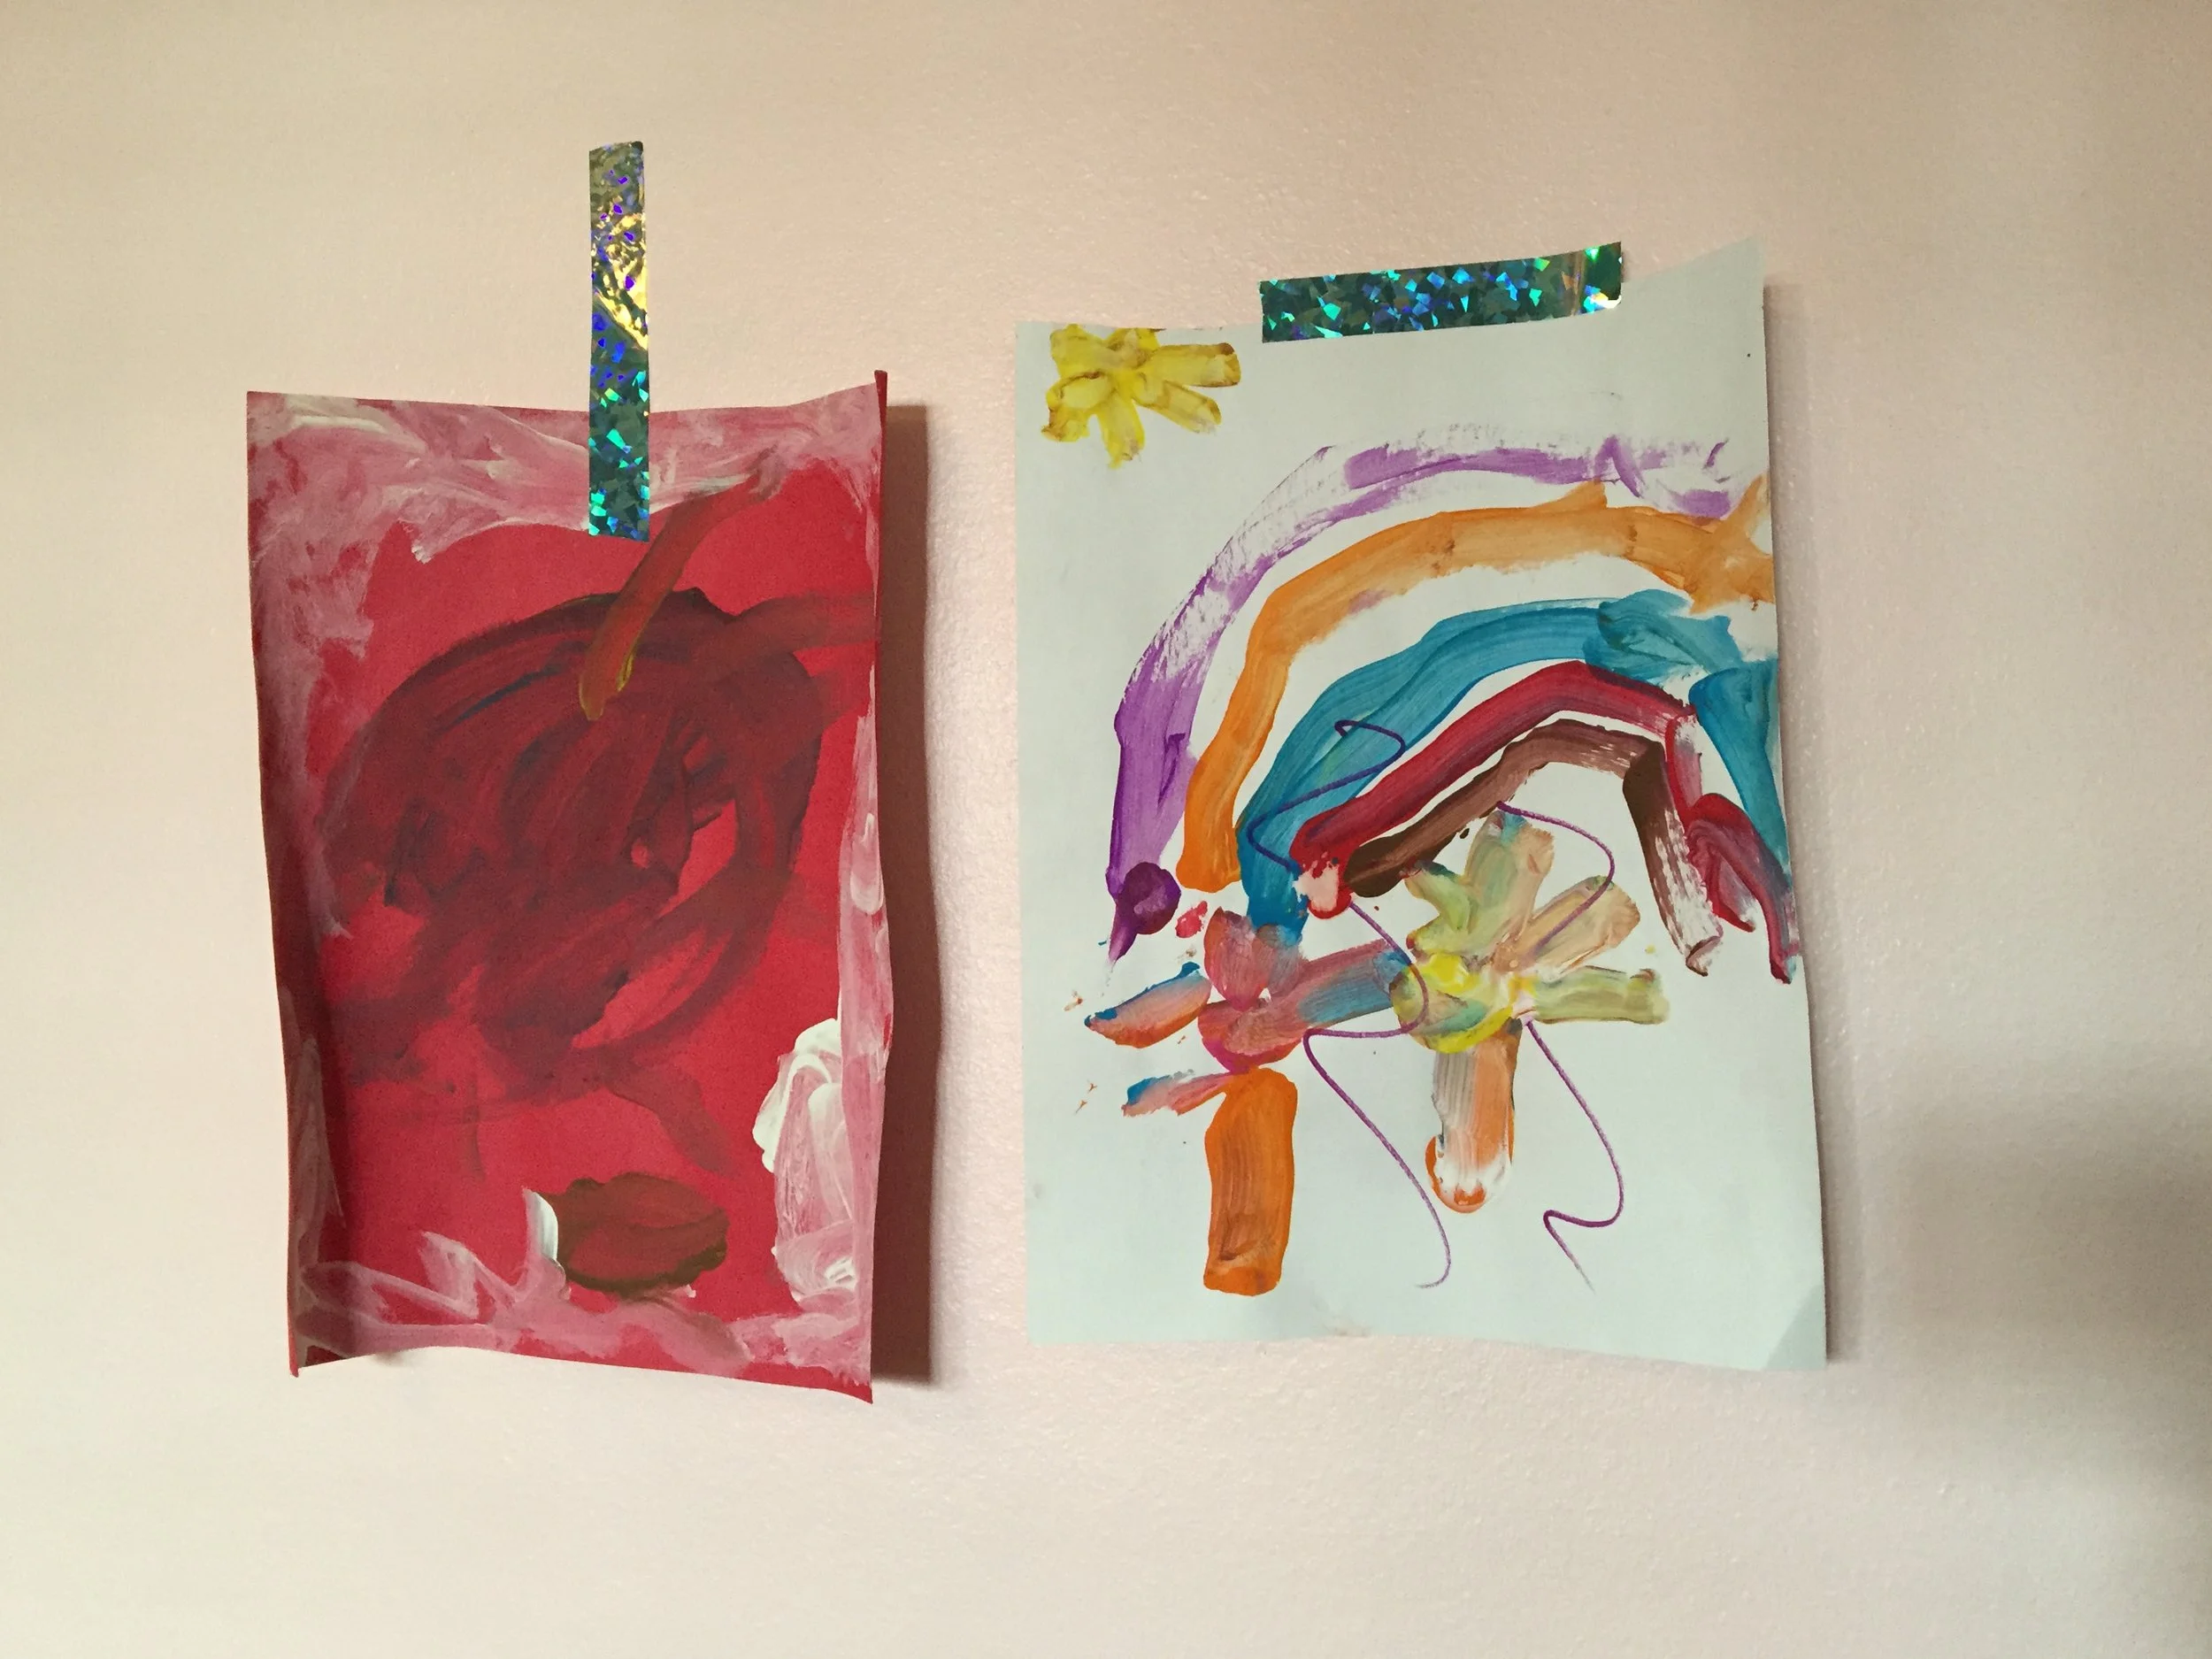
More priceless art by Meena and myself.
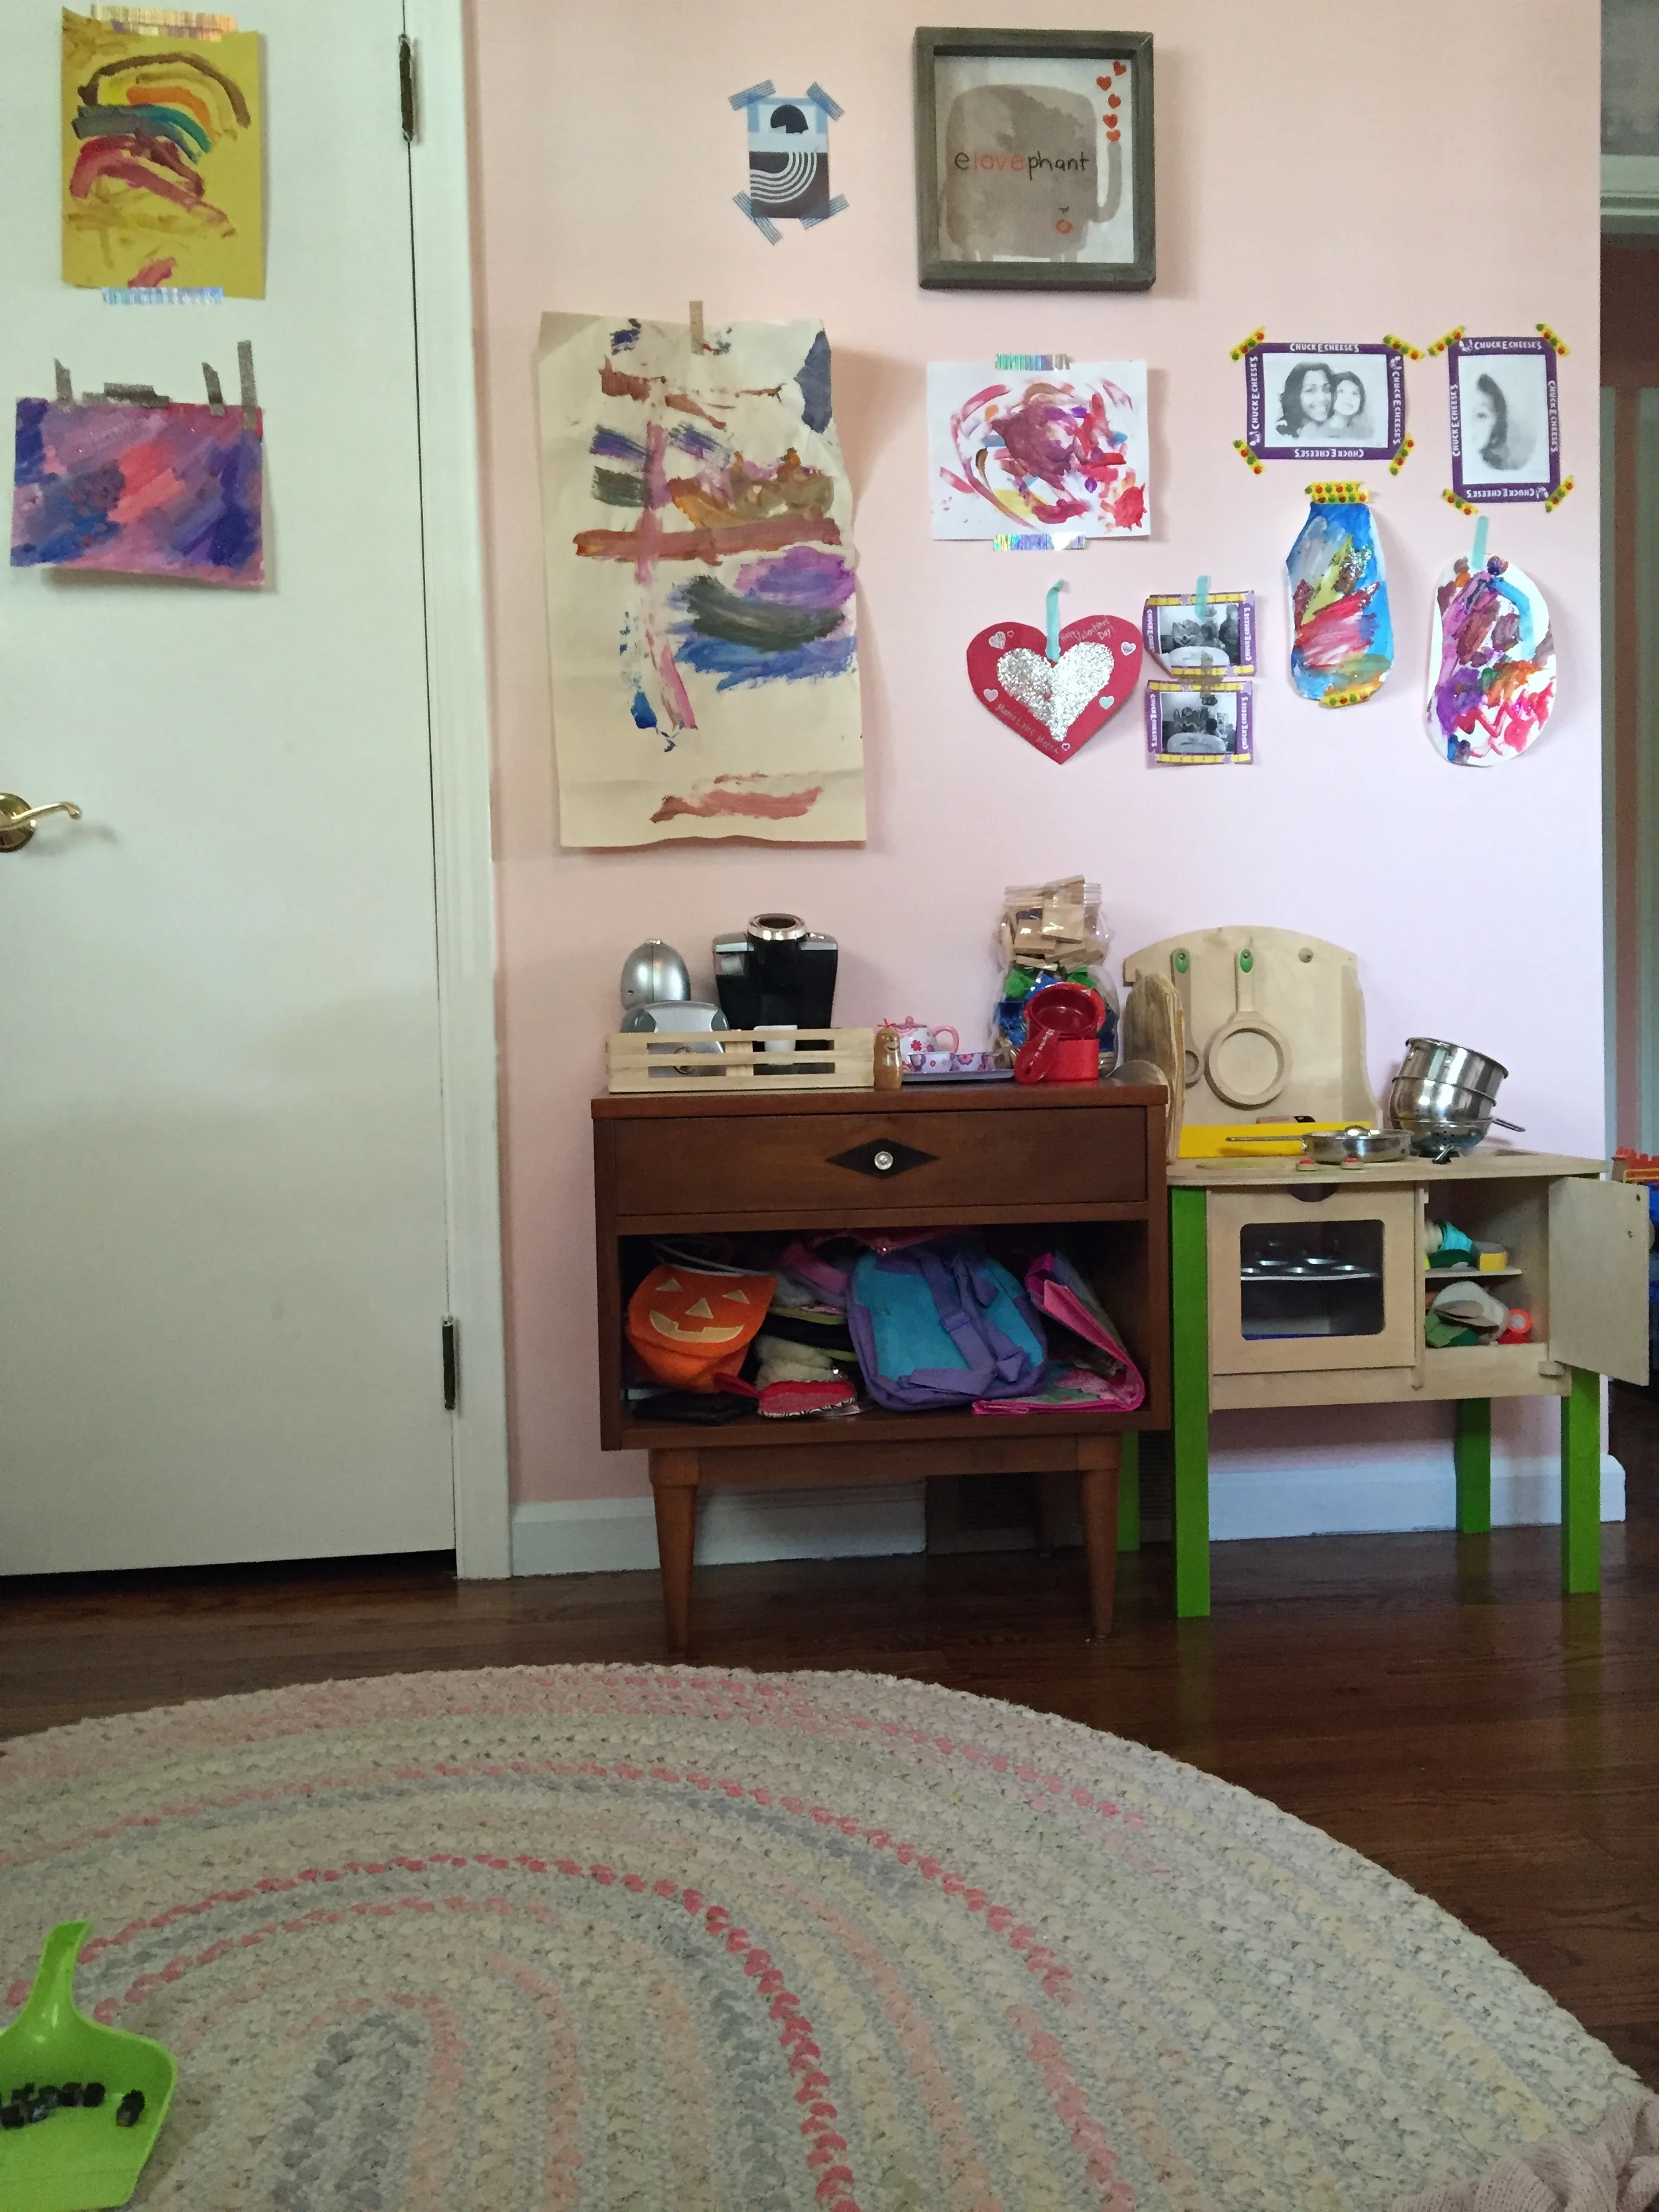
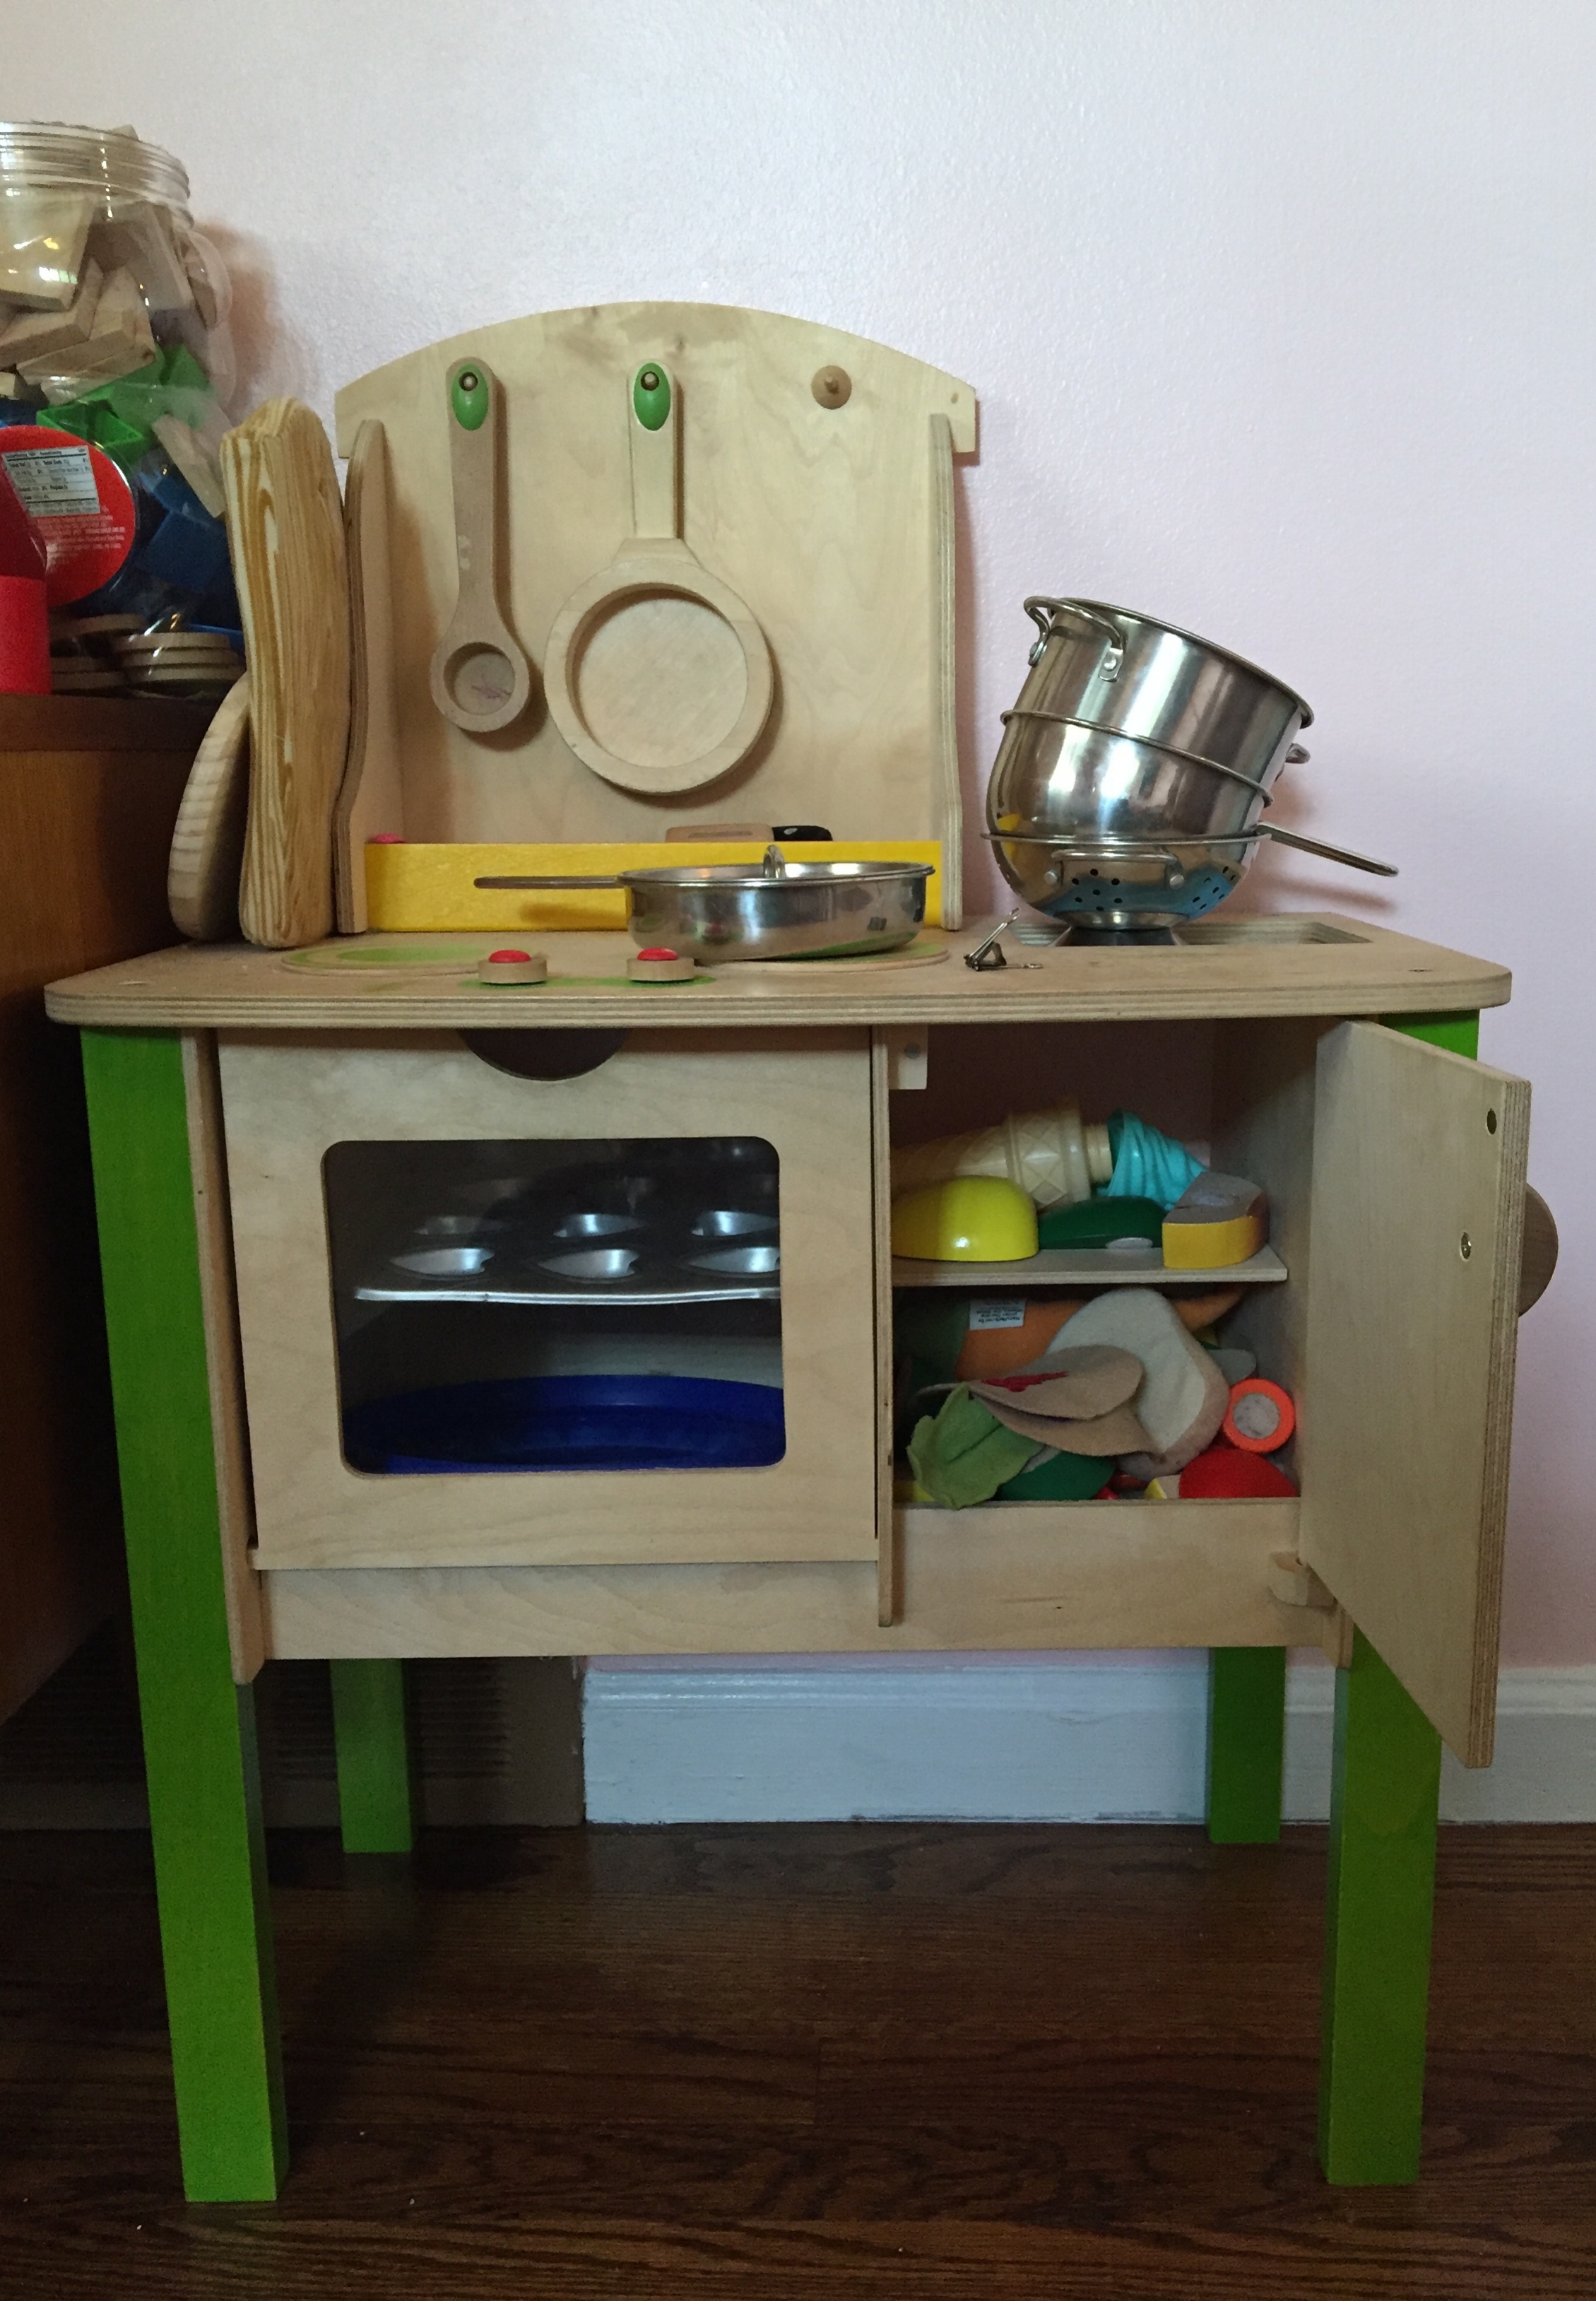
Just past the closet is Meena and Giuseppe's kitchen area (they both share these toys, but they just live in Meena's room). The nightstand serves as counter space and purse/backpack storage. I love using little nightstands in the kids' rooms. They are the perfect height for them for lots of different stuff. And then one day when she outgrows this as part of the play kitchen, she has a cool nightstand to use as an actual nightstand.
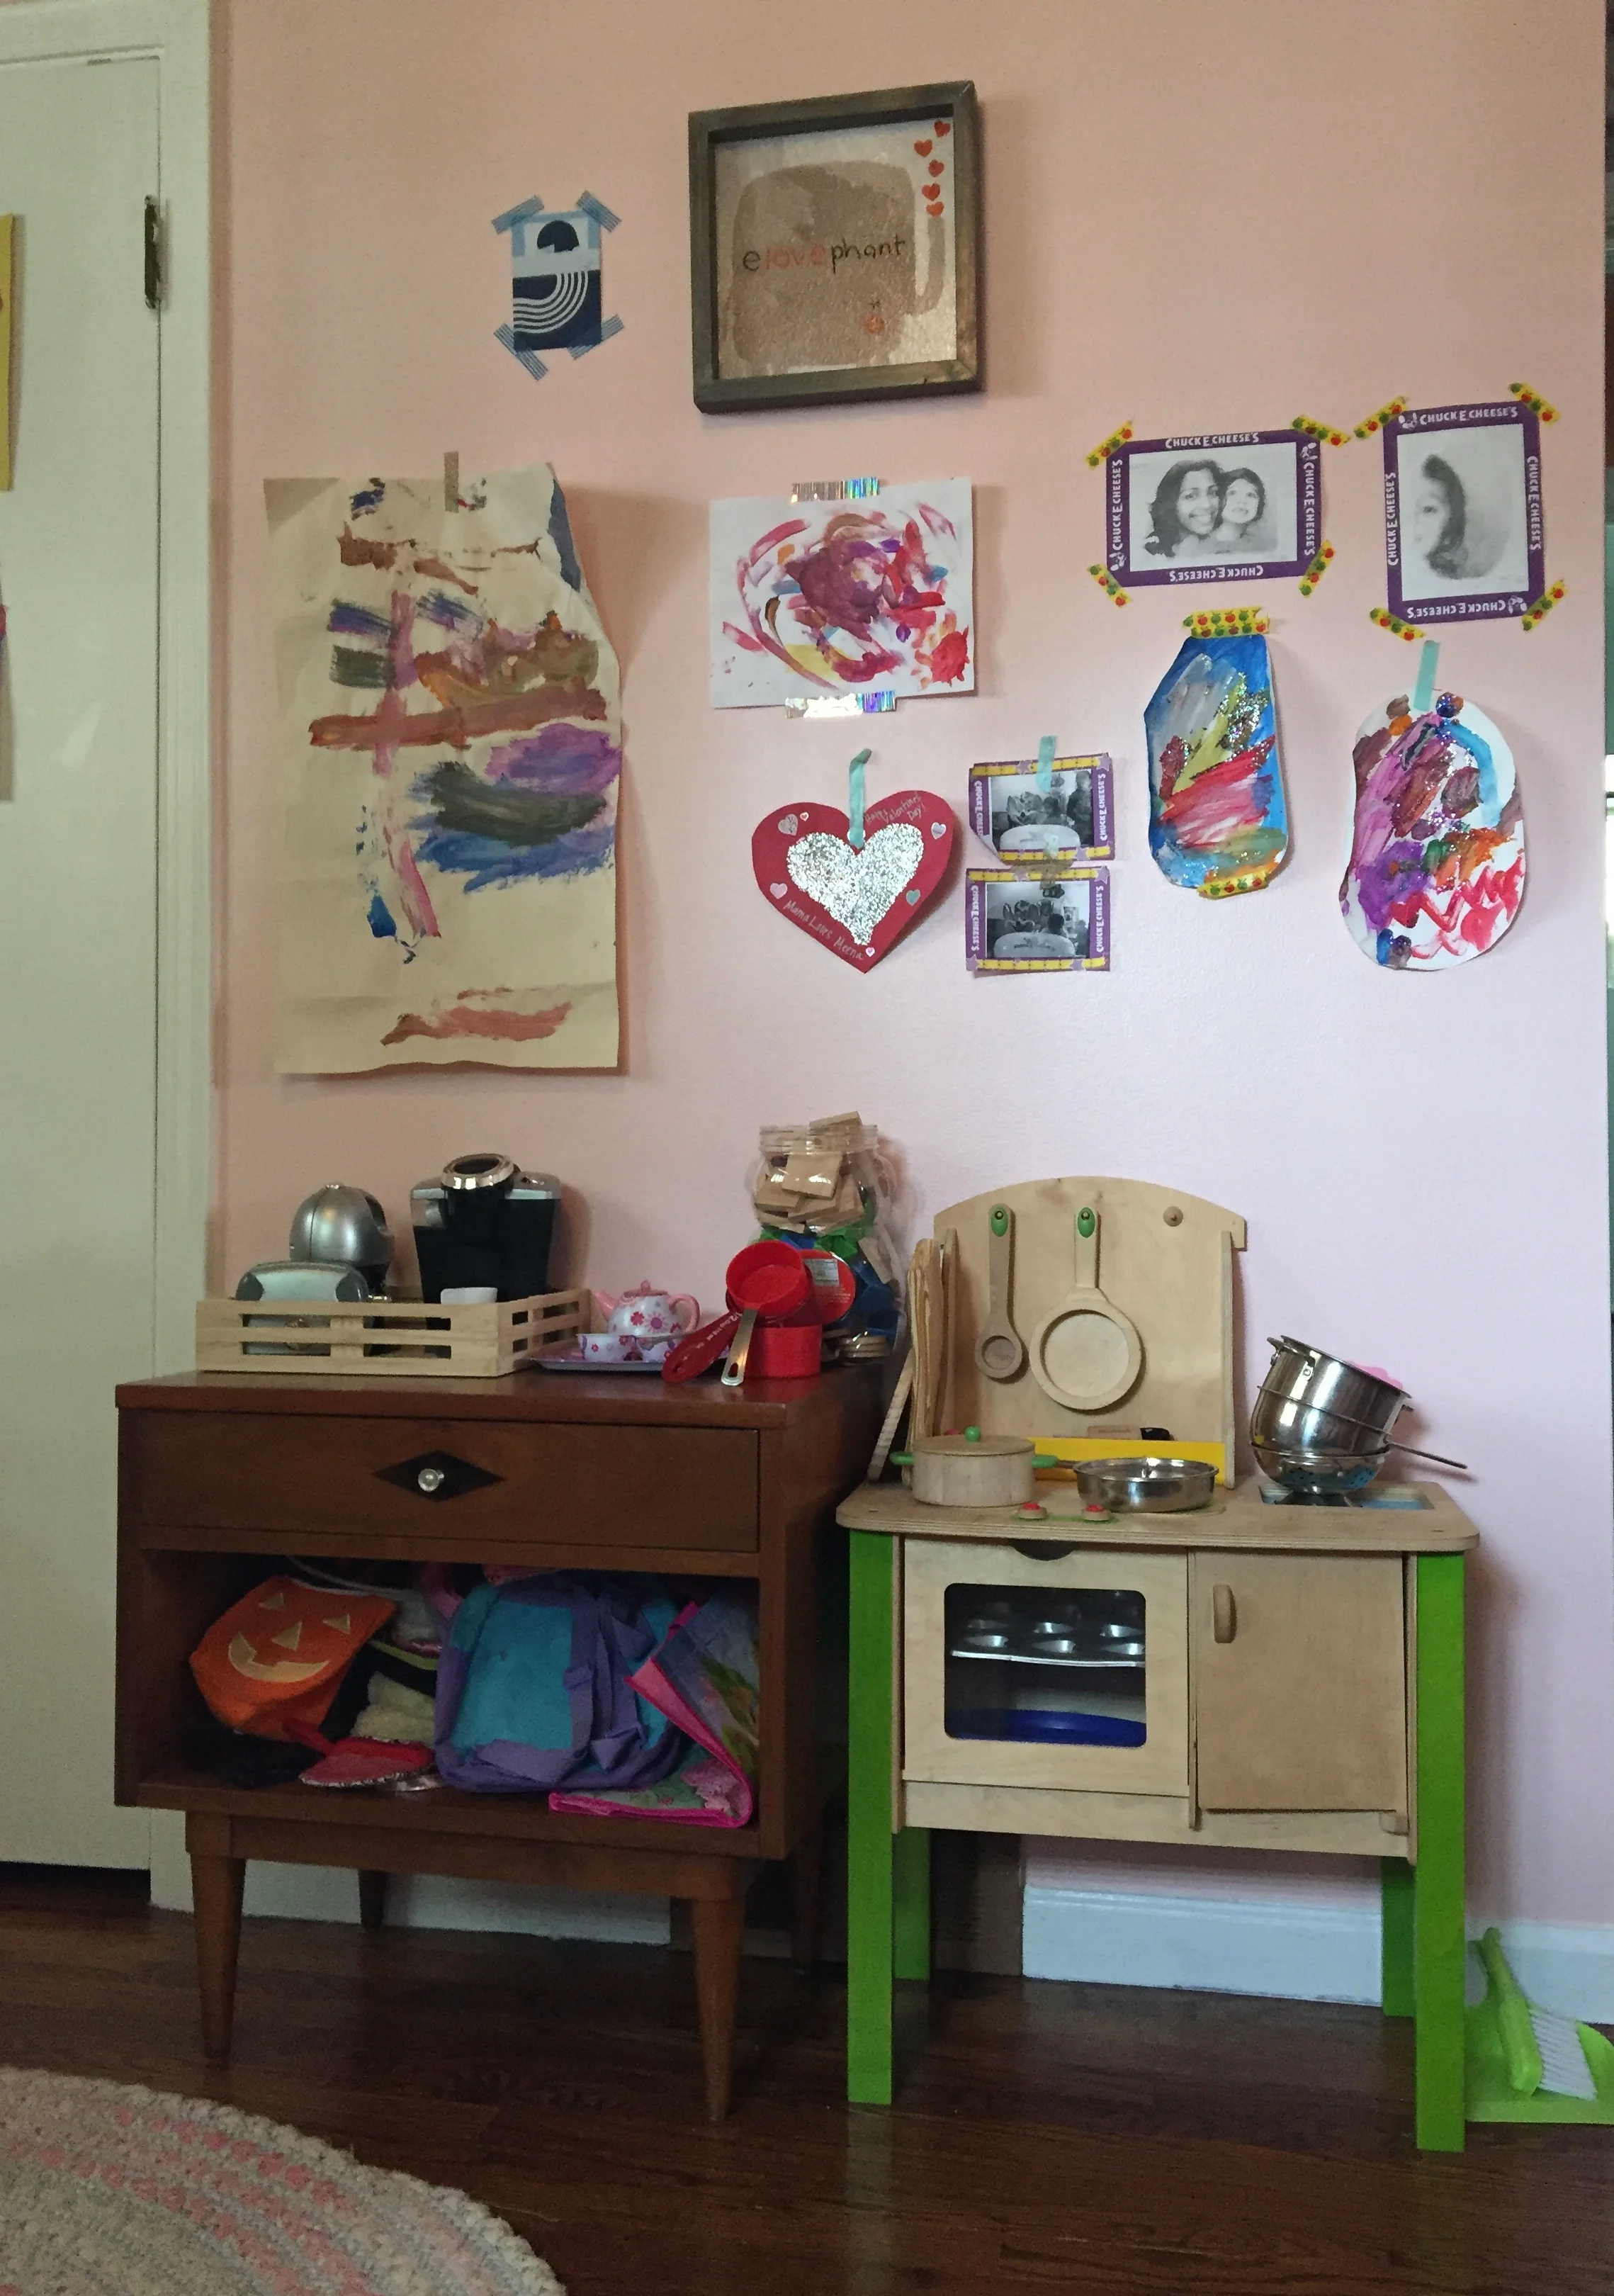
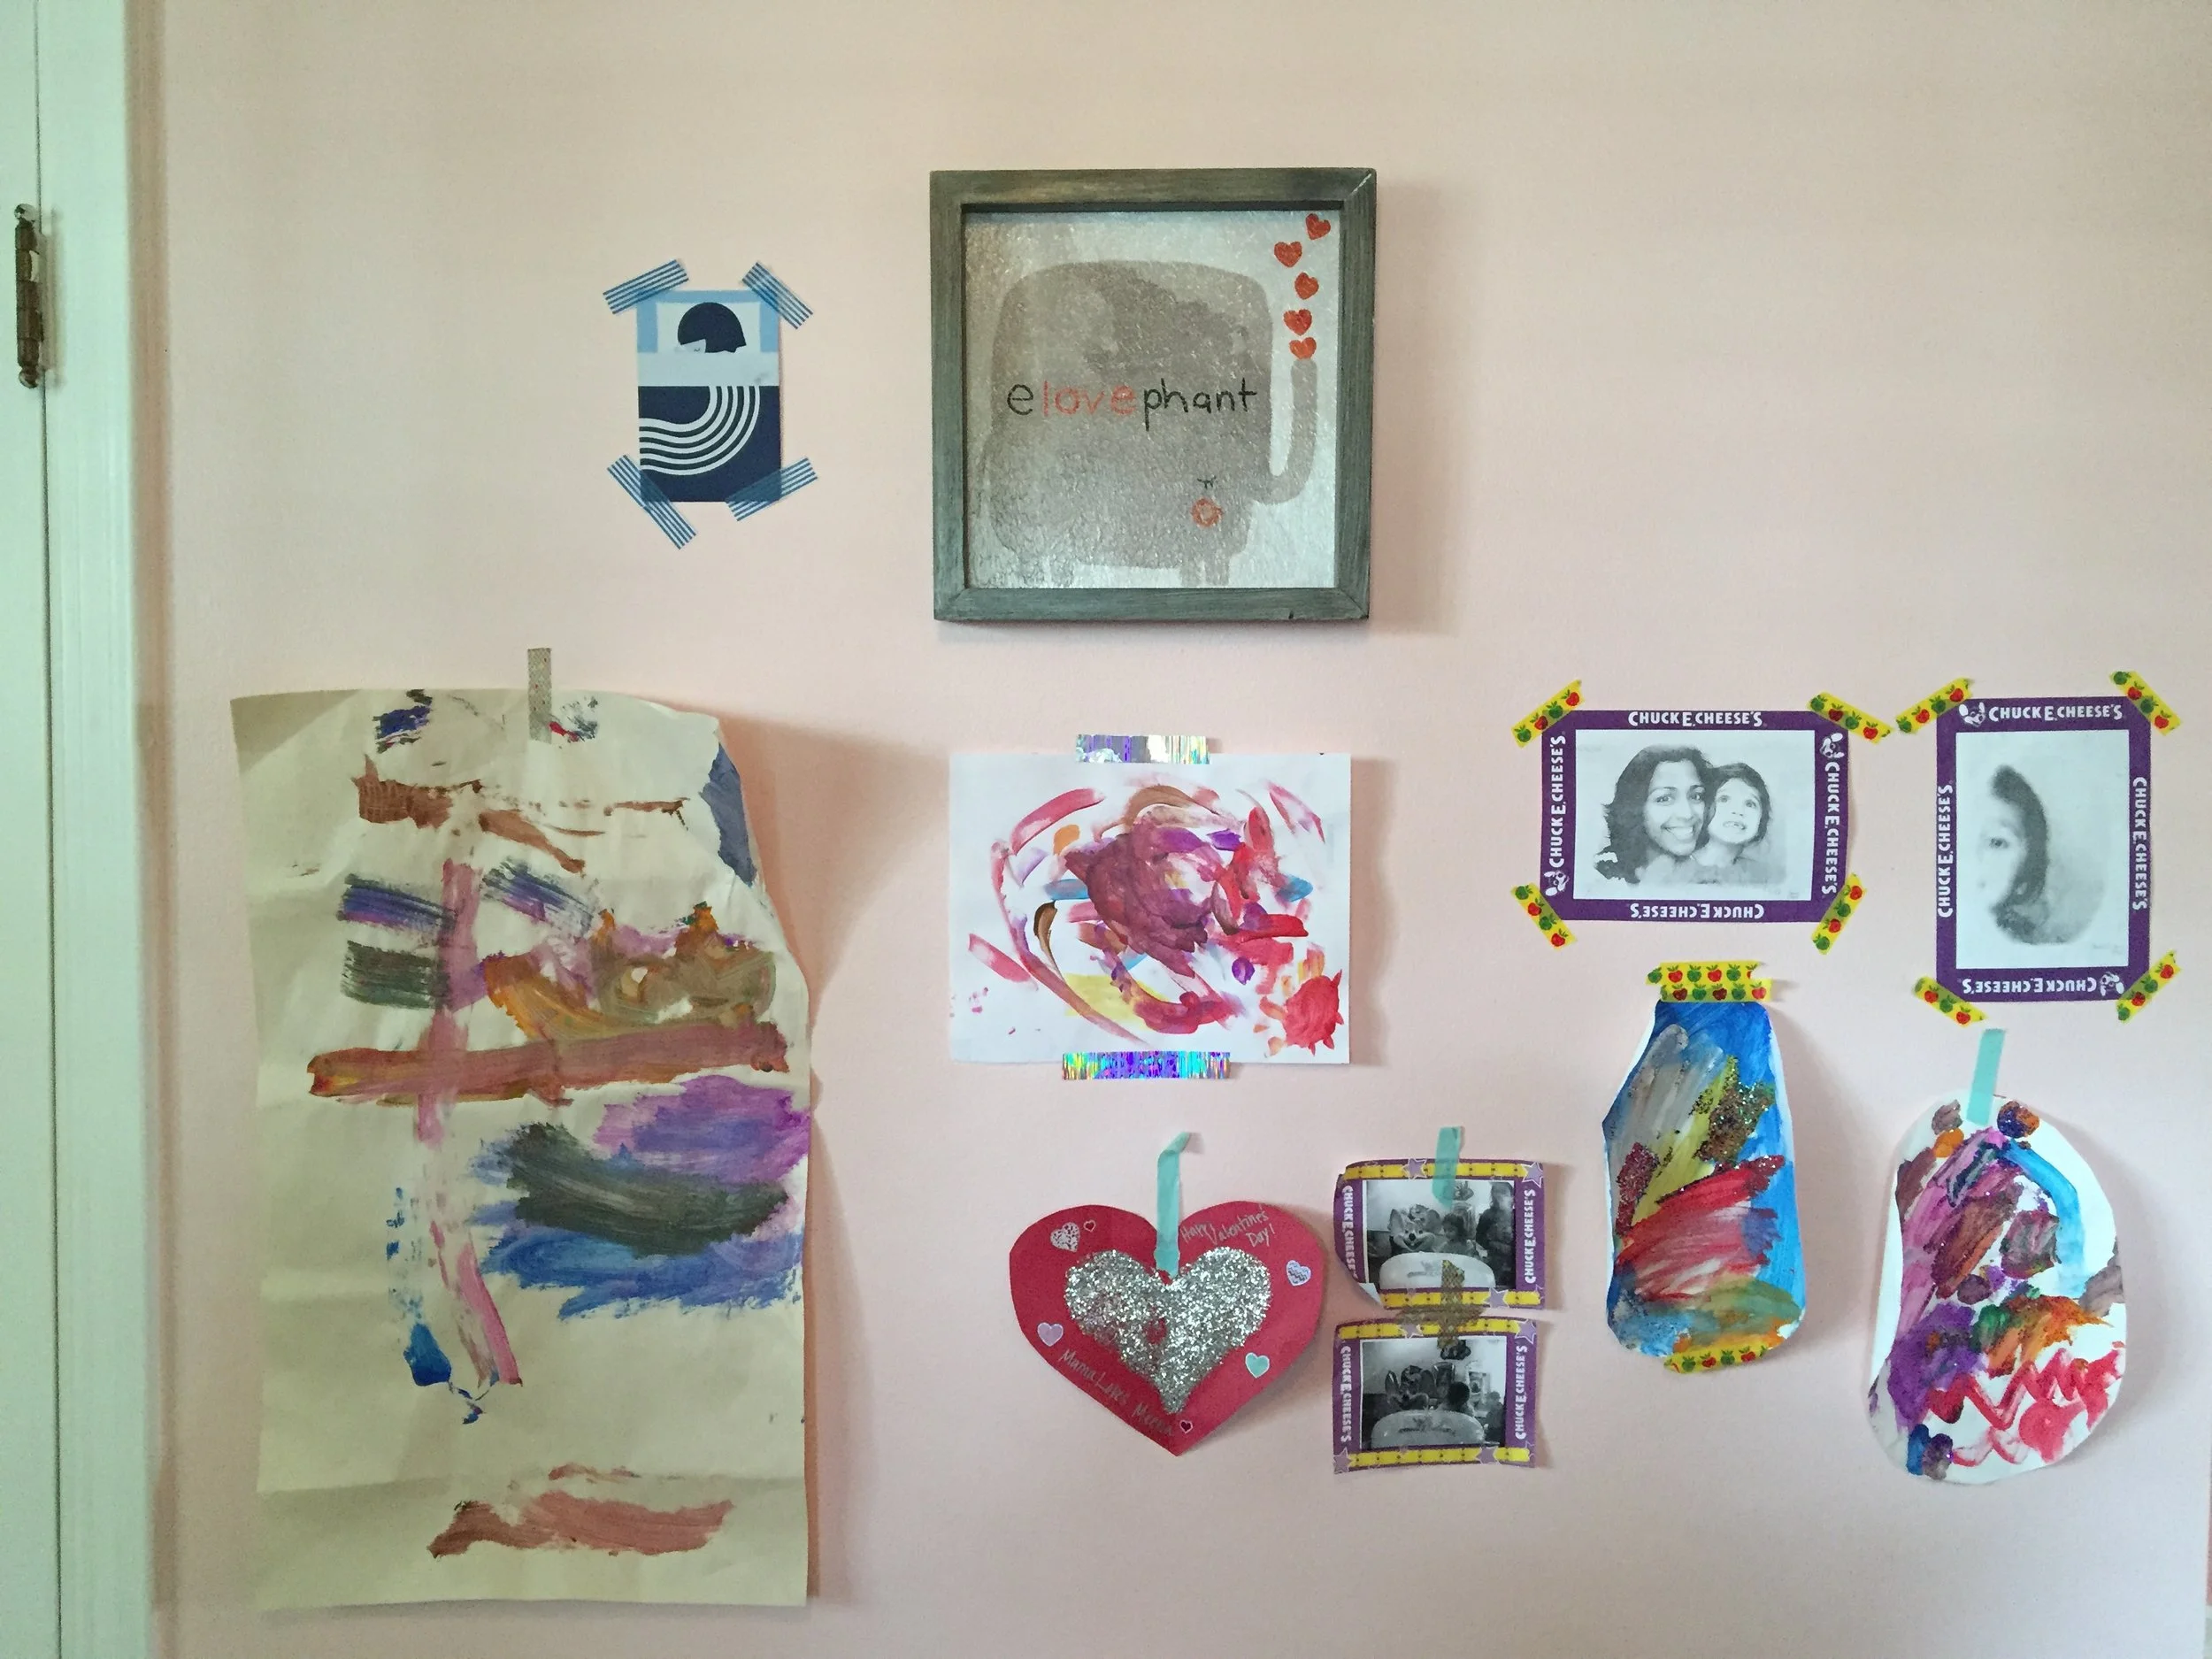
Above the play kitchen is the fancy "gallery wall". This is where we've been adding a lot of Meena's art projects. Other than the framed elephant print, everything is stuck on with washi tape. It doesn't pull of the paint, you can move stuff around, it's cheap, and comes in a bunch of colors and prints. The kids love just grabbing some and sticking their stuff up.
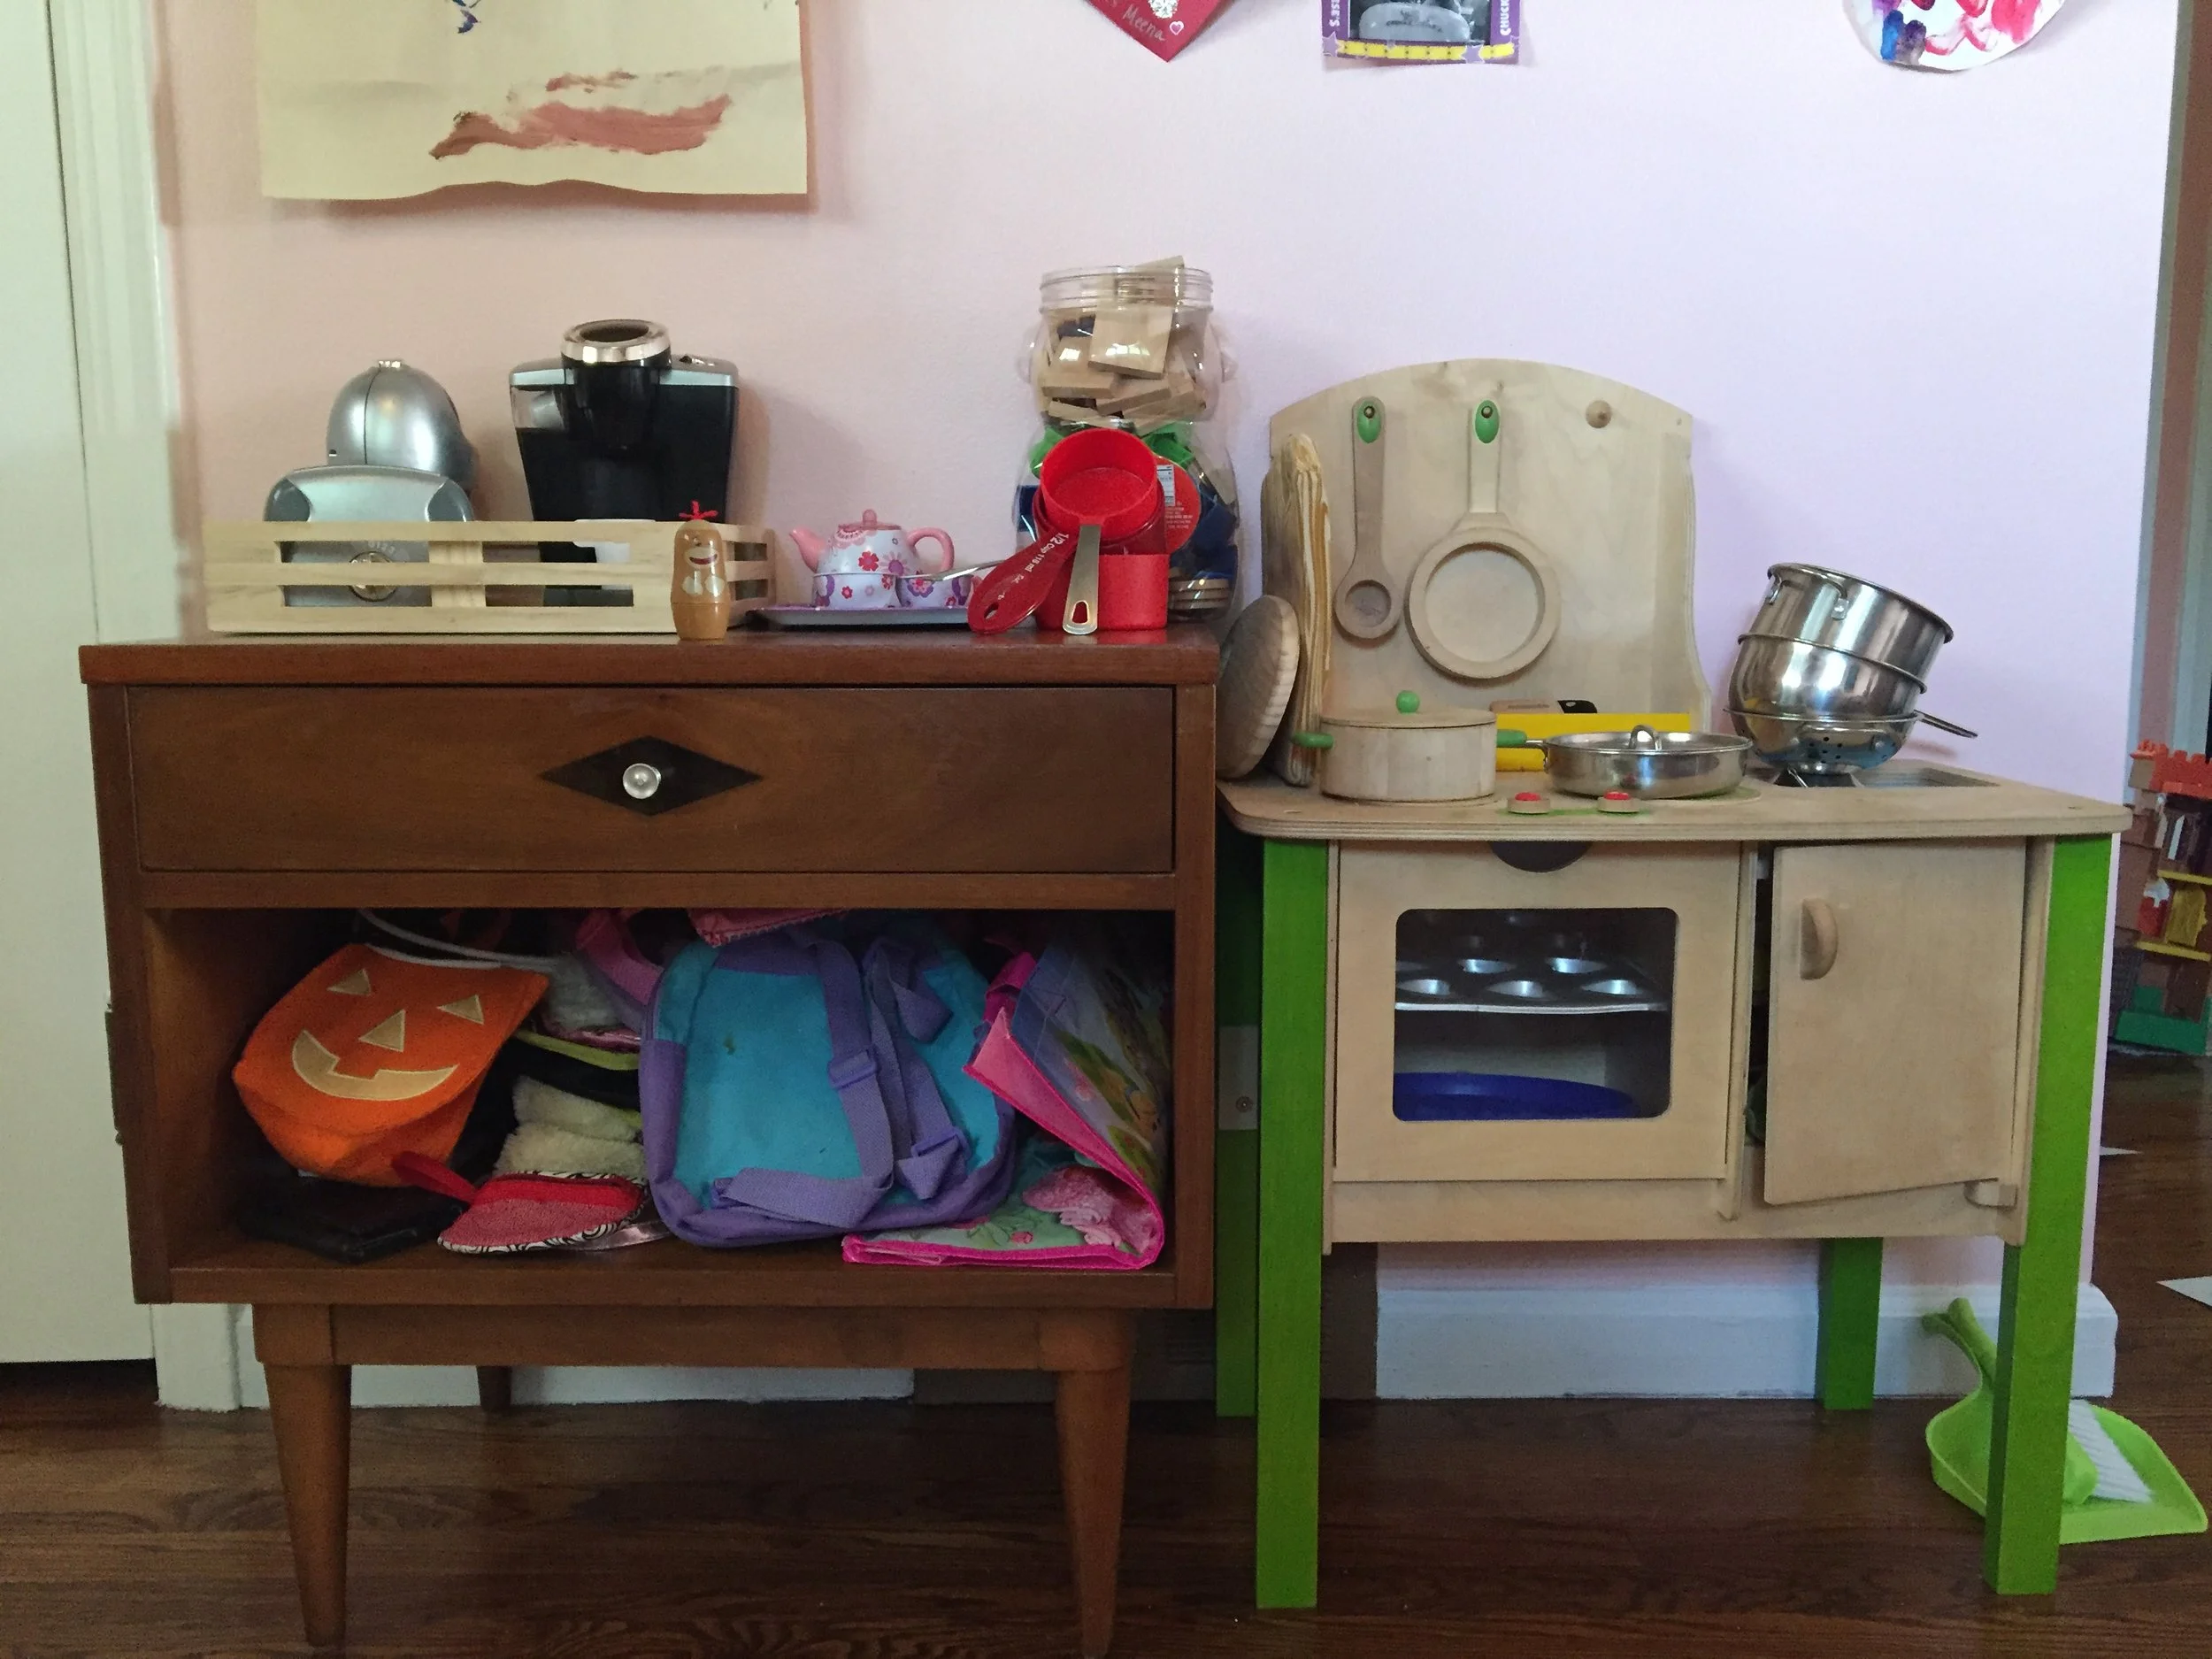
Nightstand: Craigslist; Wood Play Kitchen: Craigslist
Braided rug: Craigslist (don't worry, it was dry-cleaned twice before we brought it home)
A view of the room from the closet.....
Well, that's the end of the tour! Hope you enjoyed it! Until next time...