If you missed Part 1, or Part 2, click here to read those first :)
So, the saga of the bathroom reno continues.....when we last left off, I had refinished the credenza, removed it's drawers and doors, and picked out a sink and a faucet. And our "vanity" was ready for install.
First, my FIL removed the back board of the credenza, and centered it on the wall in the bathroom. For the sink, he drilled out a hole in the top of the credenza where the drain would go. Here's the hole for the drain:

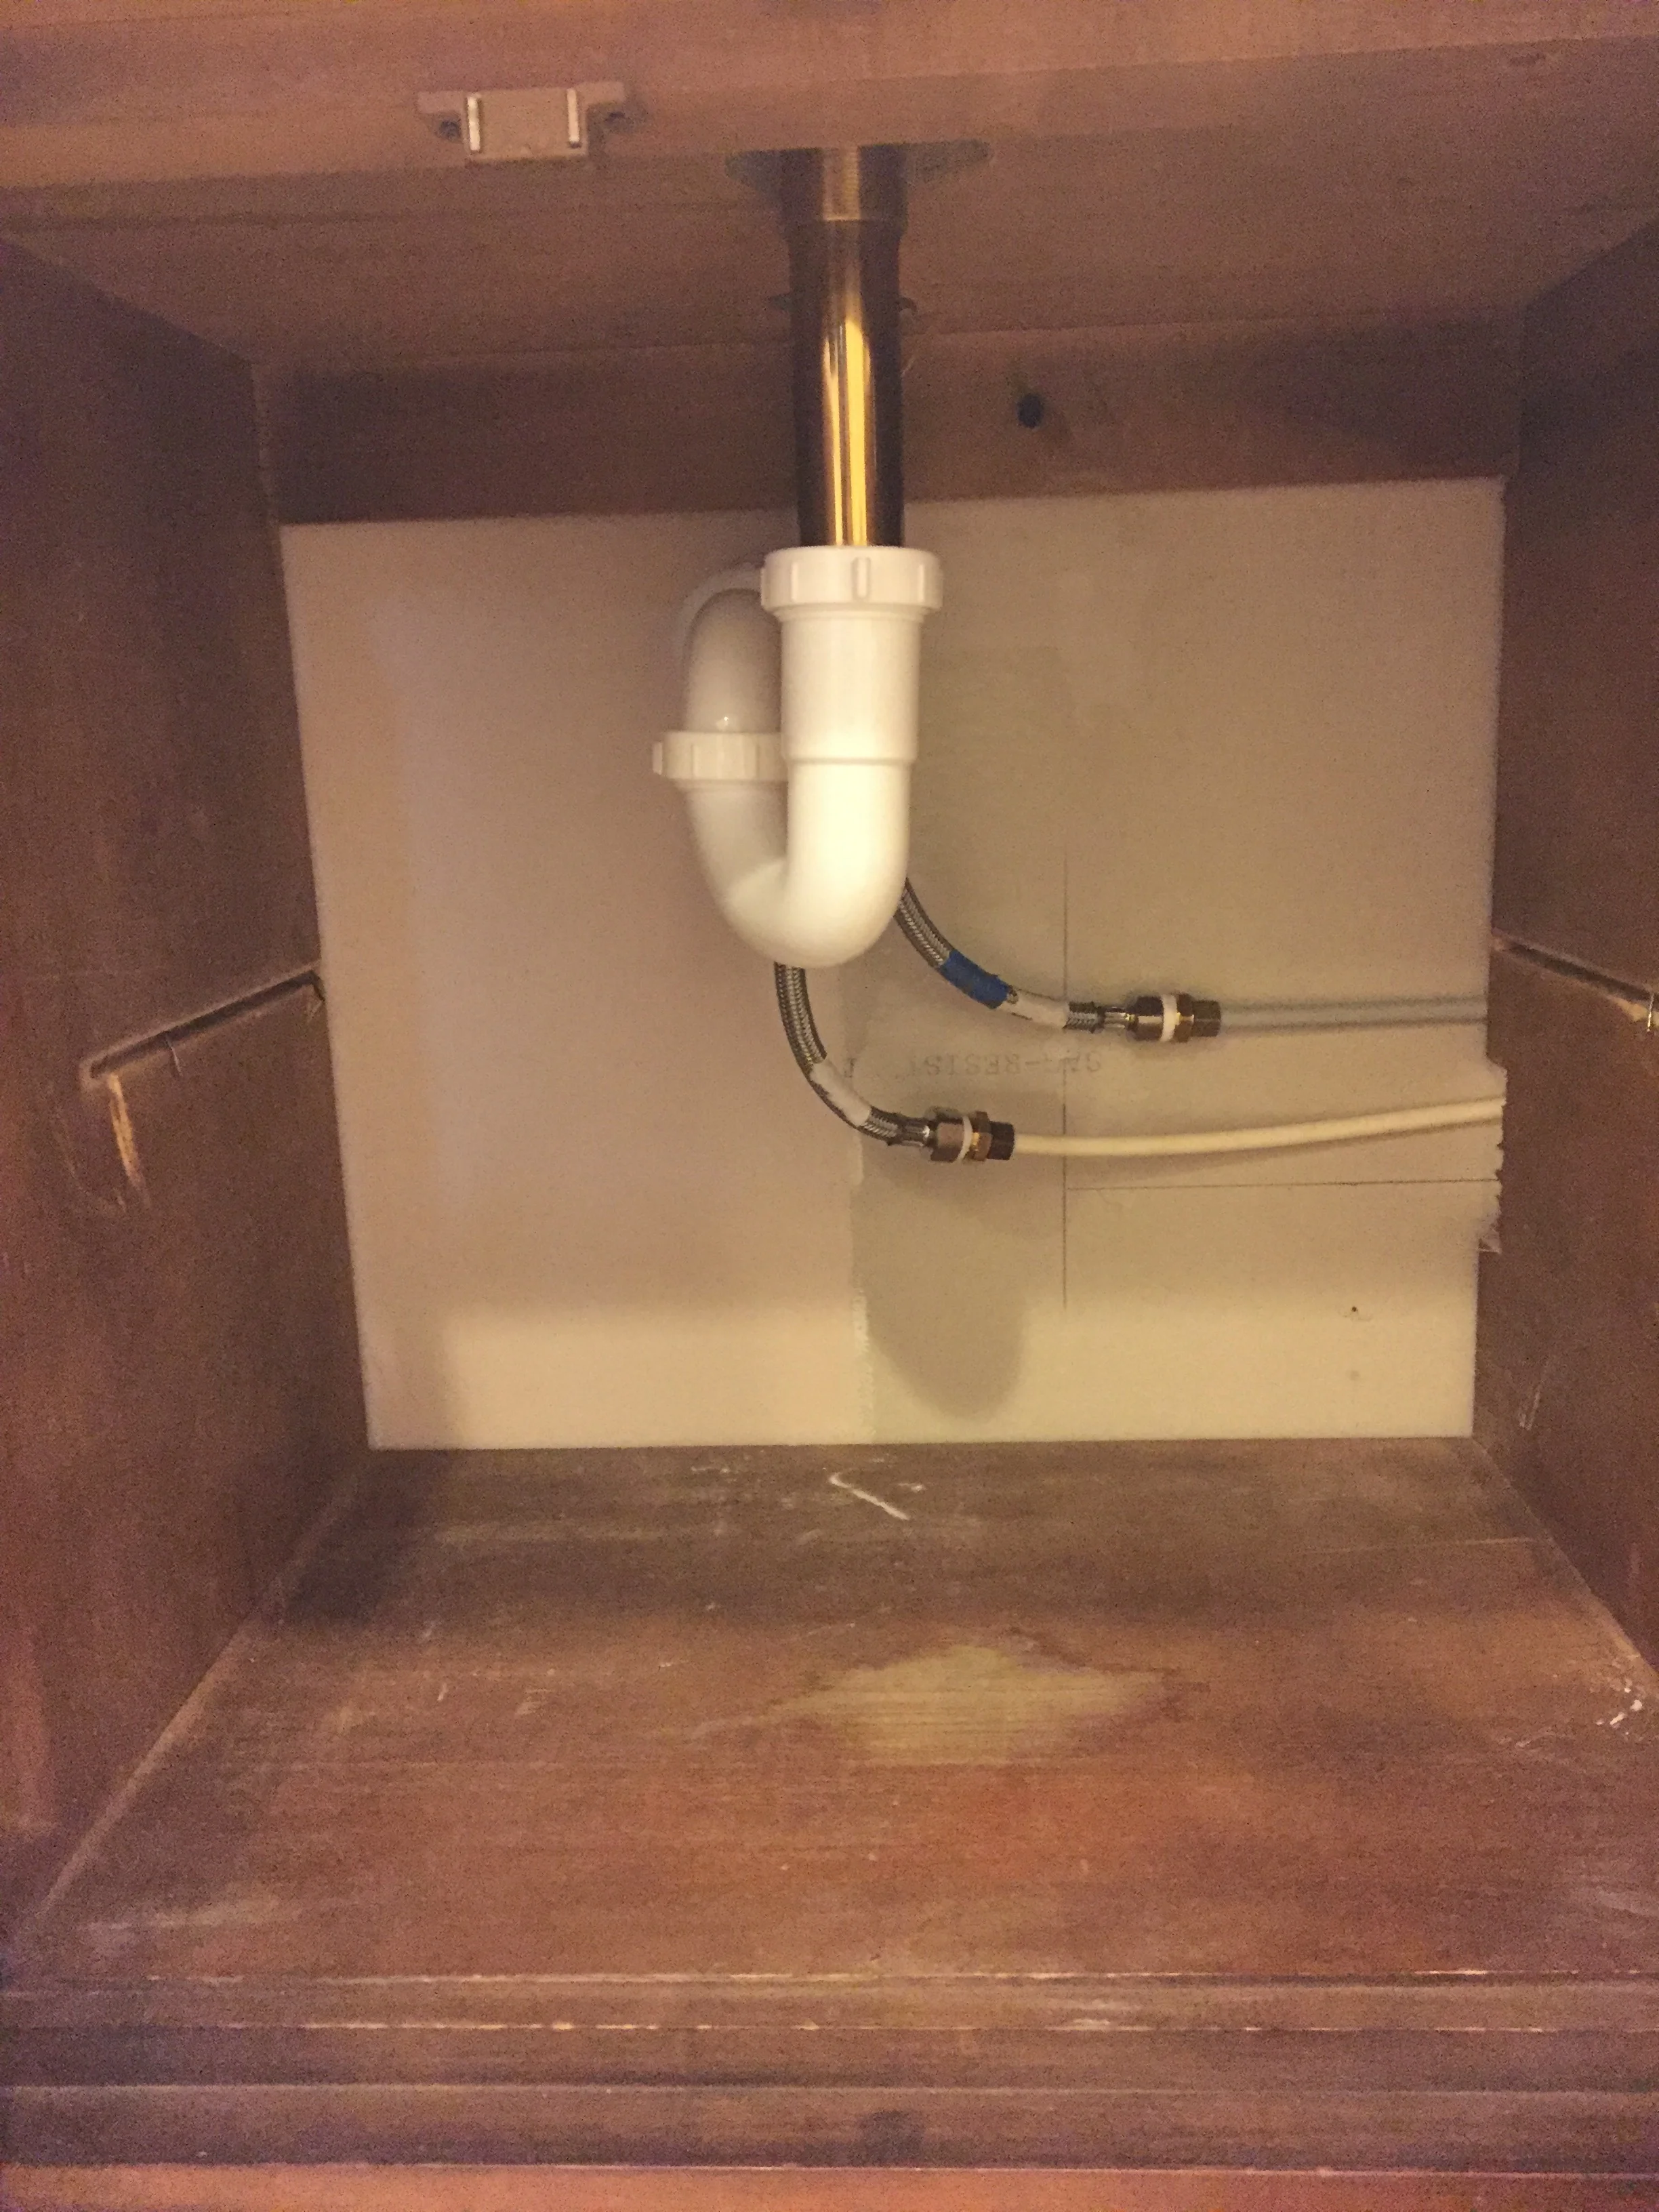
This is a shot of the underside of the vanity top. The hole in the front is where the drain comes thru (look at that beautiful brass!), and the hole behind that is for the faucet. The 2 silver pipes coming down from there are for hot/cold water.
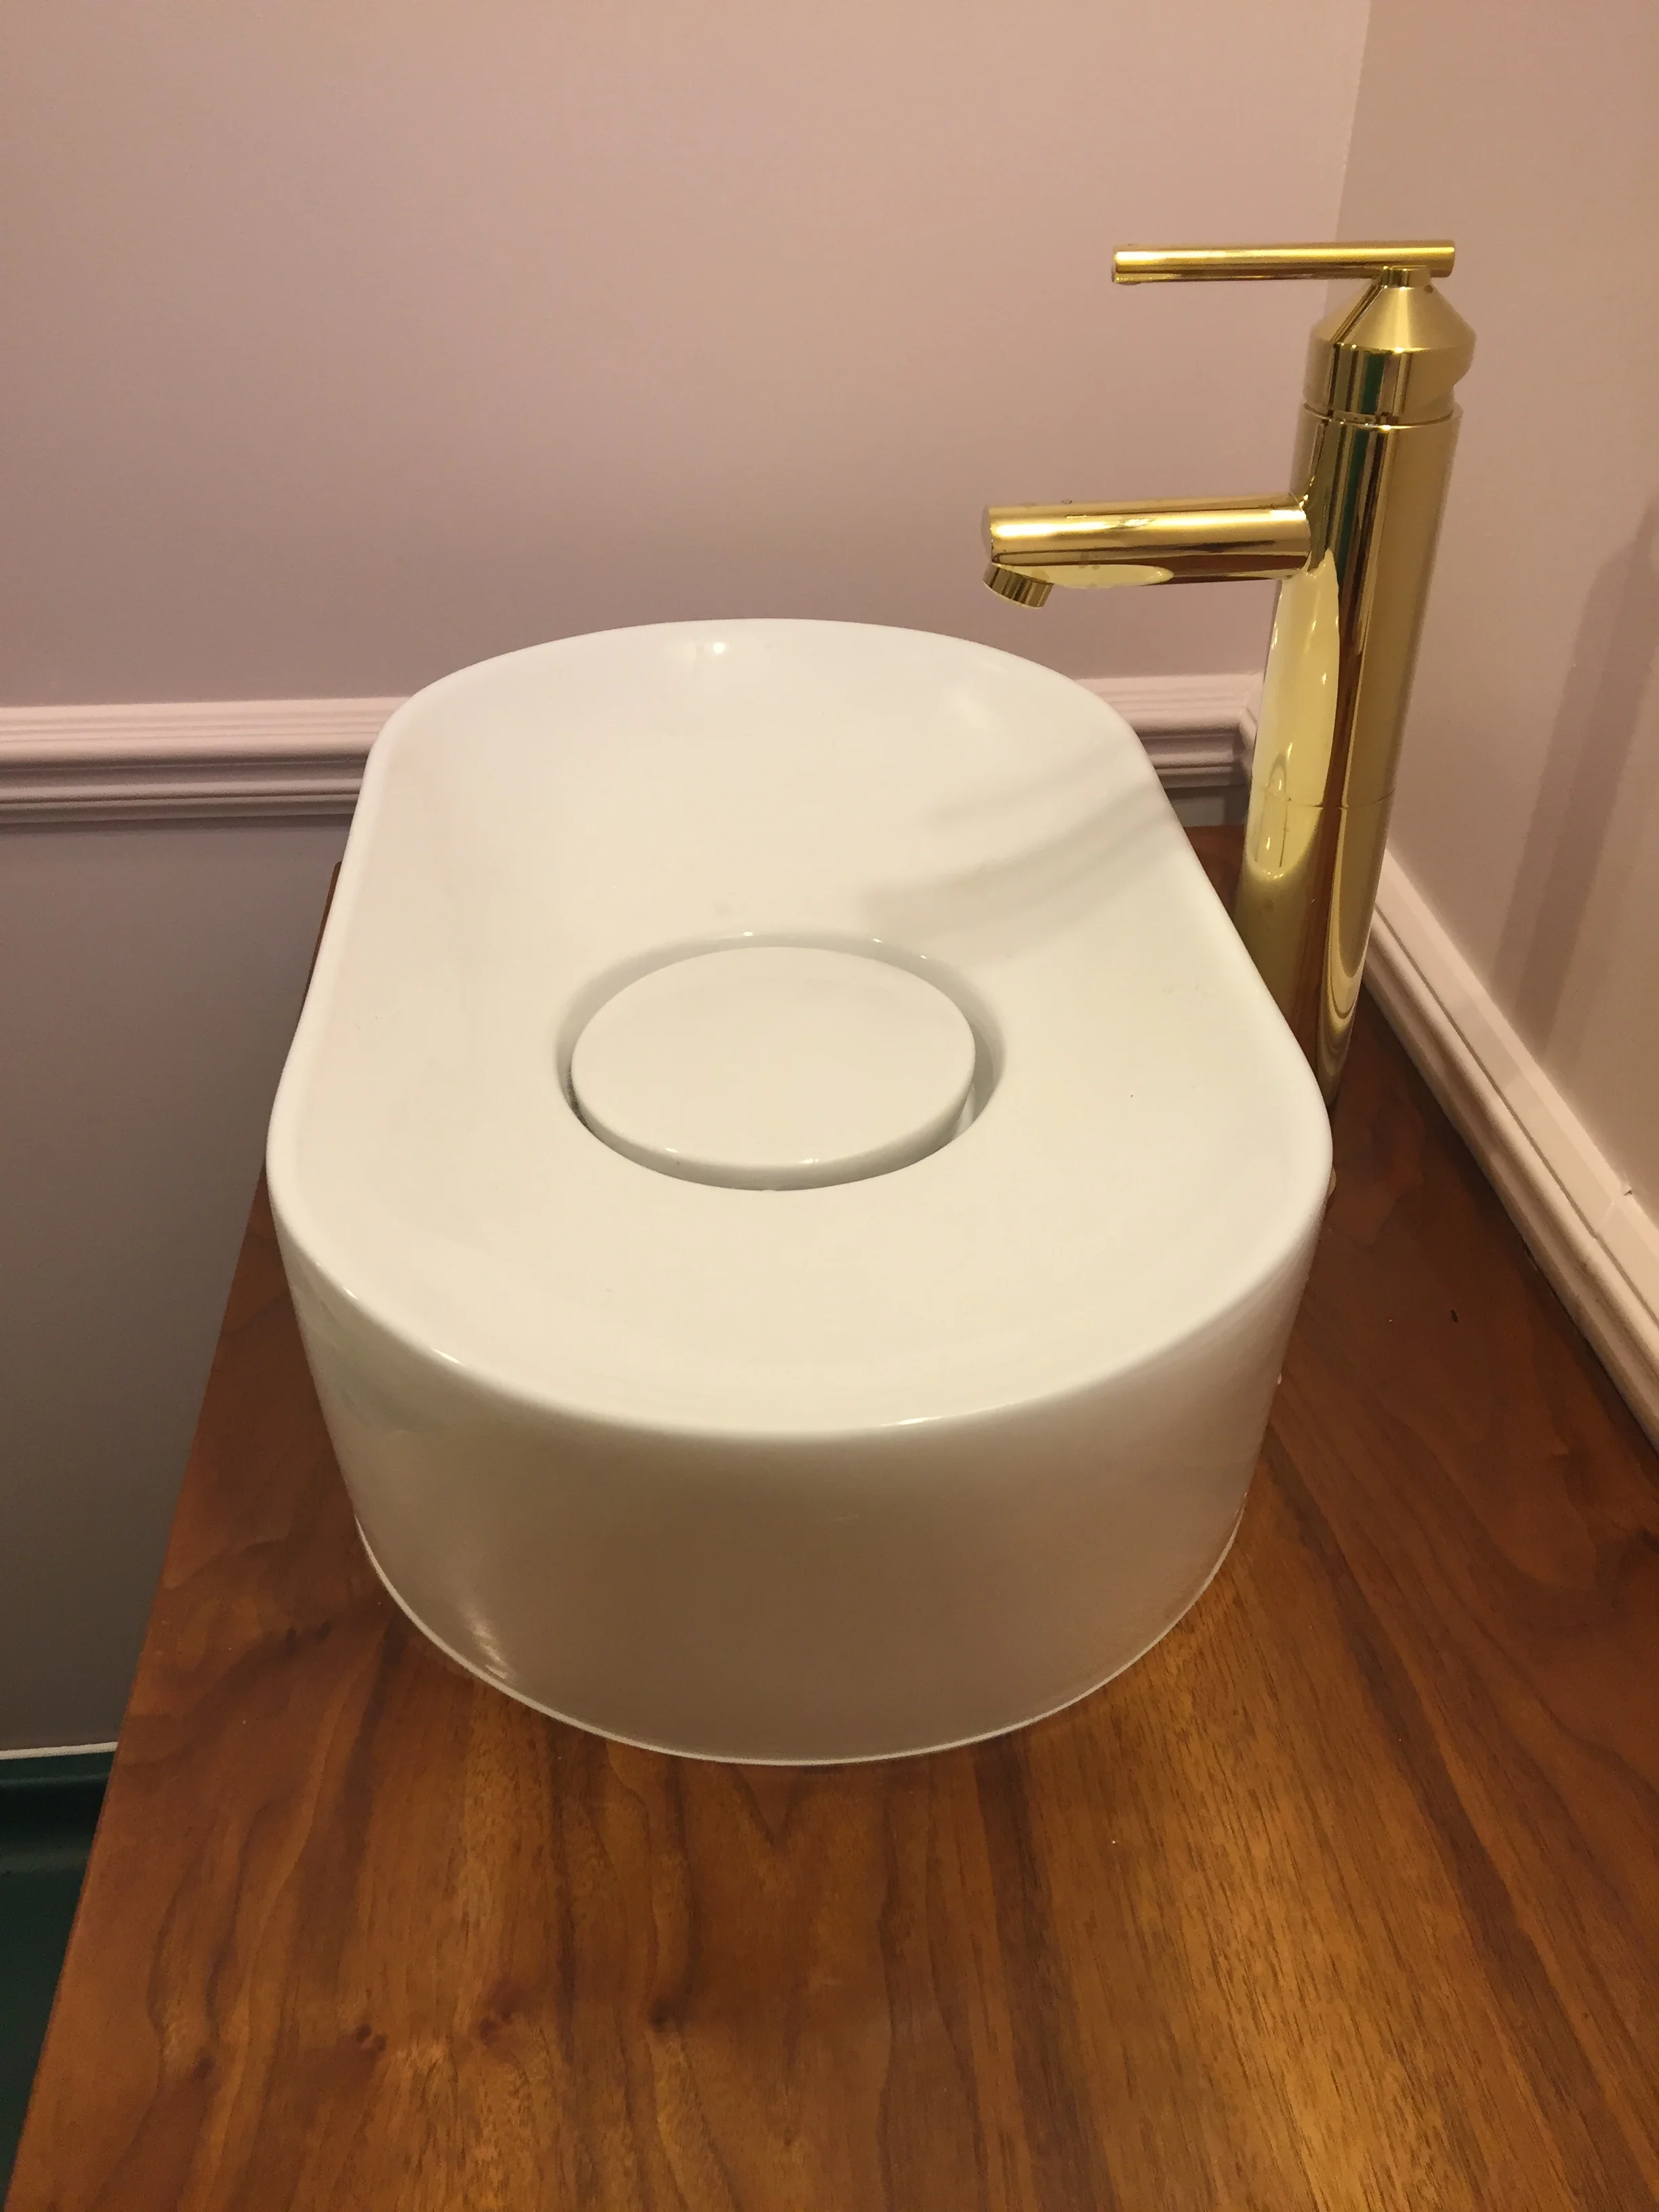
So, the faucet was kind of a fiasco. My FIL is a retired plumber, so he knows his drains. Apparently, the faucet/drain combo we chose, though super pretty, was not your standard drain situation. I don't know the details, since I'm not a plumber and I would prefer not to fill my head with those details (I just want to make it pretty!), but after several calls to Signature Hardware and a couple trips to Home Depot, he finally got it all settled. Here's the finished product of the sink/drain/faucet:

Yay!!!!!! I can wash my hands!
Me: I love that modern brass faucet! You: Then, why don't you marry it? Me: Okay, I will!
Okay, so remember how happy I was that the cabinet doors were on one side so we wouldn't have to cut up the drawers? Well, what would have been more awesome would be if they were on the other side. womp womp. See, how in the picture the drain doesn't go straight back into the wall under the sink?
Unfortunately, the water shut off valves don't go into the wall on the same side as the drain, on the cabinet side. Noooo, that would be too easy......
That's because the shut off valves are on the other side of the credenza, behind the drawers...sigh. That means cutting drawers/parts up. Cry face emoji.
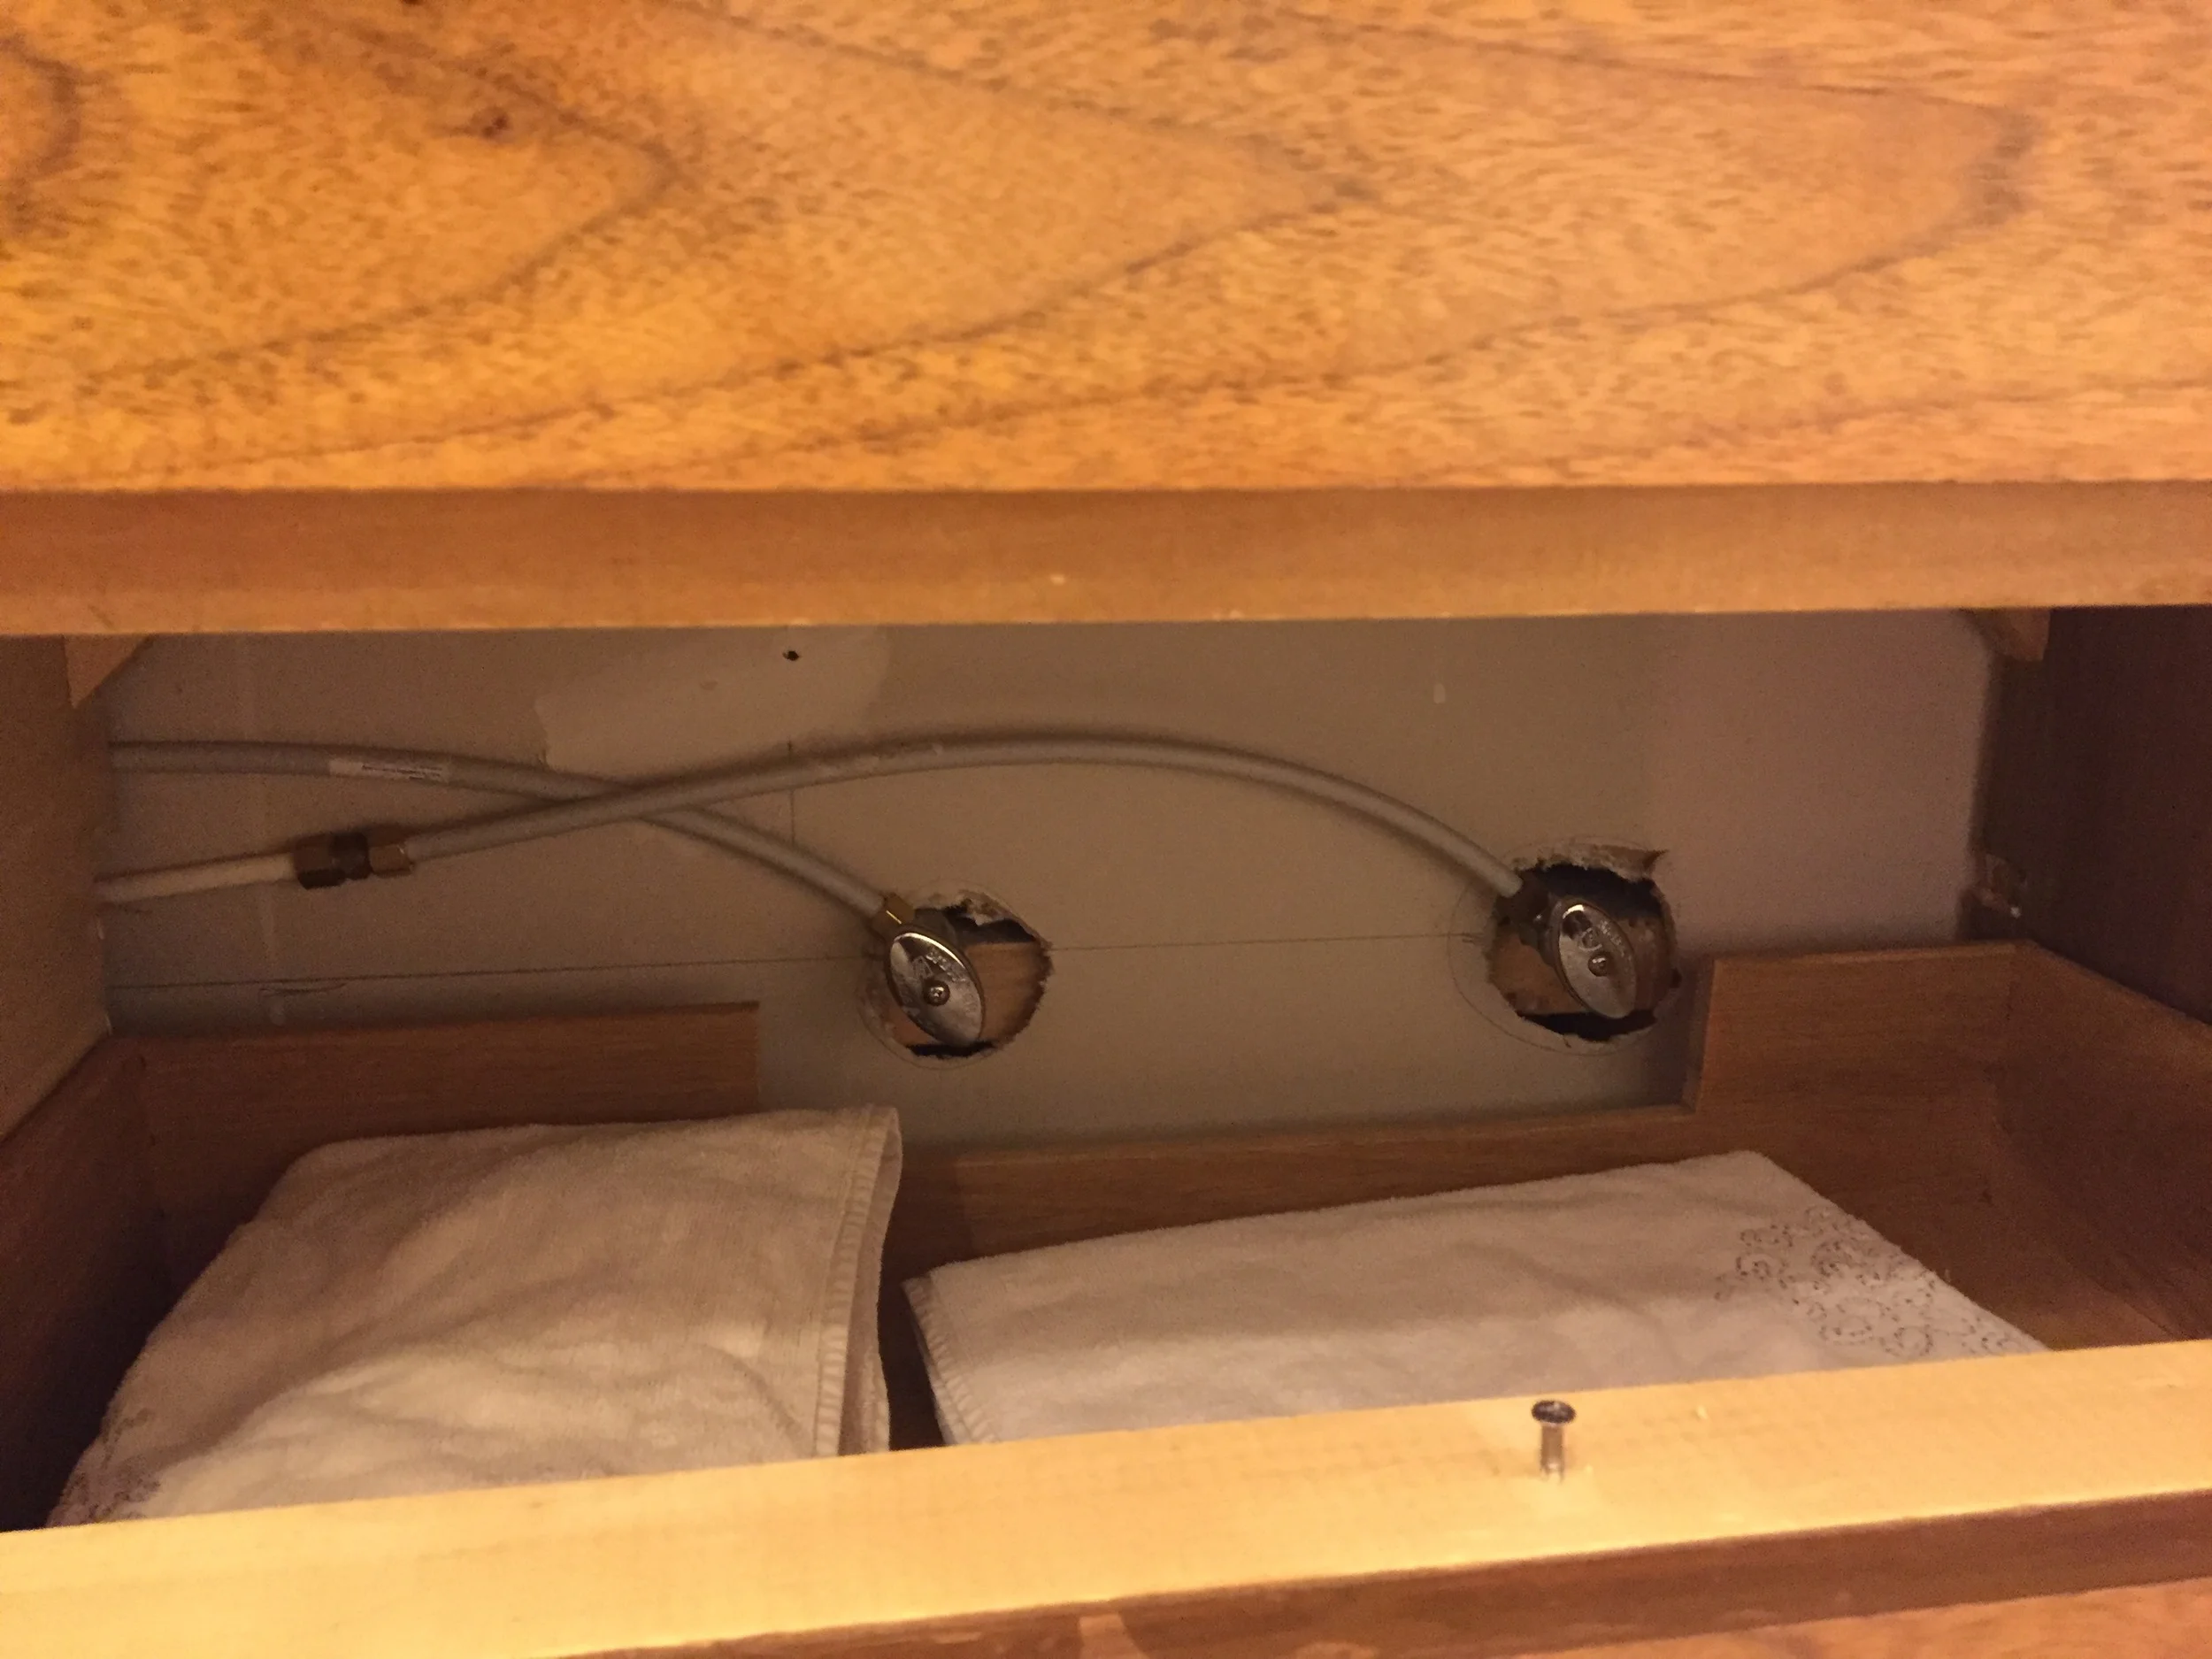
Instead, they go in behind the drawers....NOOOOOOOOOOOOOOO!!!!!!!!!!! Poop.
Well, here's the scoop on the drawers. Top drawer: all good in the hood. Bottom drawer: Just had to cut a notch into the back of the drawer to make room for the shut off valves.
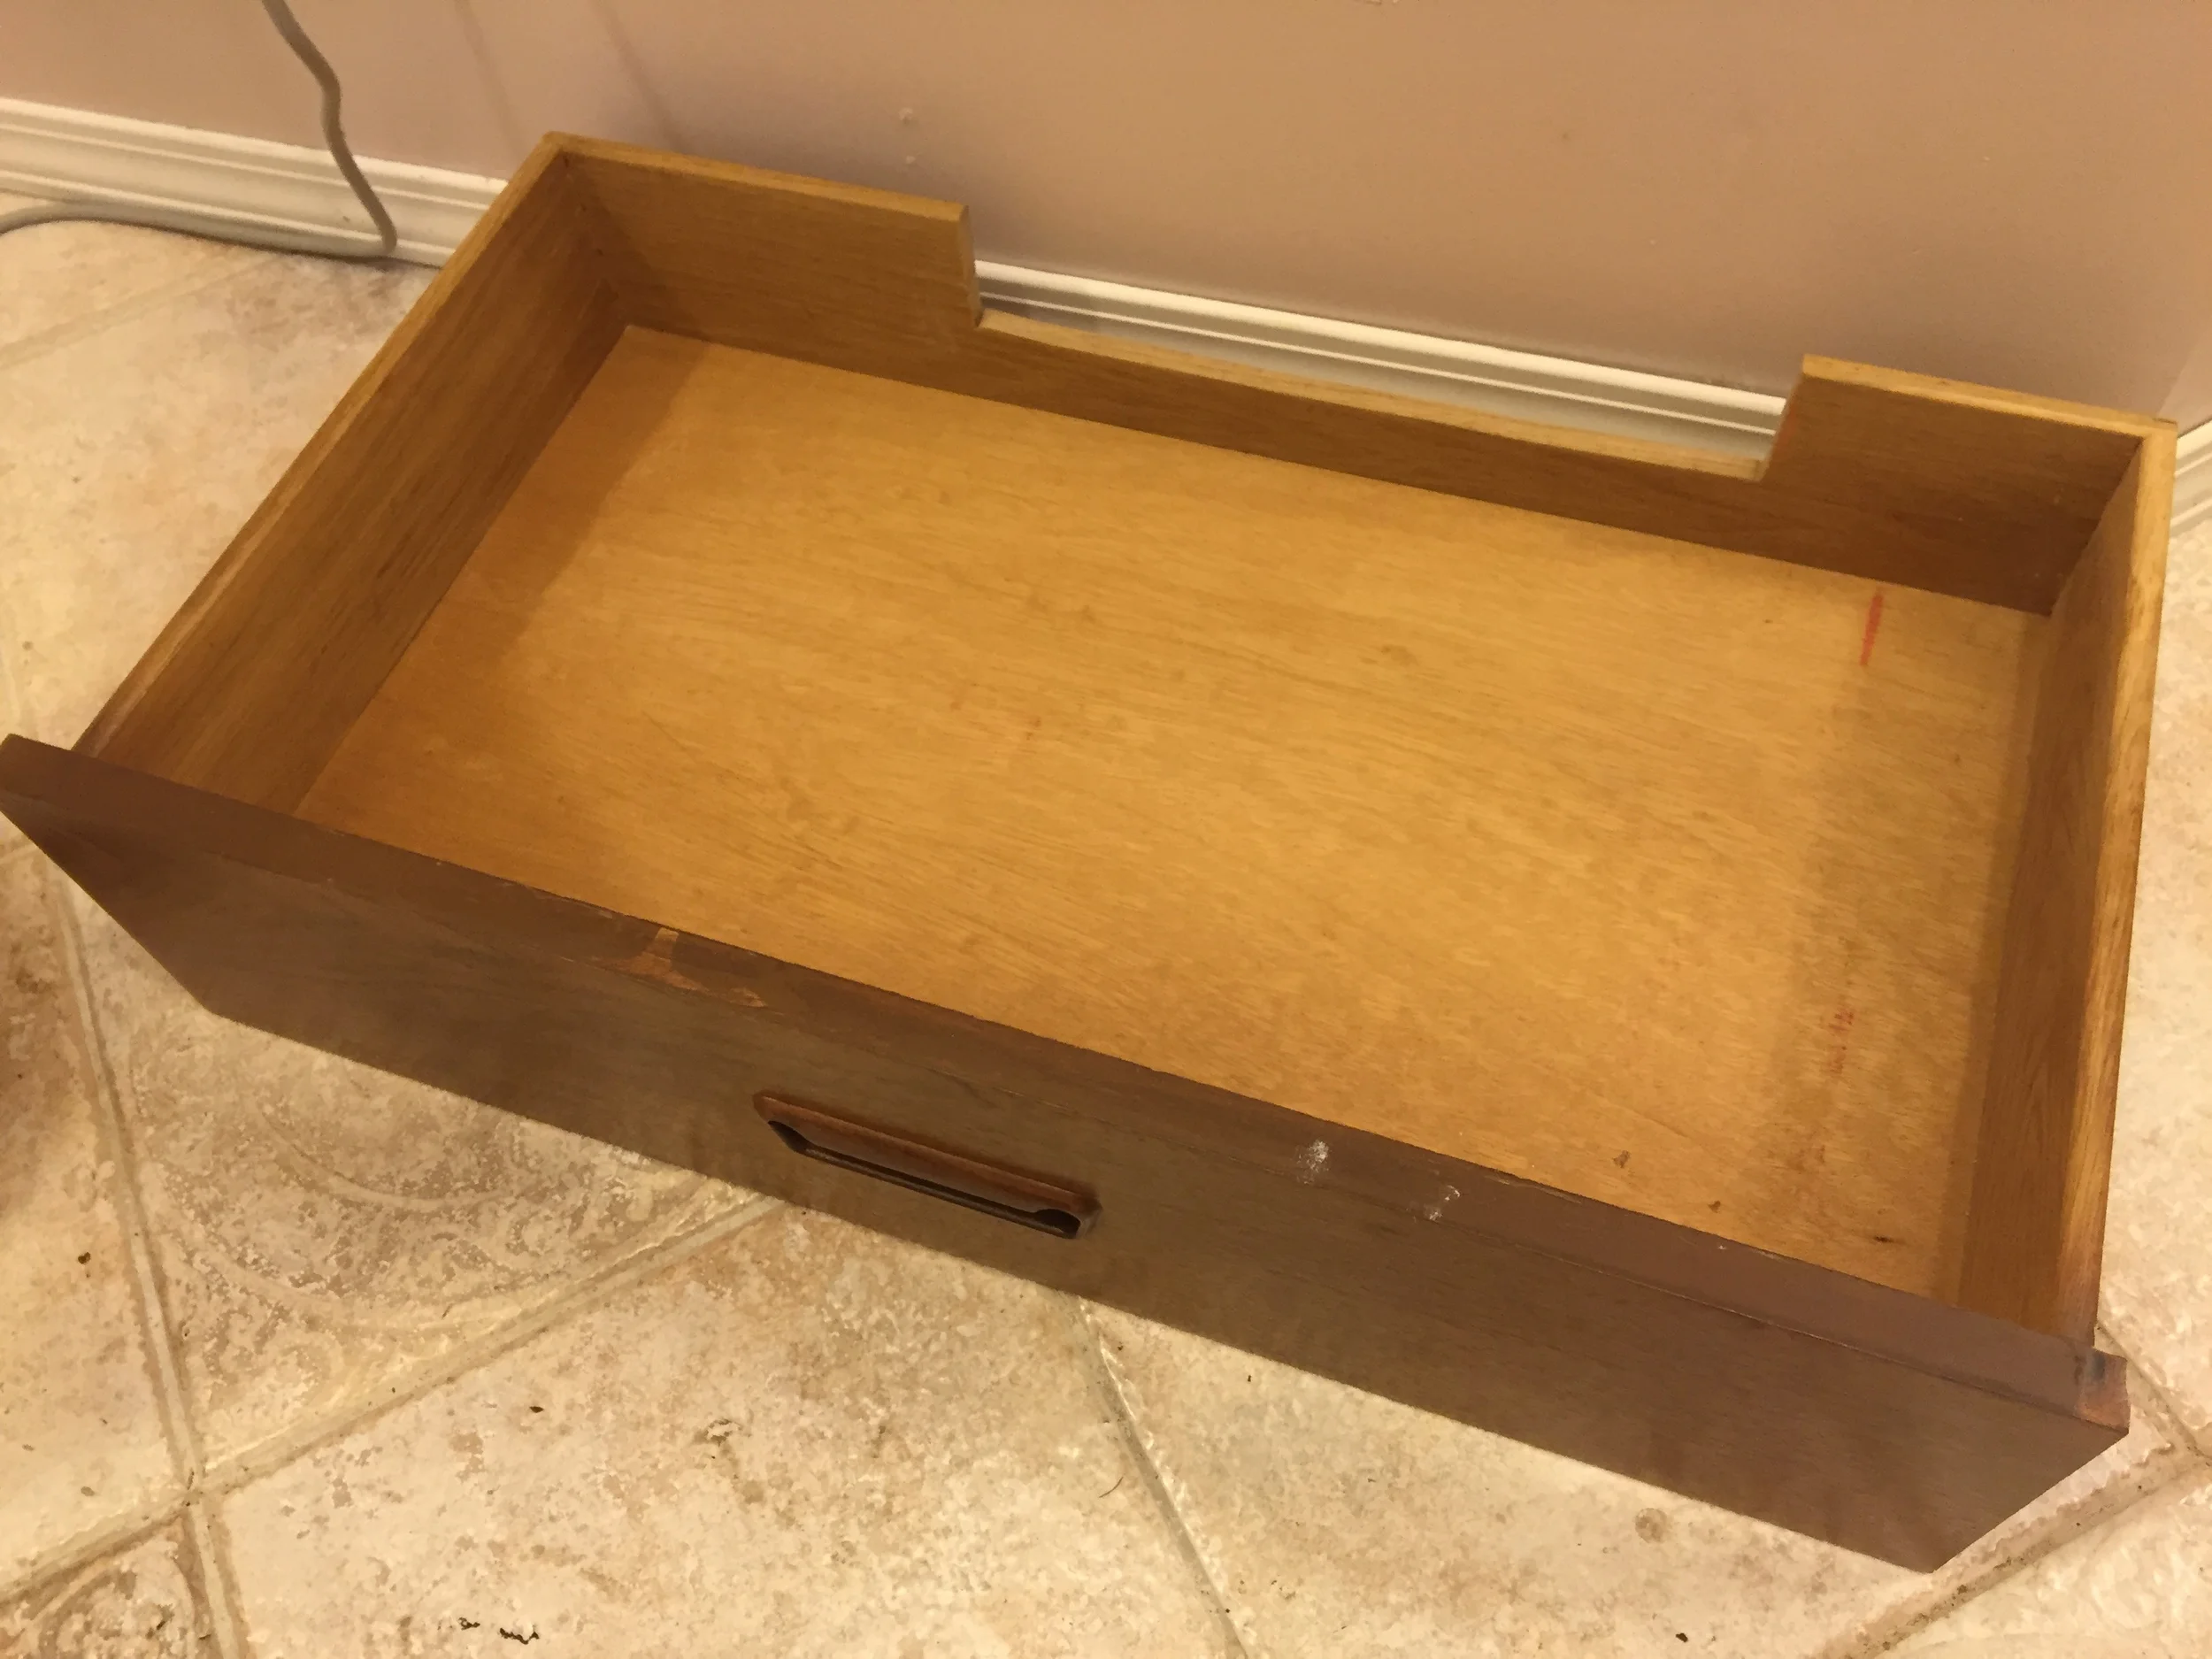
We had to cut a notch into the back of the bottom drawer to make room for the shut off valves.
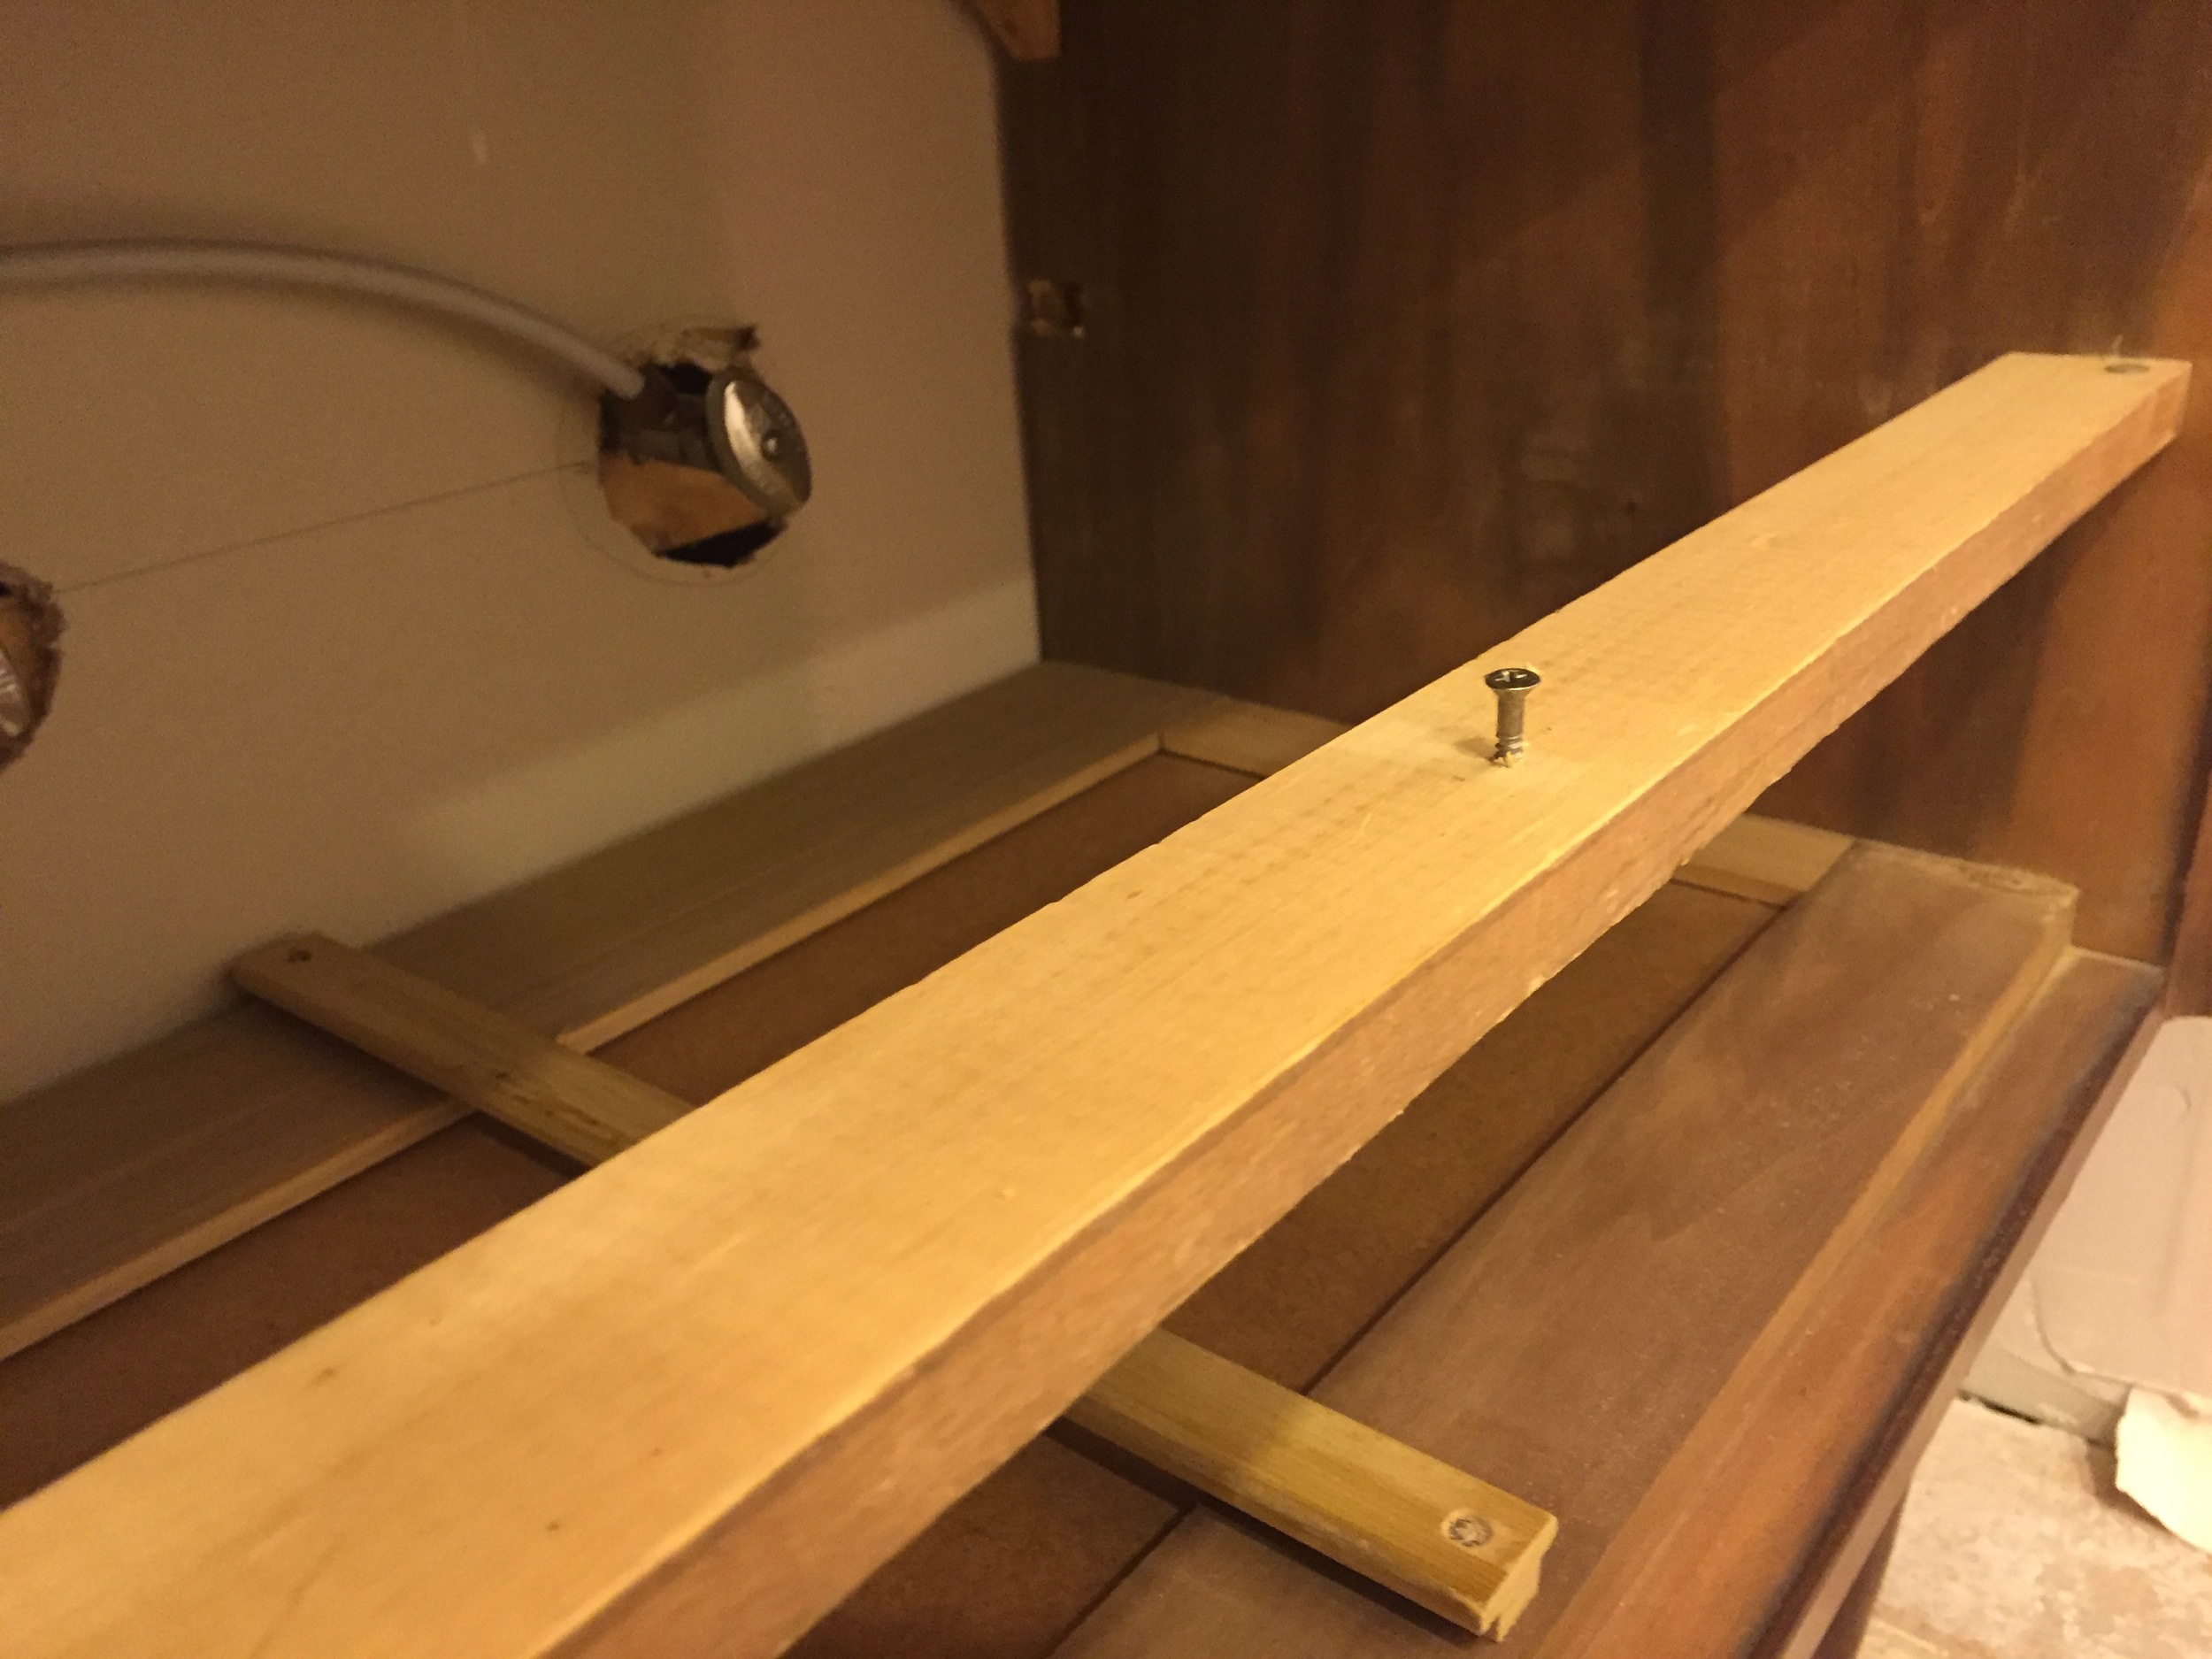
Middle drawer......CRAP! So, during install, my FIL had to remove the support system for the drawer (the glide and the side and back rails). So, no more drawer. Poop.
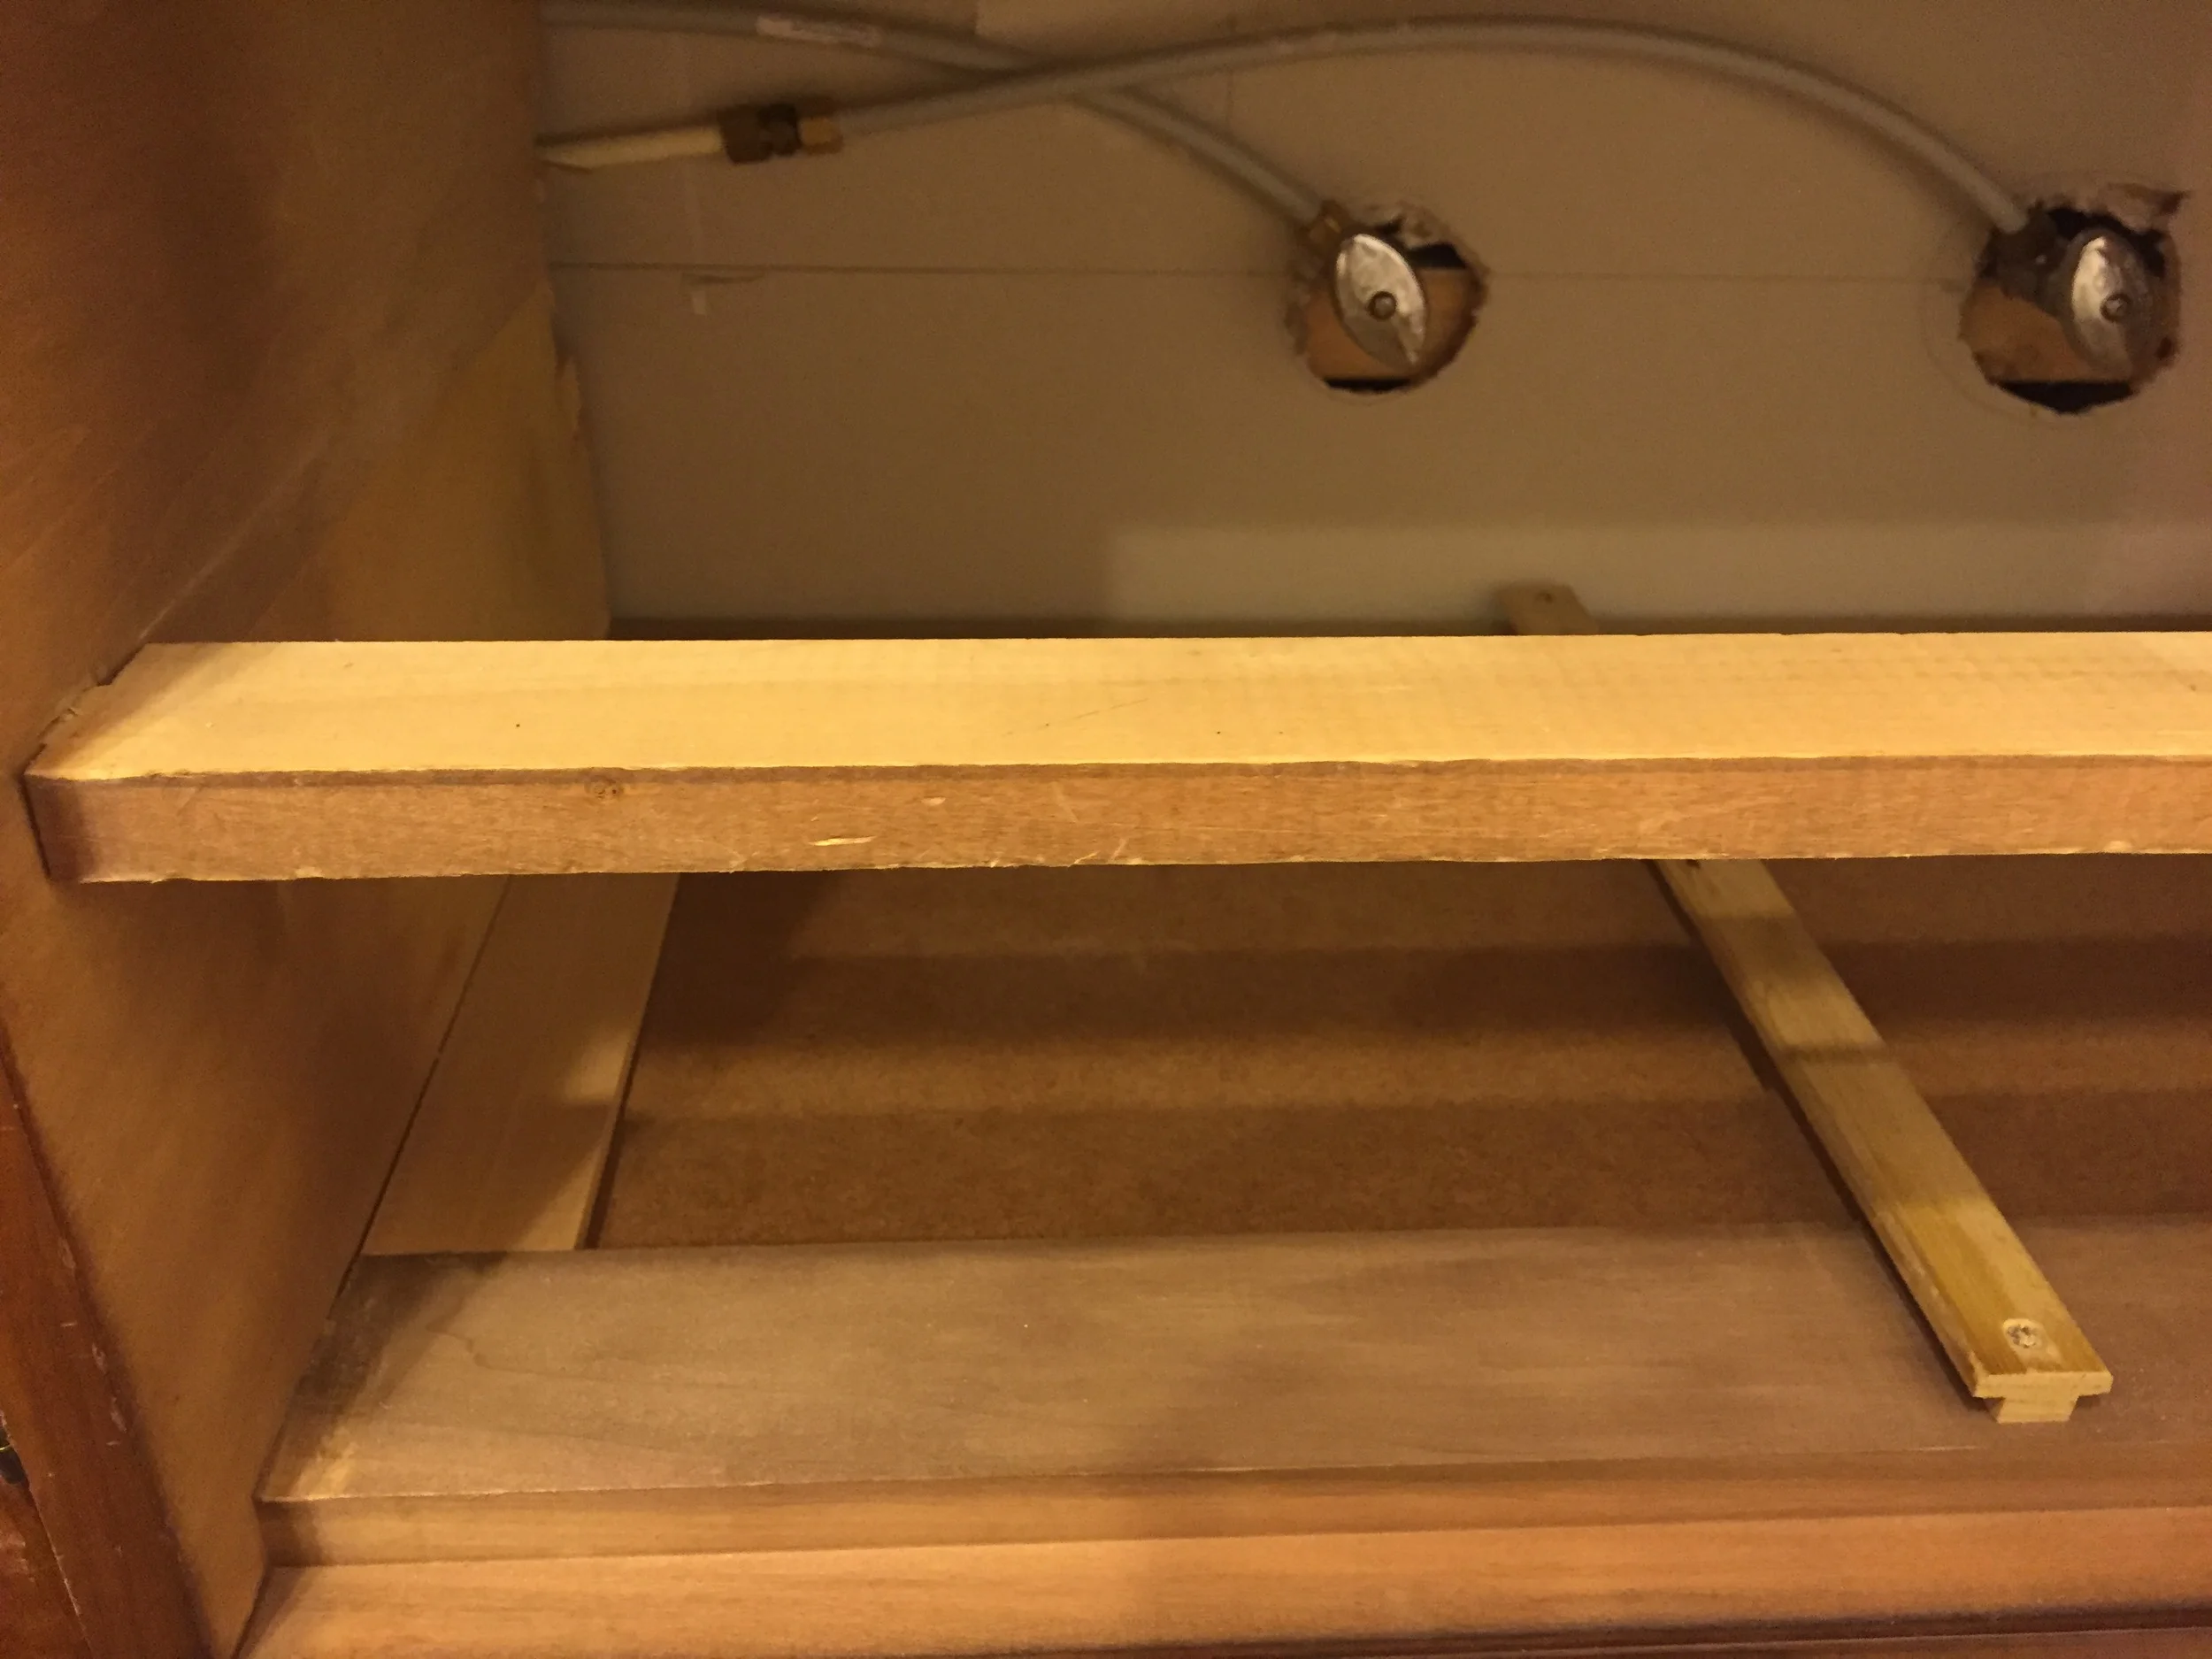
In order to make remove for the those water shut off valves, we had to completely remove the side and back drawer support rails for the middle drawer. See how there's only a front rail remaining?
Side view of the missing drawer support rails....no more working drawer
Well, I can't just leave a big 'ole hole here....unless that's going to be the new thing in home decor, but, I doubt it. So, what to do? Well, I just needed the drawer front so that we could just pretend there's a drawer there. Oooooh, soo sneaky! So, my hubby helped me with this part because I can't bear to destroy stuff (and I was lazy). He had the idea for how to do this as least destructively as possible. Since the drawers are dove-tailed (you know, where, the drawer isn't nailed together, but looks like fingers crossing at the joints), he just gave the sides a few light taps with a hammer, and popped off the front.
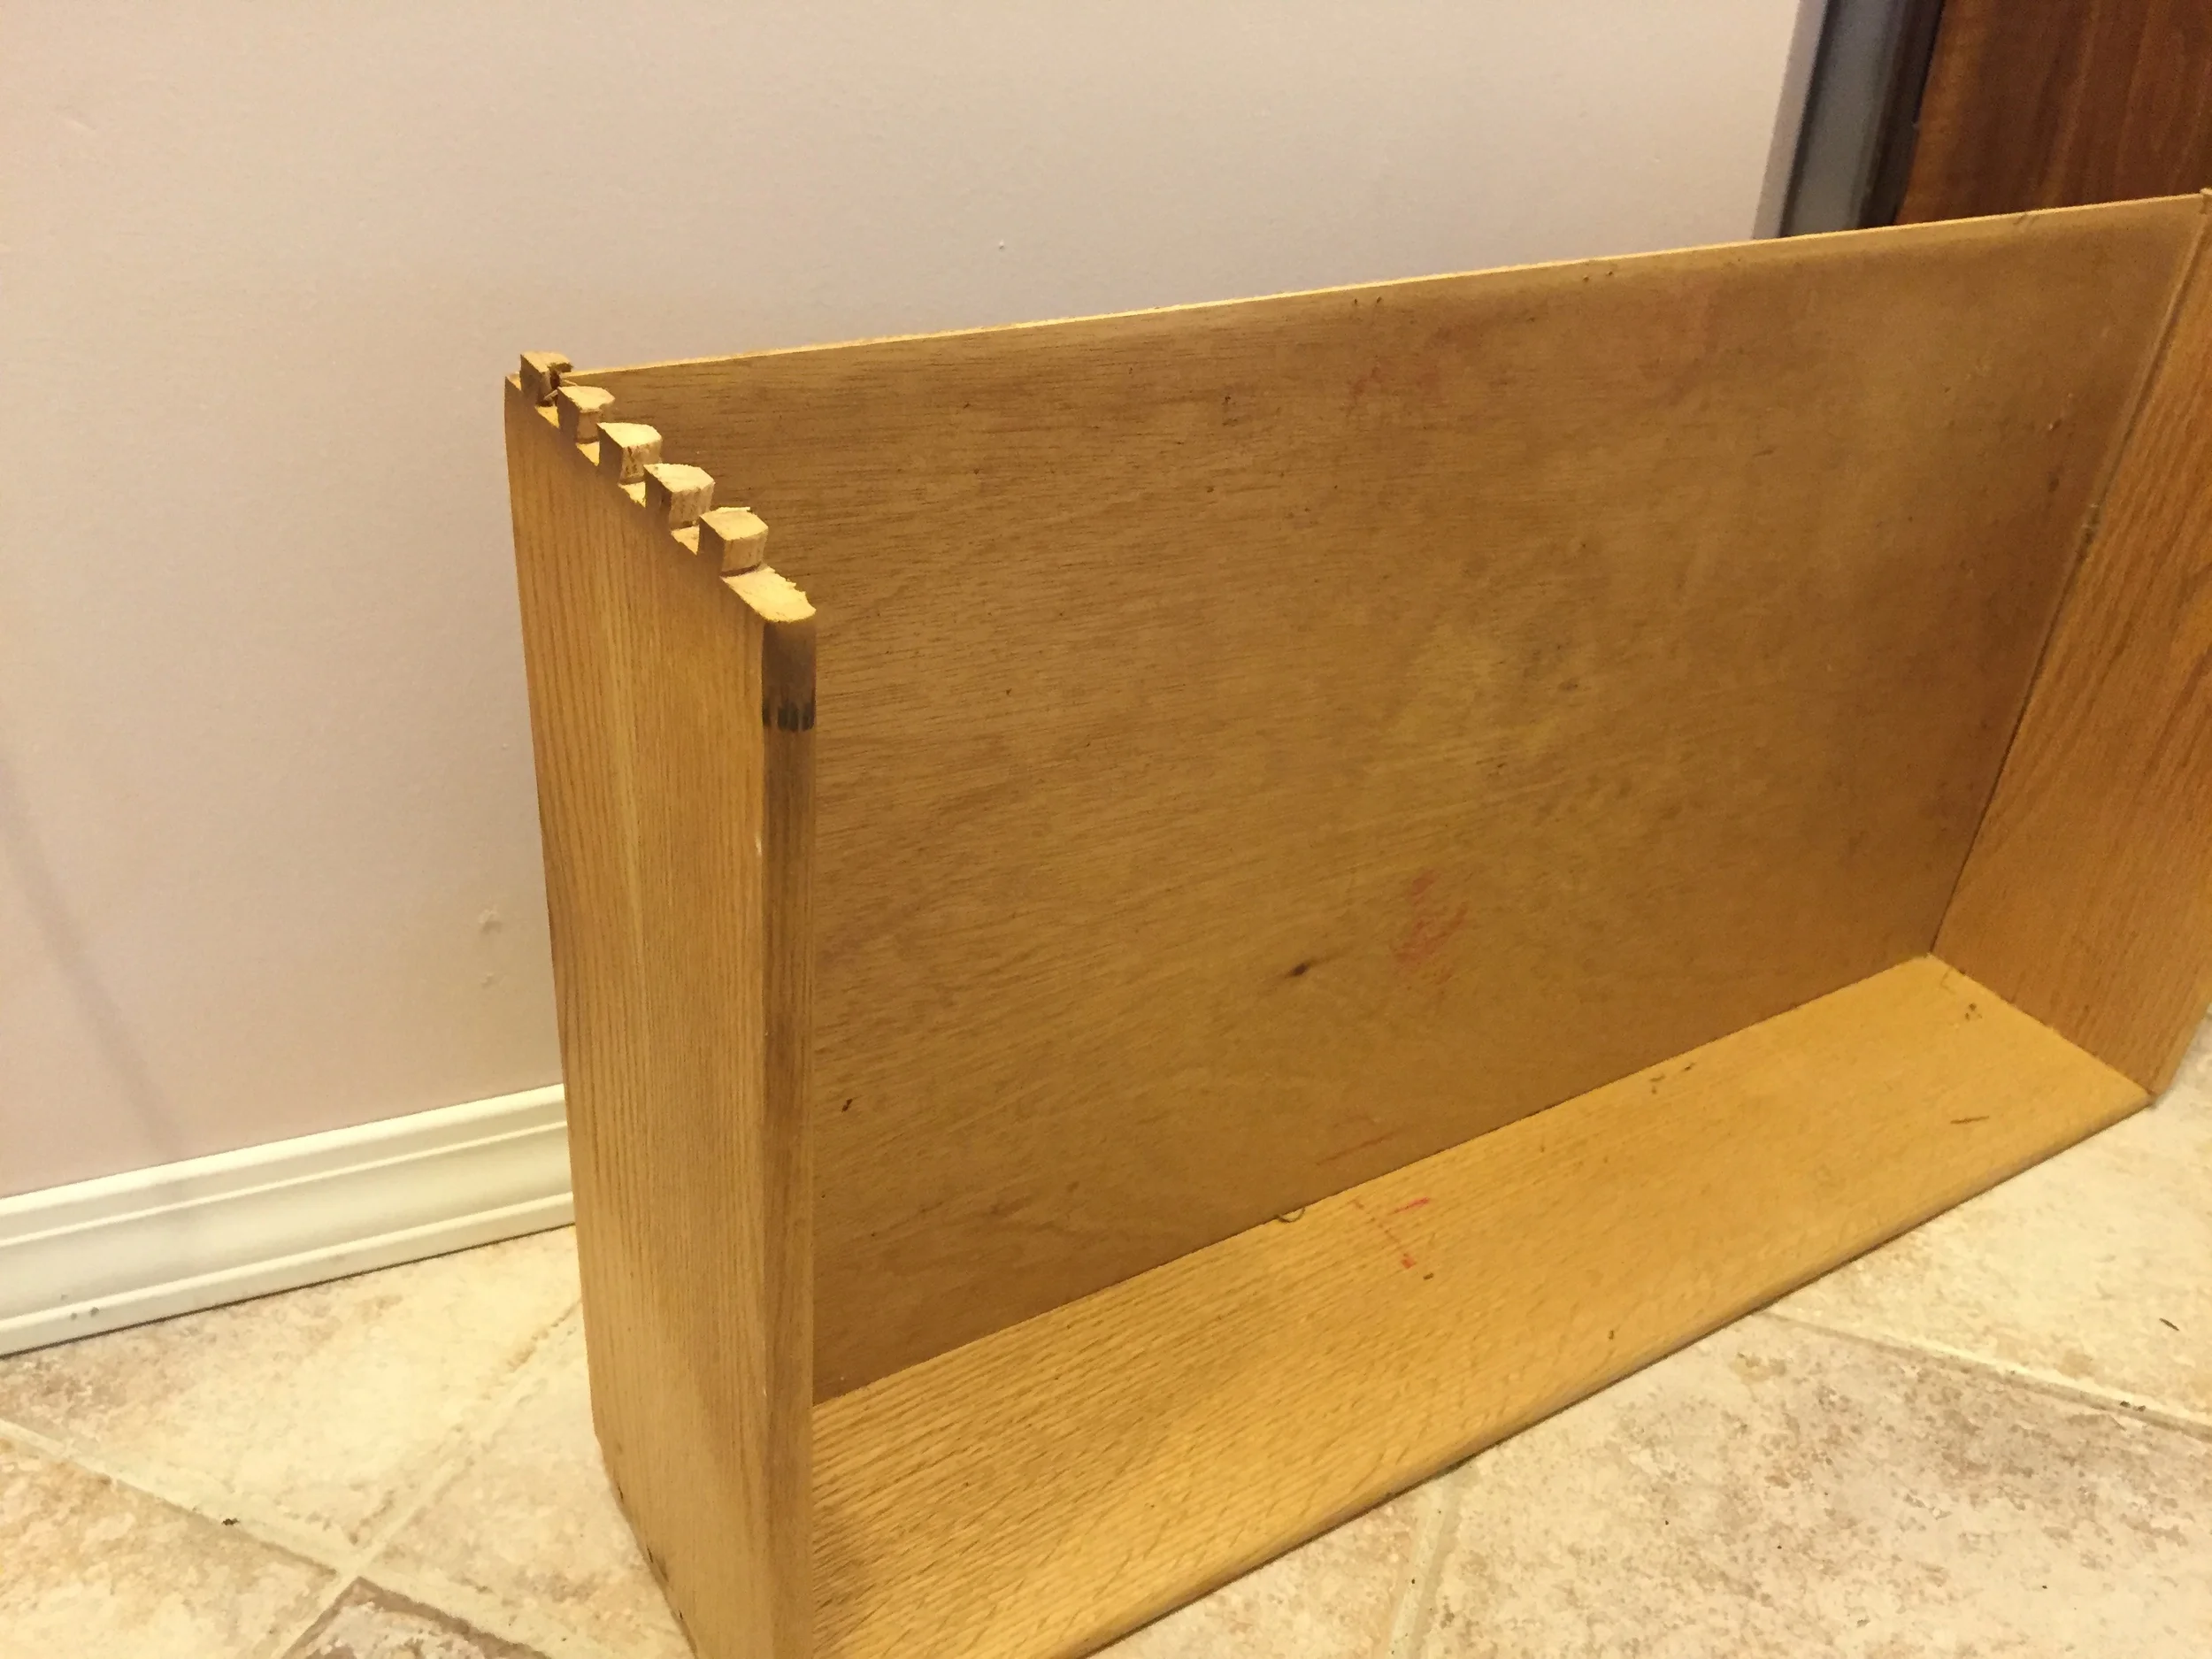
Here's the middle drawer with the front popped out. We need the front to create a faux (that's fancy for "fake" -oooh, so fancy!) drawer.
Now, we can glue the drawer front in, and you will never know (unless you try to open the drawer of course).
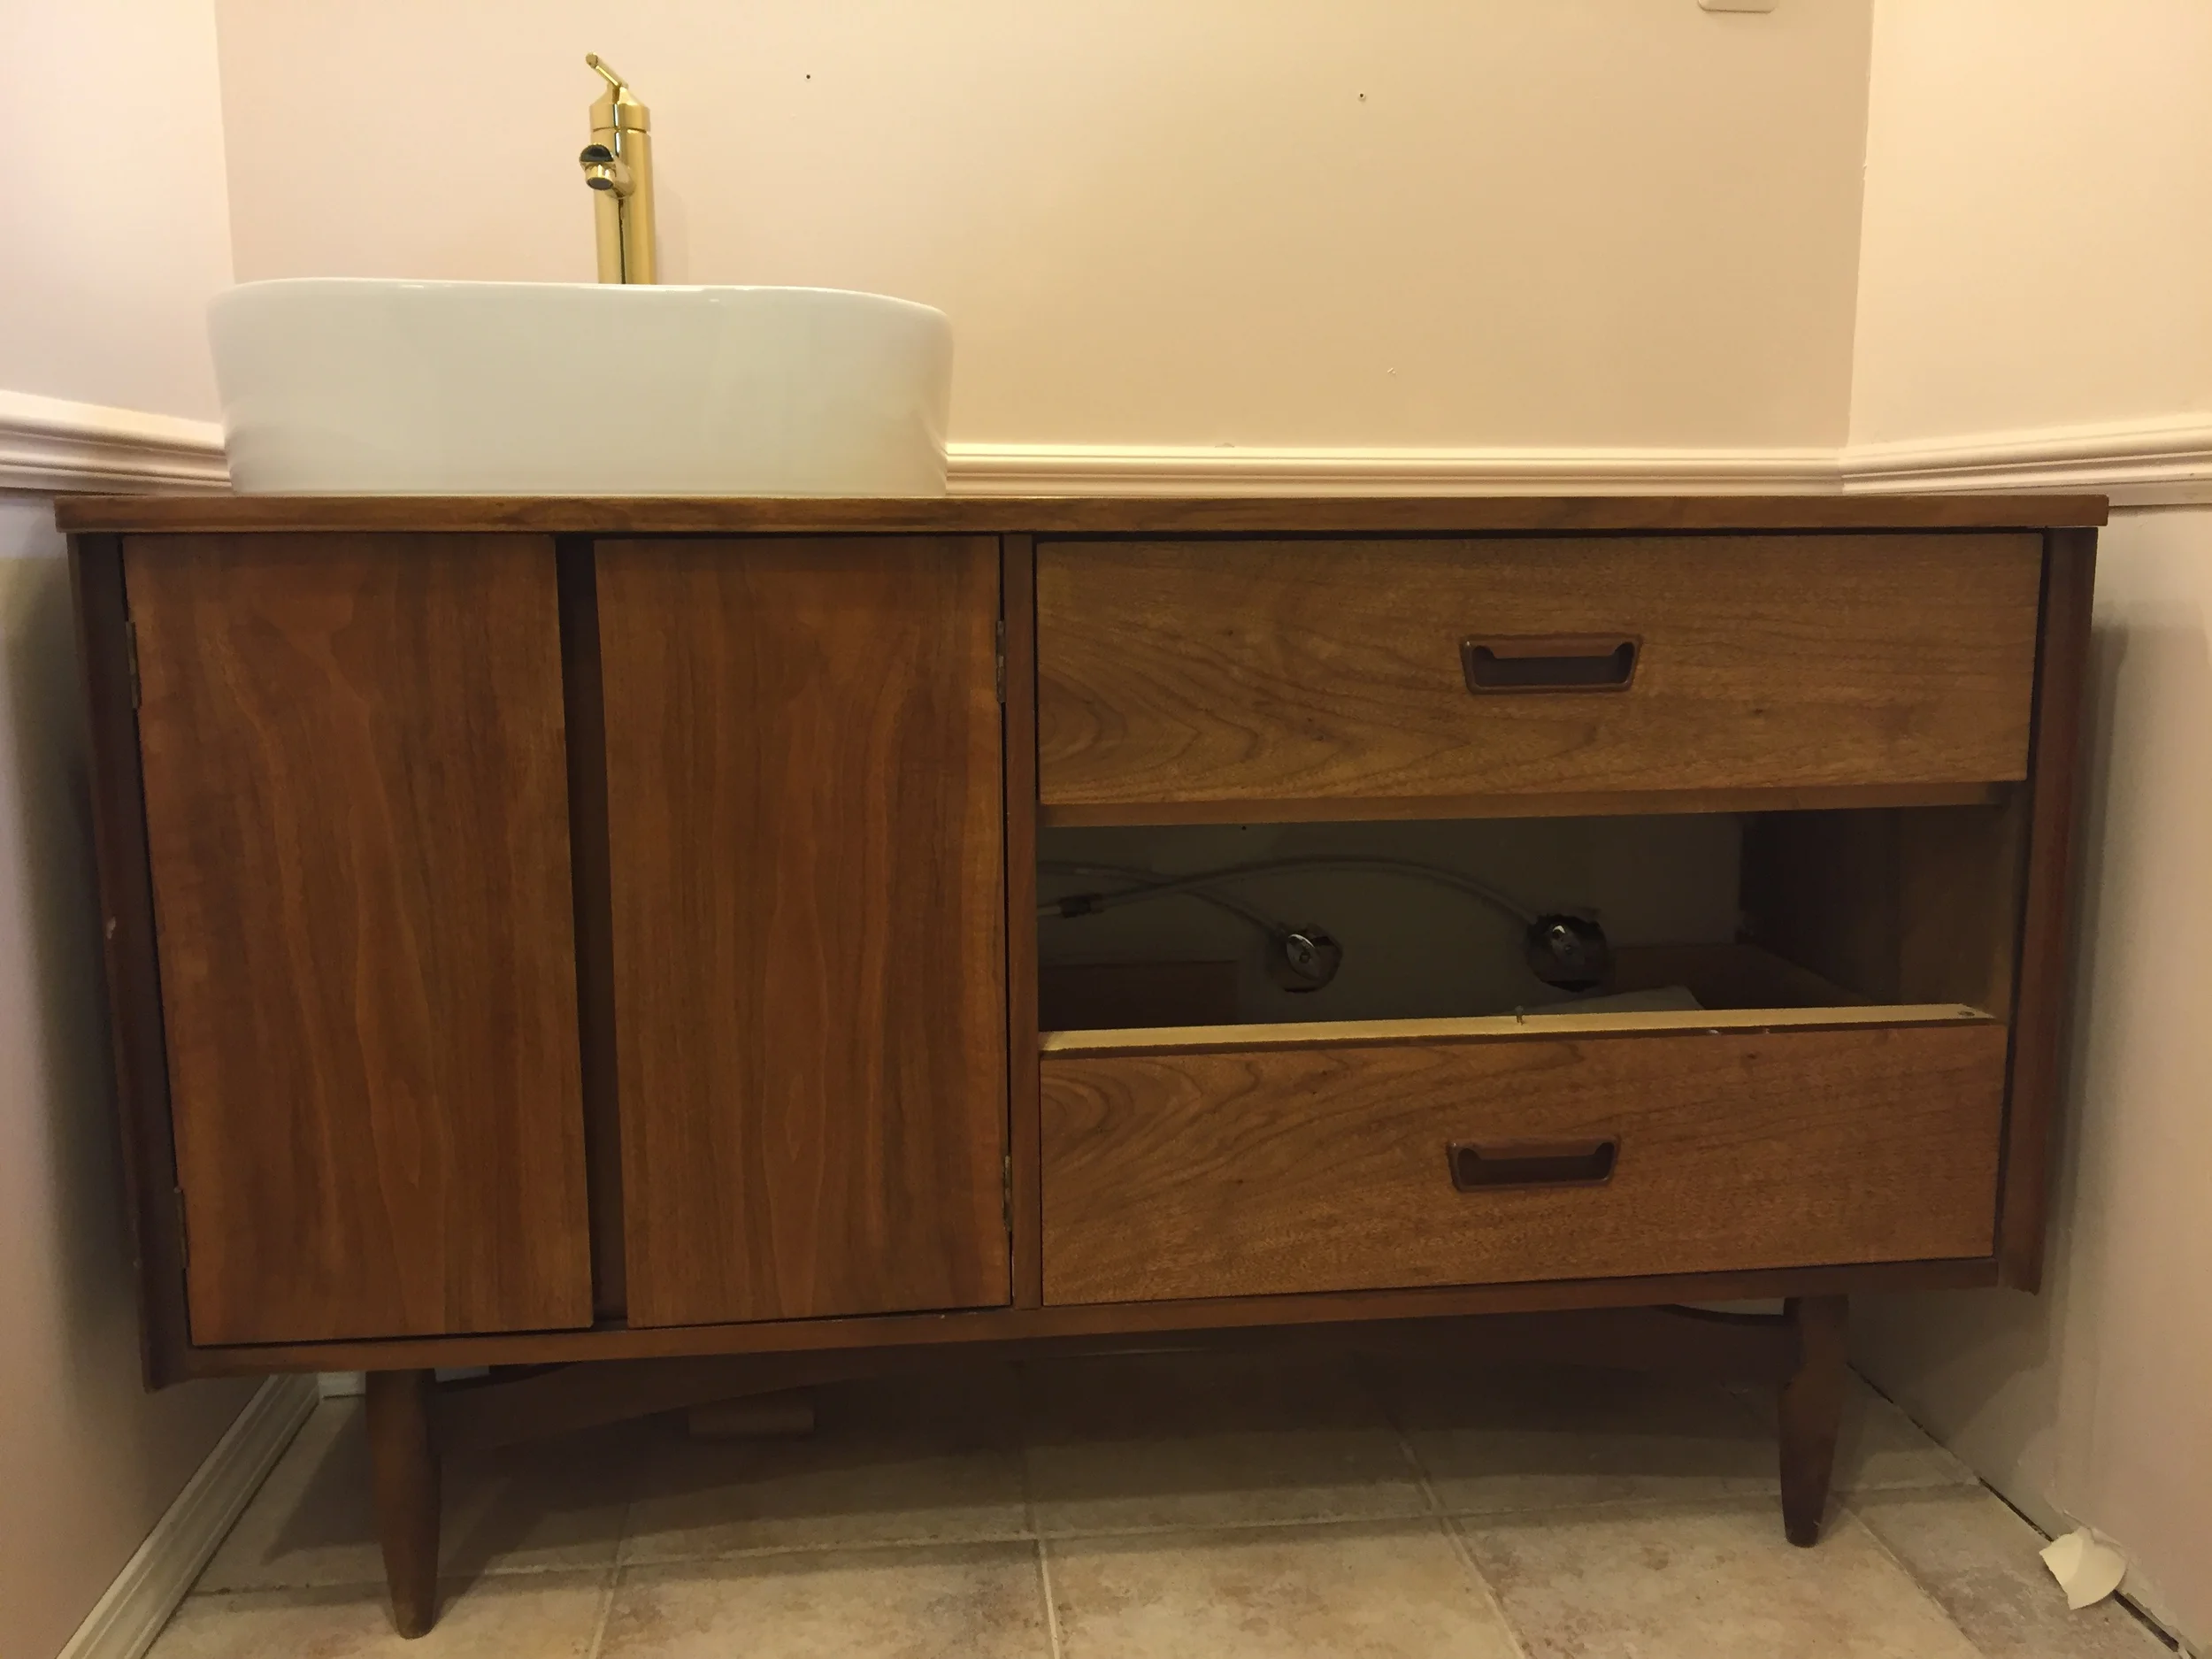
The vanity without the faux drawer.
So, here's the finished vanity/sink/faucet/drain combo!
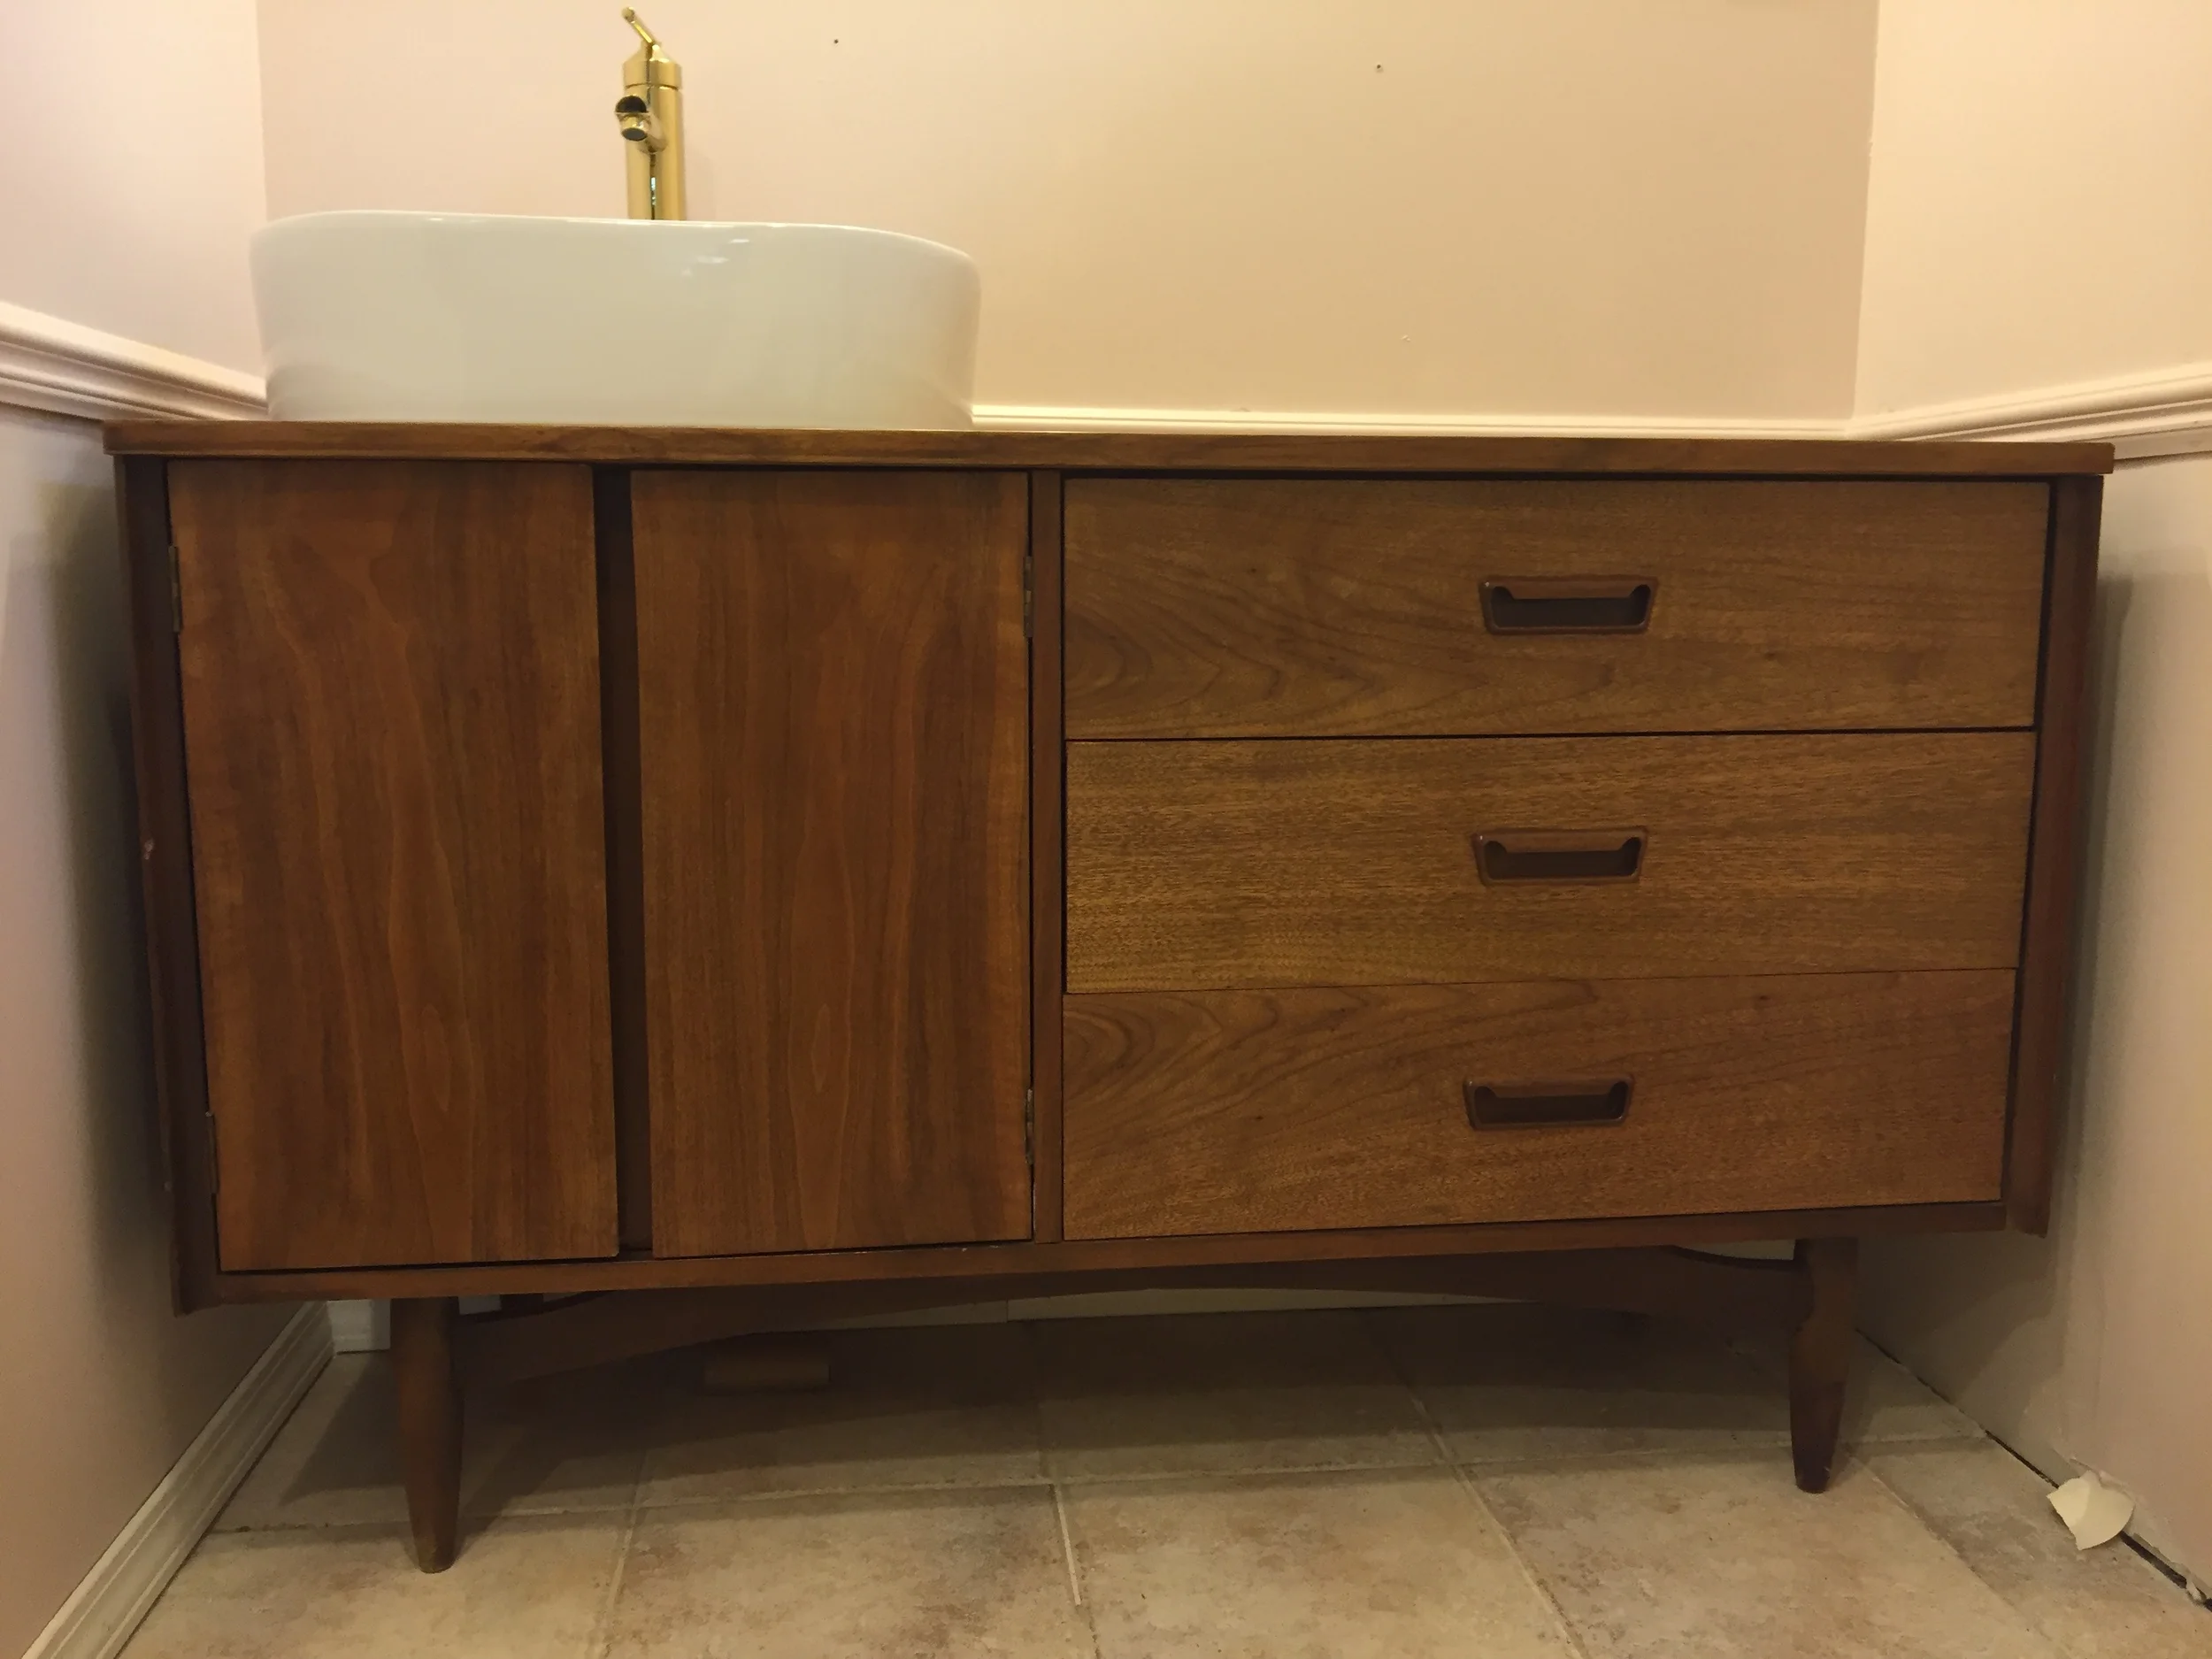
The finished vanity/sink/faucet! Yay!!!!
Yay!!!!!!!!!!!! A second bathroom again!!!!!! We can wash our hands!!!!!!!!!!! And....the kids can't come down to the basement yet since it's still being worked on, so there's finally a bathroom I can use in peace (translation: I can do my business without my small kids walking in and holding conversations with me about everything under the sun). Privacy! Glorious privacy!!!!!!!
A big THANK YOU to my FIL, Joe! (Not Joe the Plumber from the 2008 presidential campaign....in case you were wondering! hahahahaha. I crack myself up.)
So, now, back to the make-it-pretty stuff! I mean, the vanity/sink/faucet part was definitely pretty, but there was so much work to that. But, in part 4, we'll talk mirror/light/maybe more!